Page 1 of 4 123 ... LastLast
Results 1 to 10 of 34

Thread: Gen4 G17 "Grip Chop" Project (or making of a G19L)

  1. #1
    Join Date
    Dec 2008
    Posts
    68
    Feedback Score
    2 (100%)

    Gen4 G17 "Grip Chop" Project (or making of a G19L)

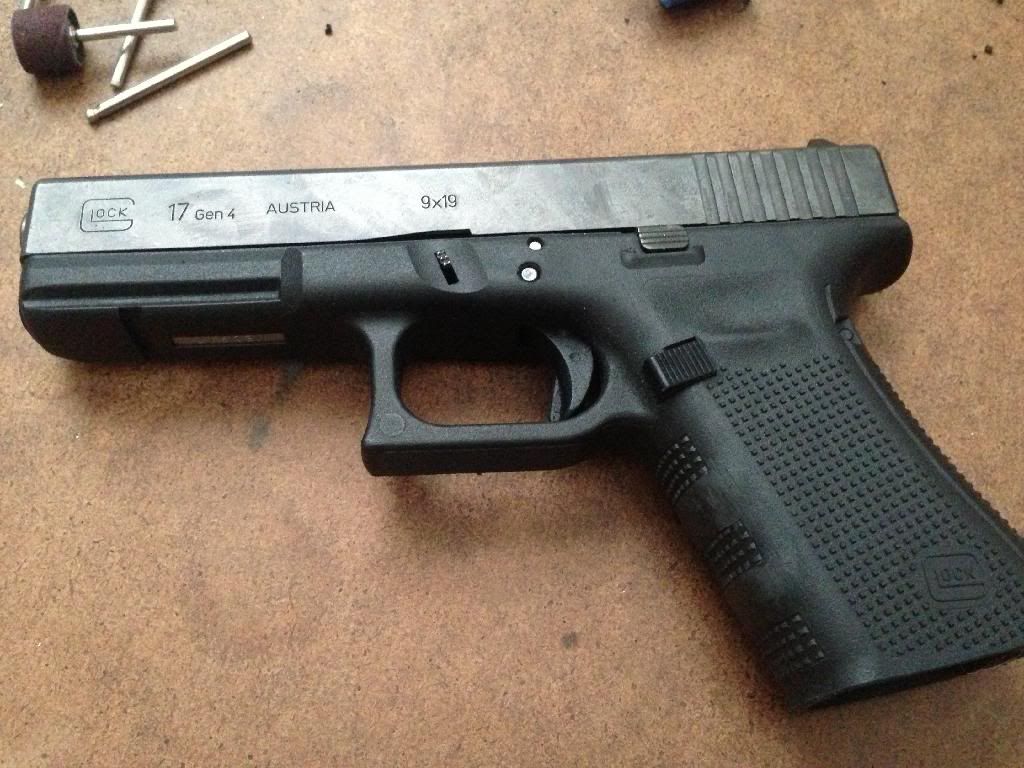
    Long story short, I scored a Gen4 G17 through a little horse trading of some old gear I had laying around collecting dust. I'm a long time Glock guy, and I've always thought G19/G23s were perfectly sized handguns. So yeah, it's not a new idea by any means, but I decided to go nuts and hack up a perfectly good pistol and create a long slide G19.

    Here's my progress.

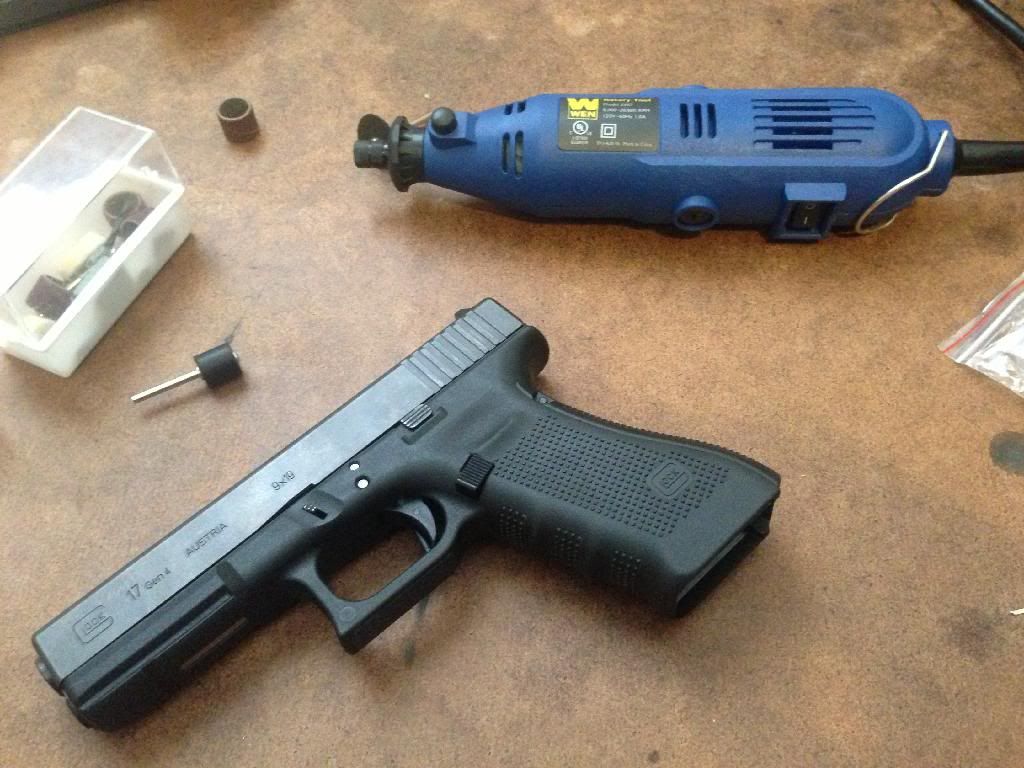
    A perfectly good pistol and a rotary tool... Yeah, why not?


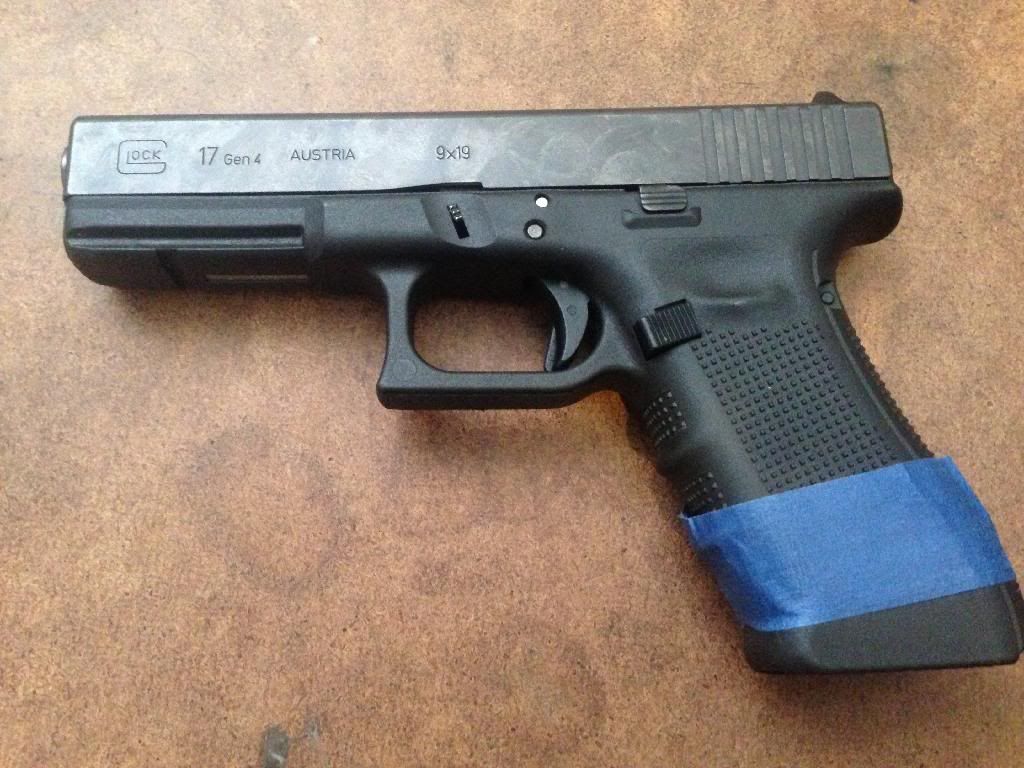
    Now it's time to measure twice (yeah ok, more like a dozen times), and cut once. A dry erase marker and some painters tape go a long way here:


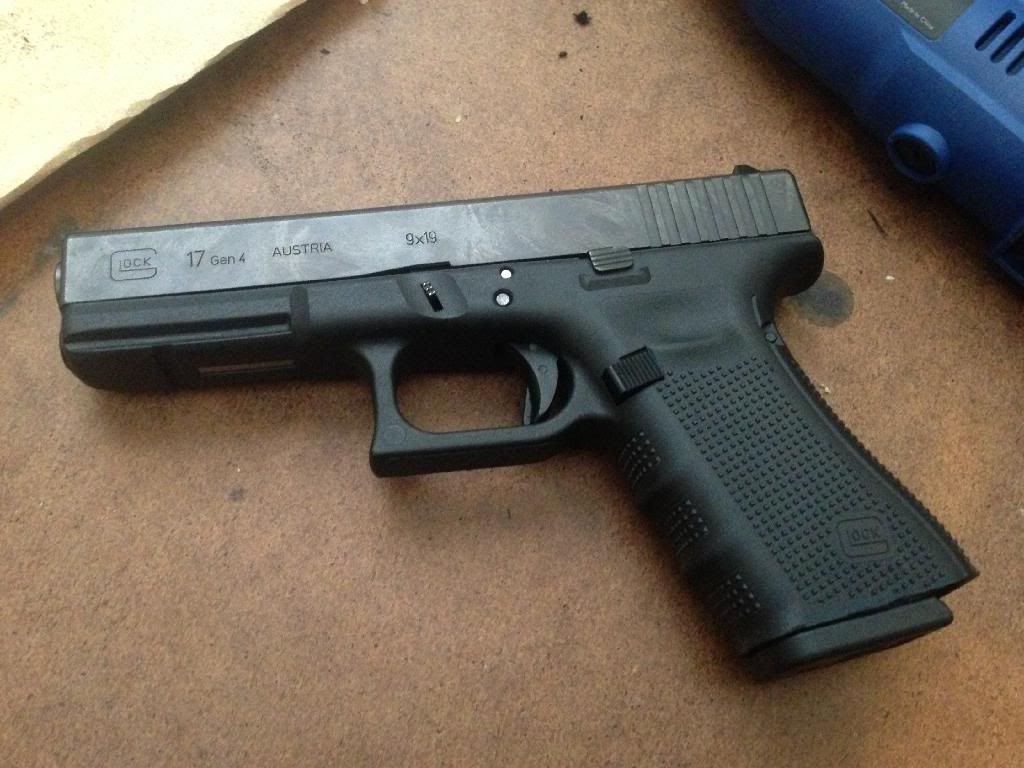
    Standard cutoff wheel attachments make short work of Glock polymer. Time to pull off the tape and test fit a G19 mag:


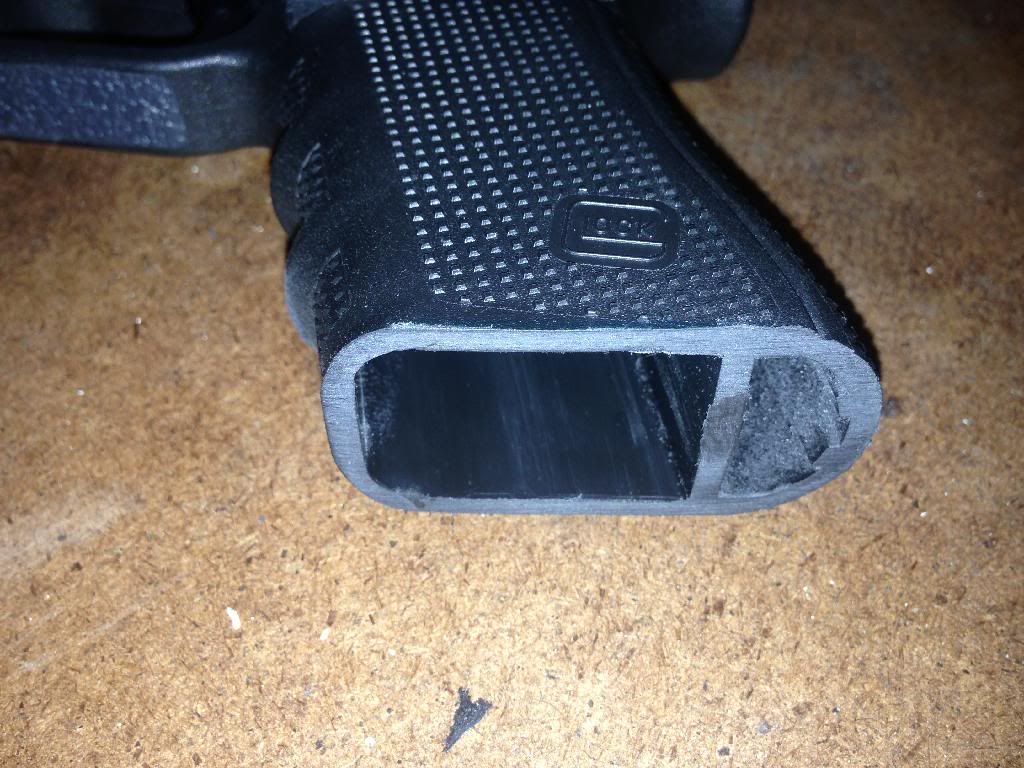
    Initial success! Time to take a little fine grit sandpaper to my cuts too even it out a little, and smooth the cuts out:


    Alright, making progress, but I need to figure out a method to uniformly radius the sharp edges around exterior of the magwell, and bevel the interior. Might even do a "speedwell" mod to clean up,the look a little. So if anybody has any suggestions, send them my way.

    In the meantime, I'll be removing finger grooves:


  2. #2
    Join Date
    Oct 2009
    Posts
    347
    Feedback Score
    0
    I have found that some coarse sandpaper wrapped around a block of wood does the trick when trying to sand edges evenly. I also suggest making an angled cut or grind on the heel of the grip, so that it looks more like the stock G19 grip and not so "pointy".

    While you're at it, how about some stippling to get a full wrap-around effect, instead of the squares on the front of the grip? Perhaps rounding off the trigger guard too? Some stippling on the frame flats in front of the takedown lever? Yes, you can tell I've gone runaway with some projects that started simple.

  3. #3
    Join Date
    Dec 2008
    Posts
    68
    Feedback Score
    2 (100%)
    Quote Originally Posted by ruchik View Post
    I have found that some coarse sandpaper wrapped around a block of wood does the trick when trying to sand edges evenly. I also suggest making an angled cut or grind on the heel of the grip, so that it looks more like the stock G19 grip and not so "pointy".

    While you're at it, how about some stippling to get a full wrap-around effect, instead of the squares on the front of the grip? Perhaps rounding off the trigger guard too? Some stippling on the frame flats in front of the takedown lever? Yes, you can tell I've gone runaway with some projects that started simple.
    Thanks for the pointers, ruchik. This is a work in progress and a full grip stipple is part of the plan (I've been practicing on spare P-Mags ). I'm also thinking I'm going to undercut the trigger guard, and bob the tail a little as you described. Trying to decide if I'll go for the speedwell mod or not. After I'm done w/ the frame, I'll be getting the slide milled for an RDS (RMR or Docter III, haven't decided yet).

    The wood block sanding method is actually what I did to even out the cut and get some uniformity and symmetry, no I'm just trying to decide the best way to radius the rough edge on he exterior of the magwell.

  4. #4
    Join Date
    Oct 2009
    Posts
    347
    Feedback Score
    0
    When I did a similar grip chop to my M&P, I just took some 180-220 grit sandpaper, then knocked the edges off a bit. To put a nice bevel all around the edges though, I'd suggest placing the frame in a vice, and using two hands to guide a wood block with sandpaper on it at an angle, 45 degrees to the edge you're sanding. Conversely, you could also heat the bottom edges of the grip with a heat gun or a candle, then "roll" the edges inwards to give more of a rounded, factory look. I've never tried that though, so do so at your own risk. However, heat does allow you to work that polymer without actually grinding away at it. There are guys out there who have performed grip reductions on their Glocks simply by heating up the backstrap with a candle, then "smooshing" it on a flat surface. People have also done this with polymer Kahr pistols, to smooth out any hot spots in the frame that interferes with grip.

    When you undercut the trigger guard though, or any sort of sanding on the frame for that matter, I suggest using the finest grit sandpaper you can get away with. It will take longer, but I found out the hard way that even 180-grit sandpaper tends to leave gouges in polymer during sanding. I cannot stress this enough; once you make a gouge in polymer, it's very difficult to undo it. It helps immensely to have a dremel for this, as even fine grit sandpaper will make short work of that polymer at dremel speeds.

    As to finishing the frame once you've sanded it, Rit's black dye in powder form works very well at bringing the factory color back to the frame. Just completely strip down the frame, dunk it into a simmering pot/pan with the dye in it, and let it stew for about 30 minutes. Let it cool off, and you've got a fairly colorfast solution. Smells funky, though, so try to use a steel pot that you're not really going to use again. You could always Duracoat the frame, too.

    I would also carve out a secondary finger groove for your support hand, into the trigger guard just in front of the curve where the trigger guard meets the frame. Your index finger from your support hand will lock into that, helps a lot.

  5. #5
    Join Date
    Apr 2012
    Location
    43°N 83°W
    Posts
    2,517
    Feedback Score
    1 (100%)
    I'm really enjoying this thread. Ruchik, could you post some pics of the trigger guard modifications you speak of or a link to your work? Thanks.
    'Evil Minds That Plot Destruction'

  6. #6
    Join Date
    Oct 2011
    Posts
    174
    Feedback Score
    3 (100%)
    Quote Originally Posted by ruchik View Post
    When I did a similar grip chop to my M&P, I just took some 180-220 grit sandpaper, then knocked the edges off a bit. To put a nice bevel all around the edges though, I'd suggest placing the frame in a vice, and using two hands to guide a wood block with sandpaper on it at an angle, 45 degrees to the edge you're sanding.
    This was my first thought when I saw him ask that also. If you want it to actually be rounded I'm wondering if you could take something that has a J-Bend and do the same as if you were making it at a 45 degree angle. Wrap the sandpaper inside the rounded edge of the J and evenly go around it. It should put a symmetrical rounded edge on it then.

    I've never done grip work to a glock though hence why I want to follow this thread. I want to flatten out the trigger guard bump as that little thing irritates my finger like no other.

  7. #7
    Join Date
    Oct 2009
    Posts
    347
    Feedback Score
    0
    I haven't begun working on the baseplates yet, but that'll give you an idea of what I did. Not pretty, and you can see some of those gouges I was talking about, but it works!
    Attached Images Attached Images
    Last edited by ruchik; 03-01-14 at 16:55.

  8. #8
    Join Date
    Apr 2012
    Location
    43°N 83°W
    Posts
    2,517
    Feedback Score
    1 (100%)
    Thanks for pics. Trigger guard on my G26 needs some reduction but my G19 feels fine. Anyone recommend a good video of Glock trigger guard reduction? I checked out a couple but not that great of a job.
    'Evil Minds That Plot Destruction'

  9. #9
    Join Date
    Oct 2009
    Posts
    347
    Feedback Score
    0
    Are you talking about undercutting the trigger guard? If so, all you need is a wooden dowel, pencil, or pen, wrap some sandpaper around it, and sand away.

  10. #10
    Join Date
    Dec 2008
    Posts
    68
    Feedback Score
    2 (100%)
    Glad to see there's some interest in the thread.

    Seems like I've seen a lot of before/after threads, but not a lot of threads detailing each step along the way.

    I'll be keeping this updated as I perform each step, but it'll be probably next weekend until I get a chance to mess with this project again.

Page 1 of 4 123 ... LastLast

Bookmarks

Posting Permissions

  • You may not post new threads
  • You may not post replies
  • You may not post attachments
  • You may not edit your posts
  •