


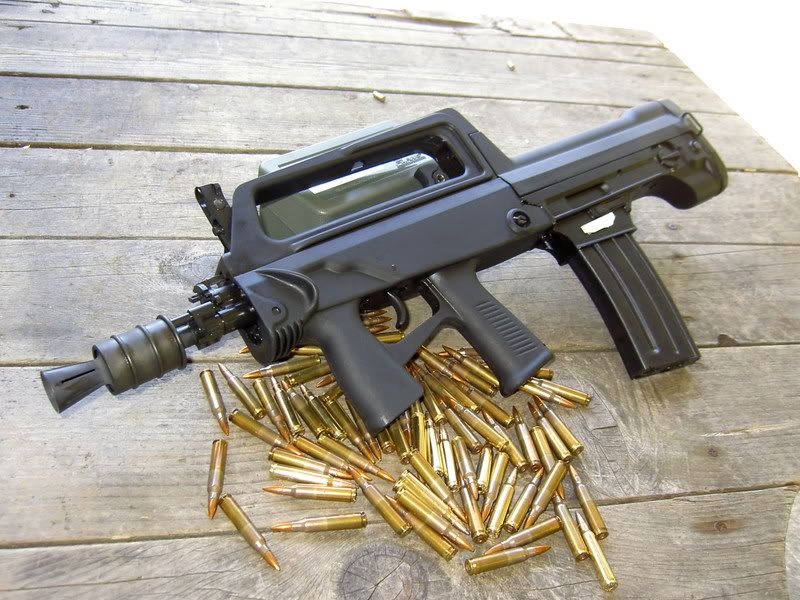
I owned the rifle pictured for a while and posted a FAC about it in another forum. I thought maybe some of you may be interested to find out more about it.
Type 97A Shorty 12.5 inch barrel, 1:7 Twist
Caliber: 5.56 x 45
From the Manual:
• Service life of the rifle is 6000 rounds. I find this to be much underestimated and others have shot T97's with more than 20,000 rounds through them.
• The rifle is designed to feed 5.56x45 ss109 ammo but may fire 5.56x45 m193. (I feed mine a steady diet of American Eagle .223 55g)
• Rear sight is calibrated for 1,3,400 yards.
• Rate of Fire: 40 rounds per minute.
Disassembly:
Please note the following is for informational purposes only. Please refer to your manual for complete instructions. Always practice safe firearm handling procedures and ensure the rifle is unloaded before disassembly.
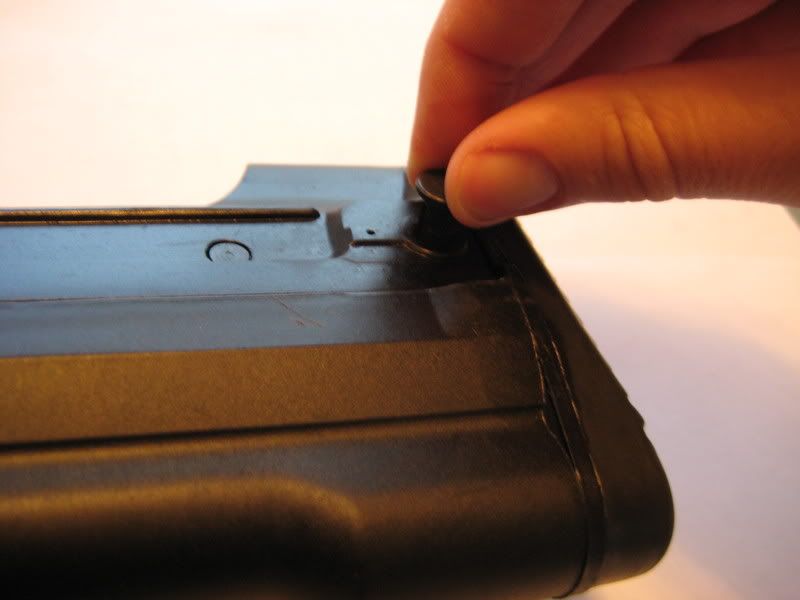
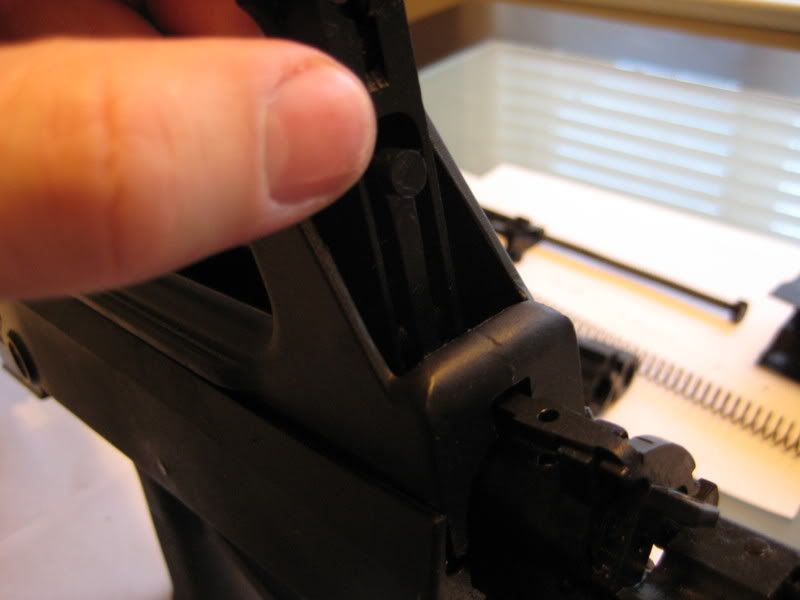
Press the but pin from left to right while holding the but pad (otherwise the but pad will shoot across the room). The safety has to be on position “1” or you cant disassemble the rifle.
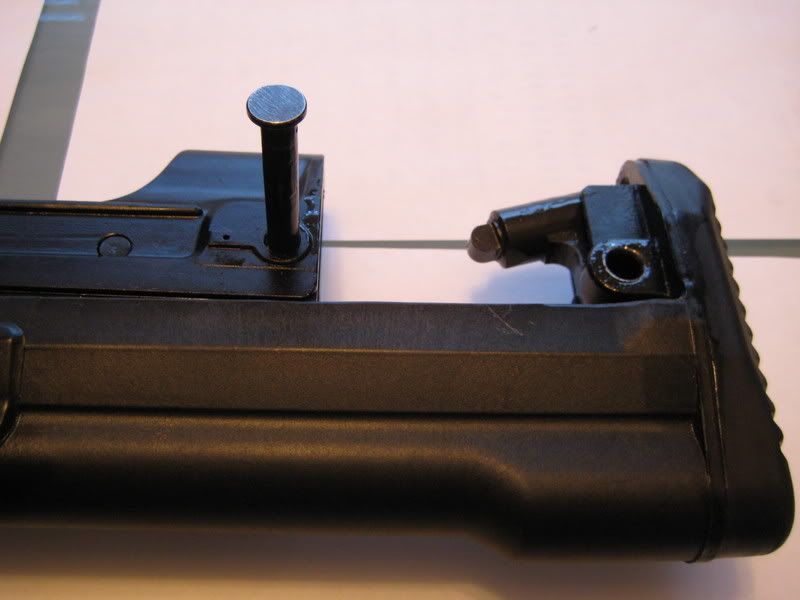
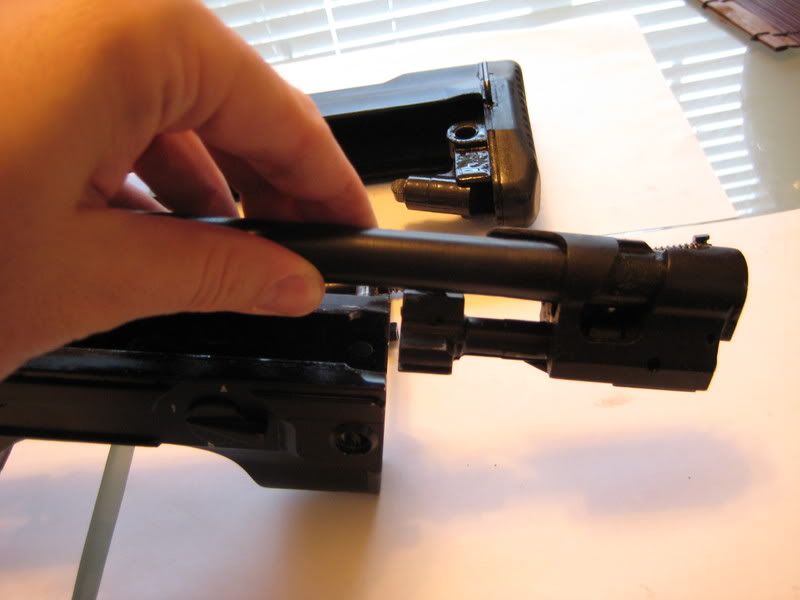
Pull the but assembly away from the action (that funky looking lever thingy is a recoil dampening device...cool):
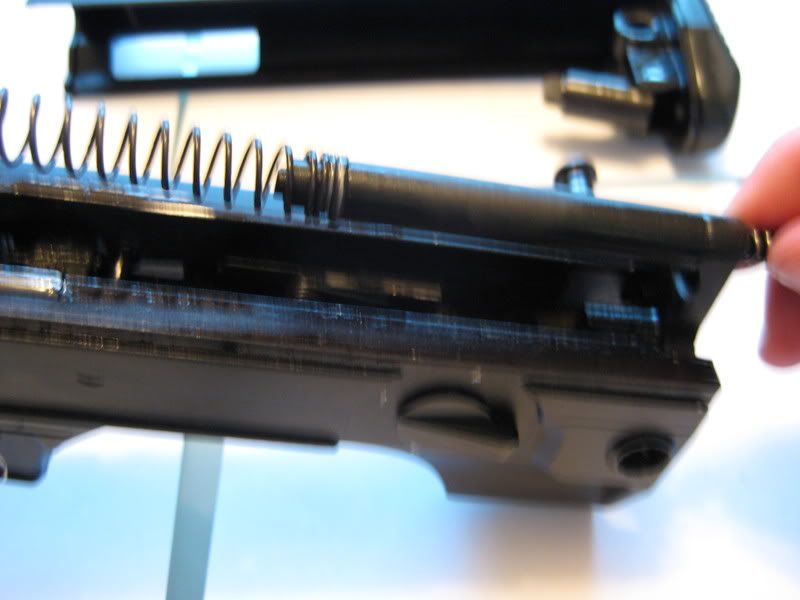
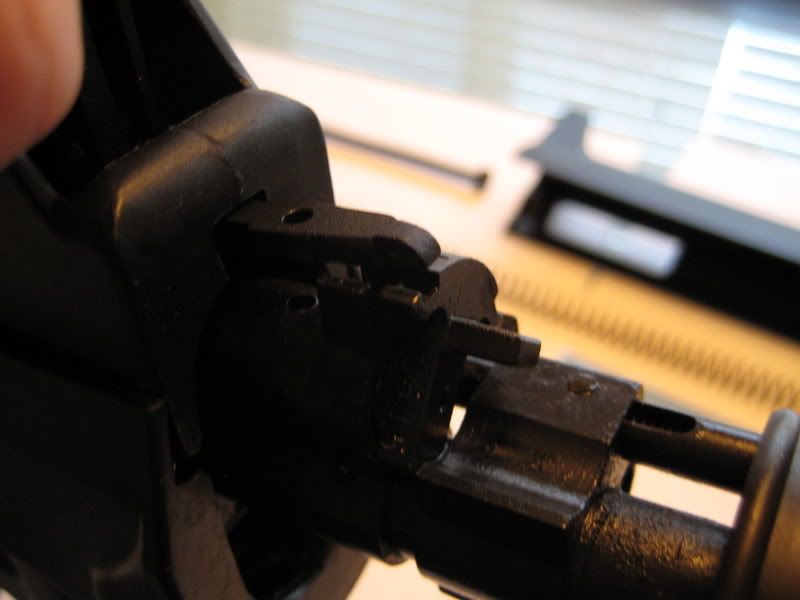
Remove the striker assembly and action spring.
Pull the bolt carrier out of the rifle.
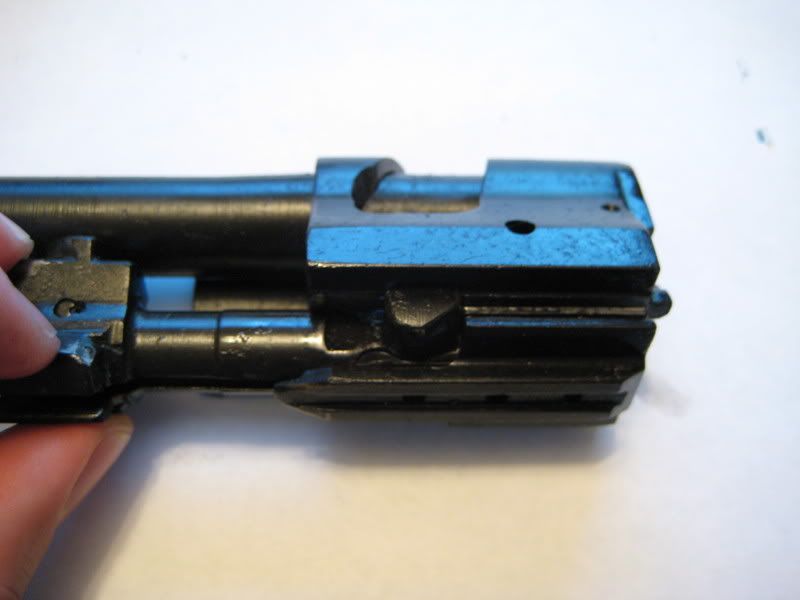
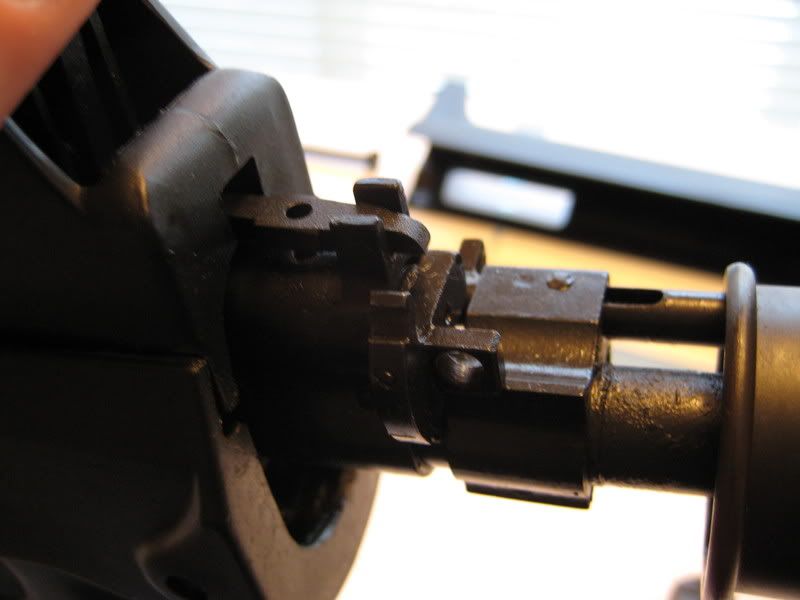
To remove the bolt from the bolt carrier pull it forward on the carrier:
Rotate it down:And pull it out:
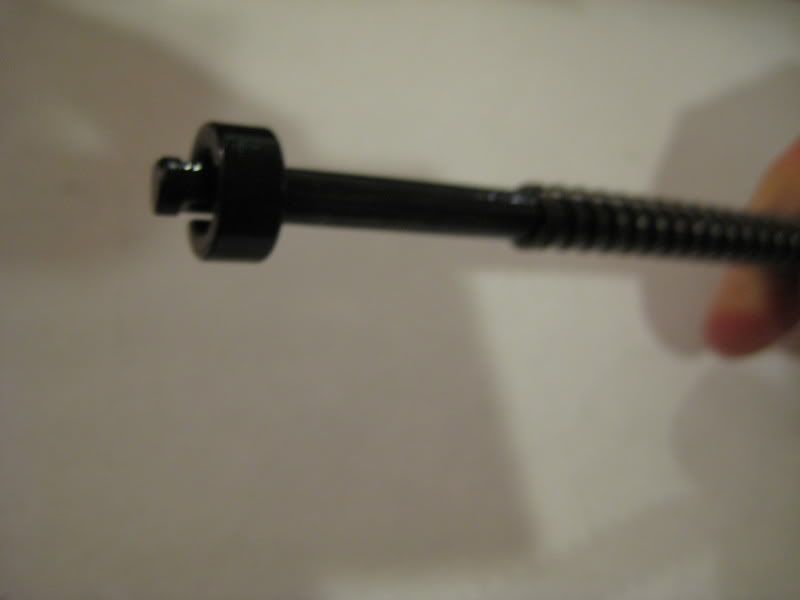
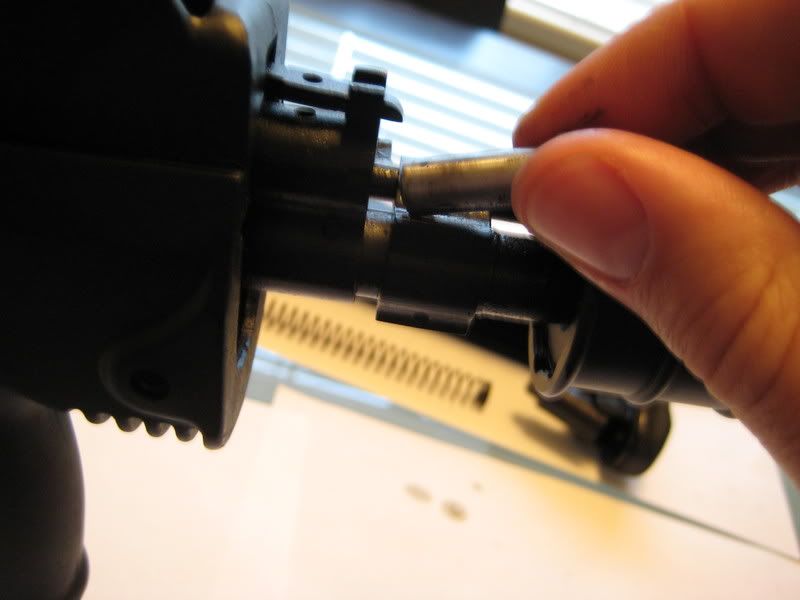
To clean the striker pull back on the spring and remove the retainer disk, everything then just pulls apart. Gently scrub any build up and lightly oil.
Reassemble in reverse.
I don’t think it’s possible to remove the firing pin without risking damaging the retaining pins. I clean it religiously and blow it out with compressed air. With almost 1000 rounds of dirty bird ammo I’ve had no doubles and it flops around freely.
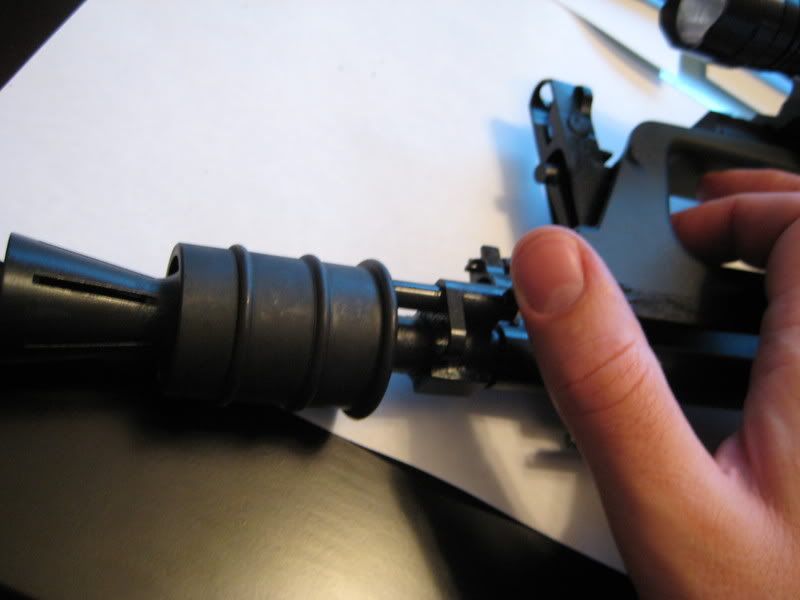
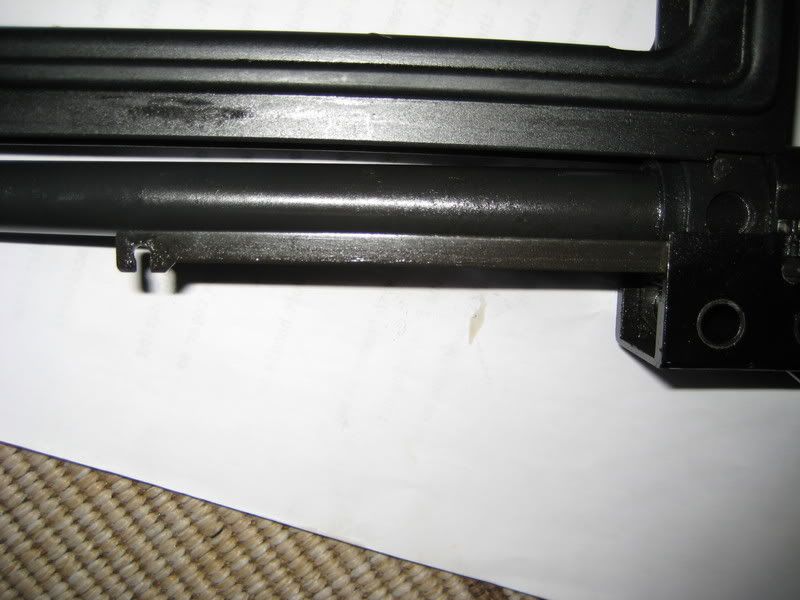
To remove the piston: Depress the button on the front sight post (for the shorty it is different than the longer version)
and rotate the Gas regulator all the way counter clockwise past setting two.
Pull out the regulator.
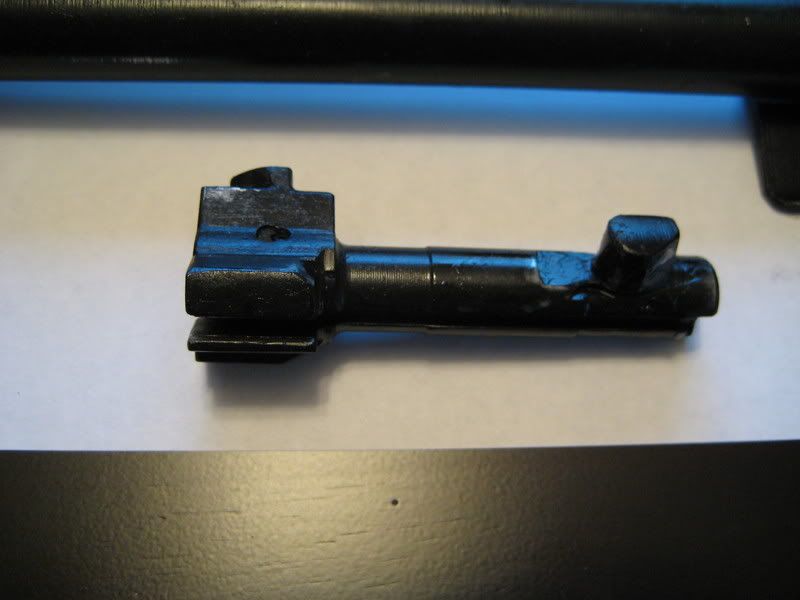
Next tip the rifle forward and give it a shake: The piston should pop out slightly. Pull it out (note this sequence will be different for the longer barrel version – I’m not sure how much different)
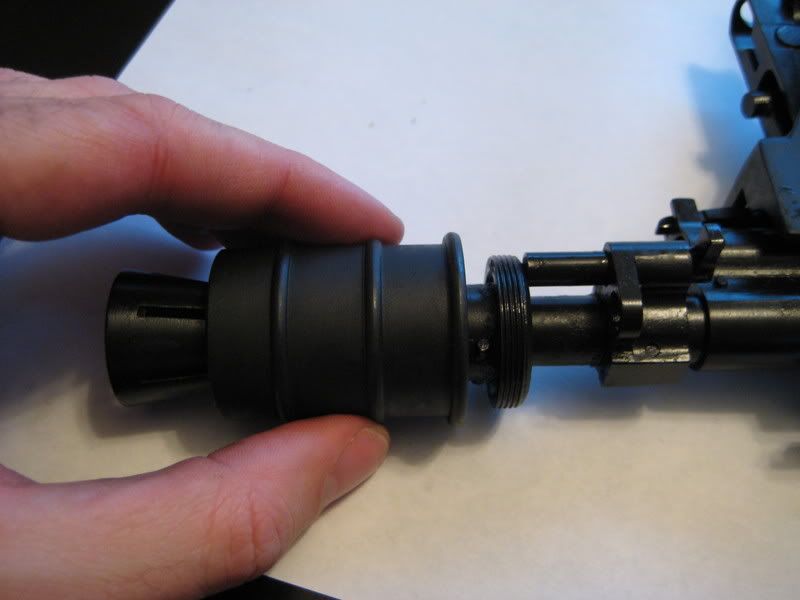
Remove the Gas booster: Push backwards on the booster button.
While pushing on the button unscrew the booster cover and remove it from the rifle (Note it gets very dirty, you have to scrub it with a wire brush to get it clean)
Next remove the lower hand guard assembly. Push the lower assembly pin from left to right. This one is much harder to push (it’s also not captive like the but pin so be careful not to lose it).
Pull the lower hand guard down, then push it forward off the retaining hooks:
You can now see the trigger bar. You can now remove the upper charging handle/optics shroud if you do not have a rail attached. You simply pull it back and up off the rail. If optics are attached you won’t be able to remove it but it’s not really necessary.
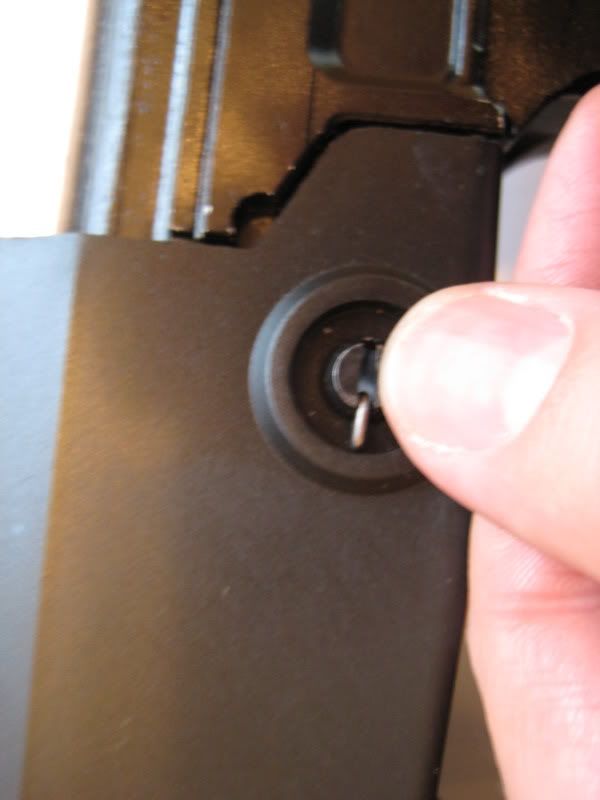
To remove the Firing unit you have to remove the safety.
and push the opposite side of the safety assembly from right to left.
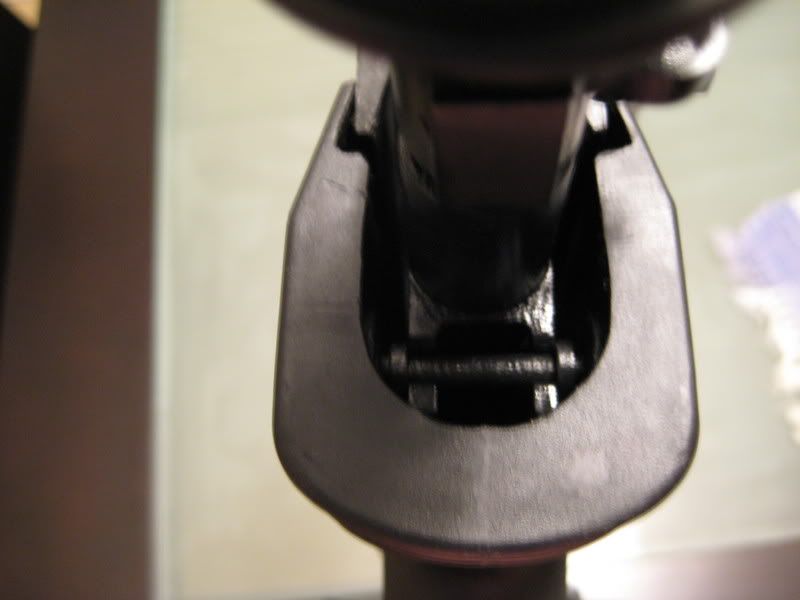
Push backwards on the trigger bar to slide the firing unit to the rear of the receiver:
Disengage the trigger bar from the firing unit and pull it free
You can now pull the trigger bar out of the rifle. It’s now totally field stripped.
Reassembly:
To reassemble you pretty much follow the reverse order: Some tricky parts to remember though:
Insert the trigger bar first then reattach the firing control unit to the trigger bar. Slide them forward but make sure the sears engage properly.
To reattach the bottom hand guard assembly slide the bottom end of the assembly into place first. Then slide the unit forward. Then pull the bottom assembly down slightly and push backwards on the unit engaging the front hooks. Then slide the back of the unit up so that the trigger bar reengages with the trigger. If you do it in any other way than this the trigger won’t engage with the bar and you will end up cursing the T97 and anyone else who walks near you.
To reinsert the safety press down on the firing mechanism catch and wiggle the safety into place. It took me a few tries. Reassemble the rest of the rifle in the reverse order and dry fire it a few time to ensure you have everything put back together right:


 Reply With Quote
Bookmarks