


Hey guys,
Its your favorite newbie from So-Cal,I hope everyone is well??. Since you guys liked my (how to make ballistics gel zombie heads) thread, I thought I would keep doing them if you don't mind?. This time Im going to take you through (step by step) on how you can paint your own firearm (Im such a giver! LOL).. using DuraCoat for the NEWBIE!.. Thats right even if you cant draw a stick figure, you can do this.. Hopefully
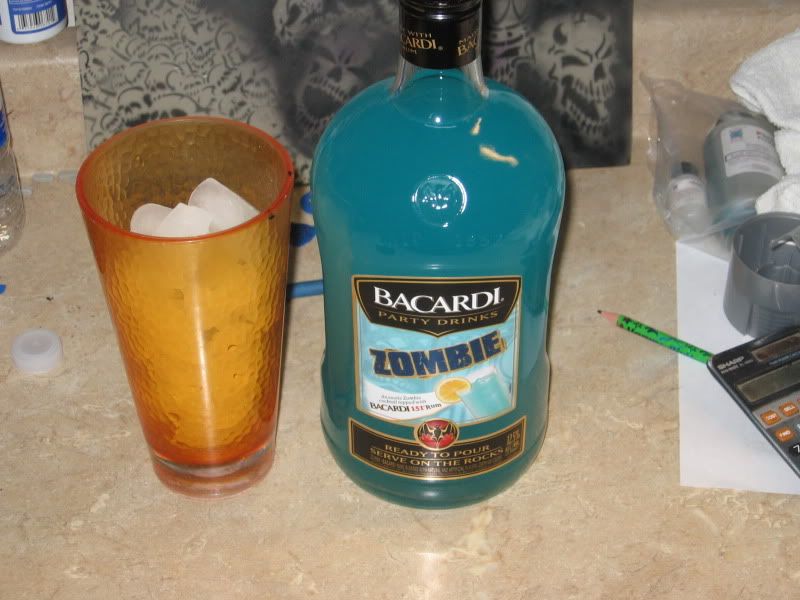
I hope you enjoy the thread, (Ill tell you now!) it is rather LOOOOOONG and does contain LOOOOOOTTTTSSS of pictures, so before we start why don't you grab a bear, pour a glass of wine or lightem up if you got them.
Please NOTE:
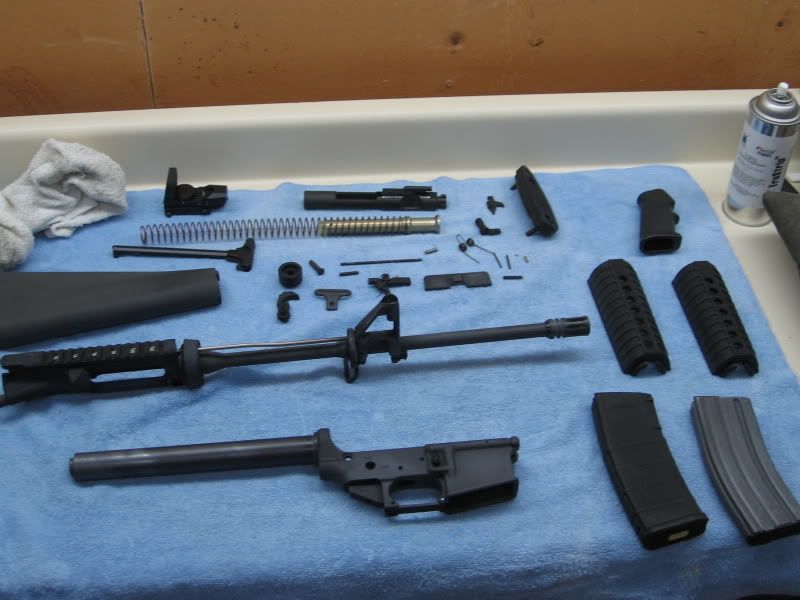
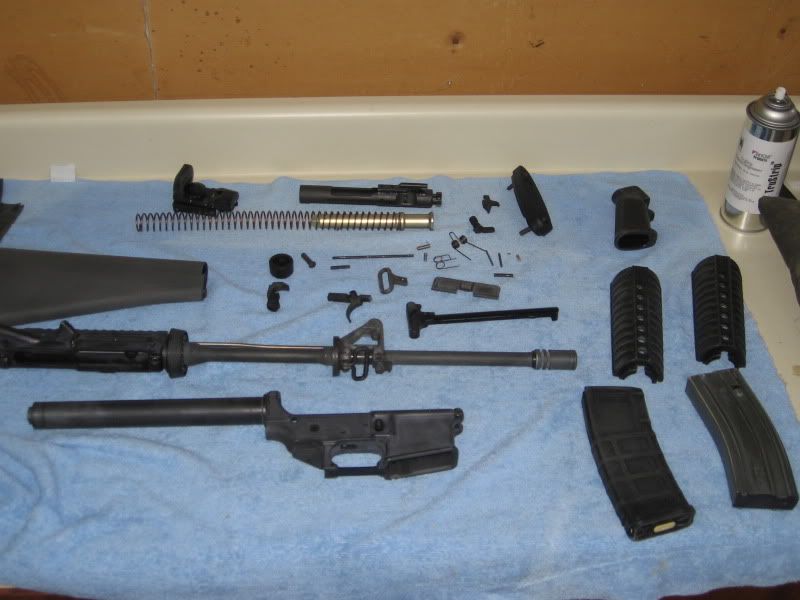
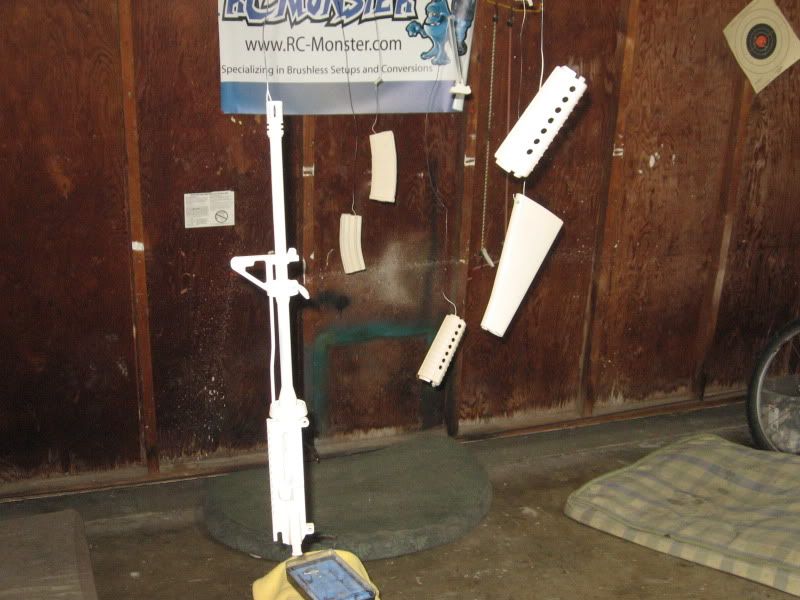
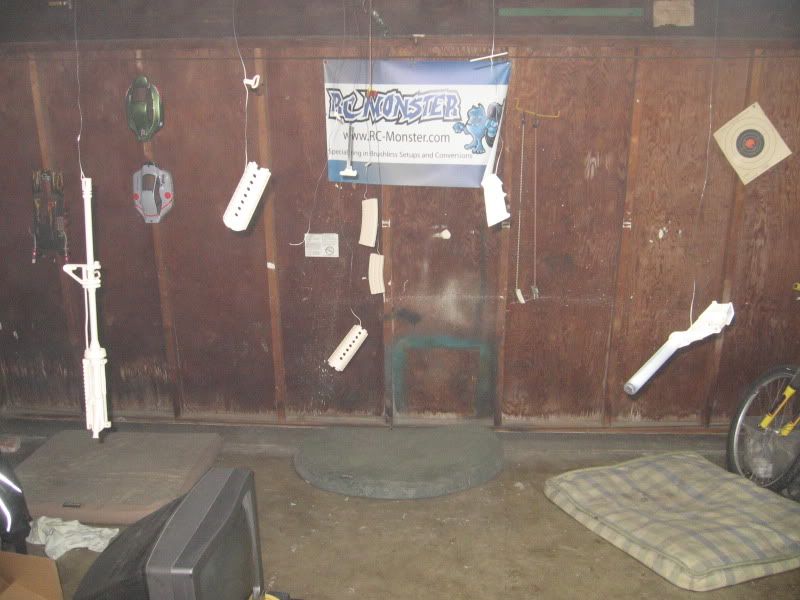
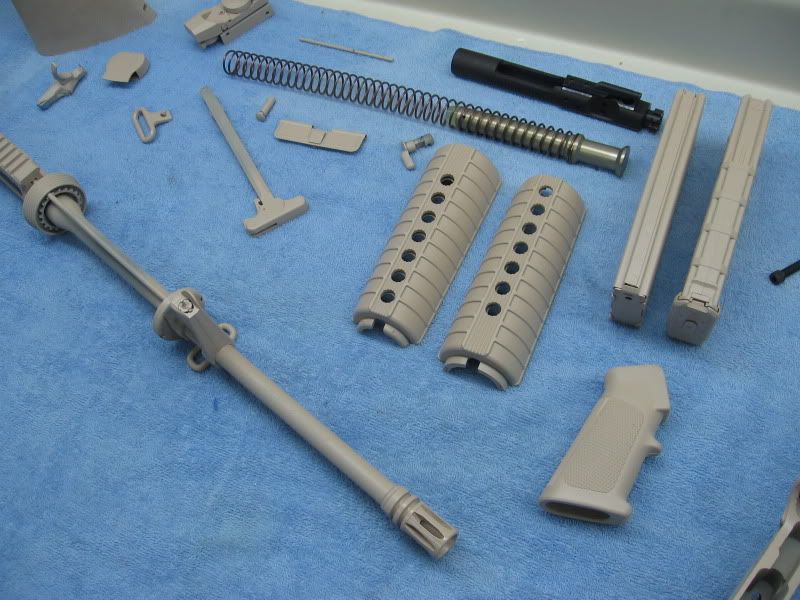
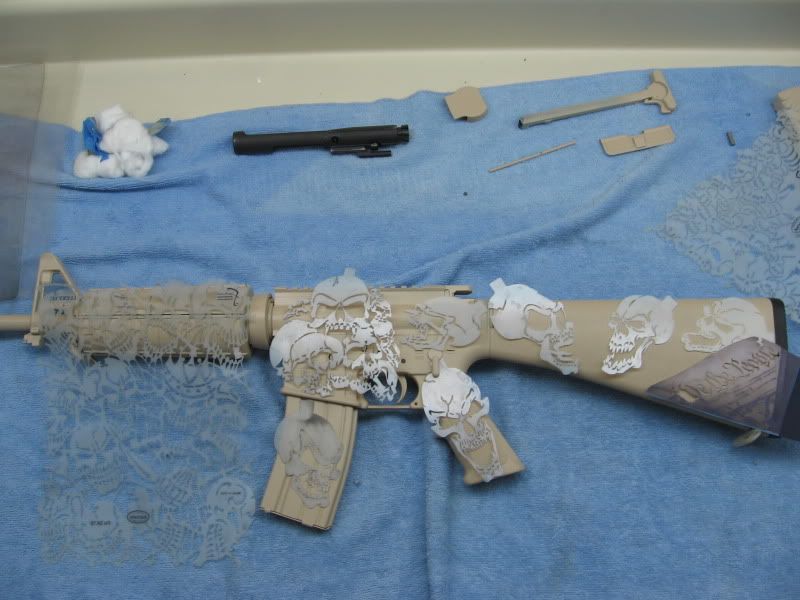
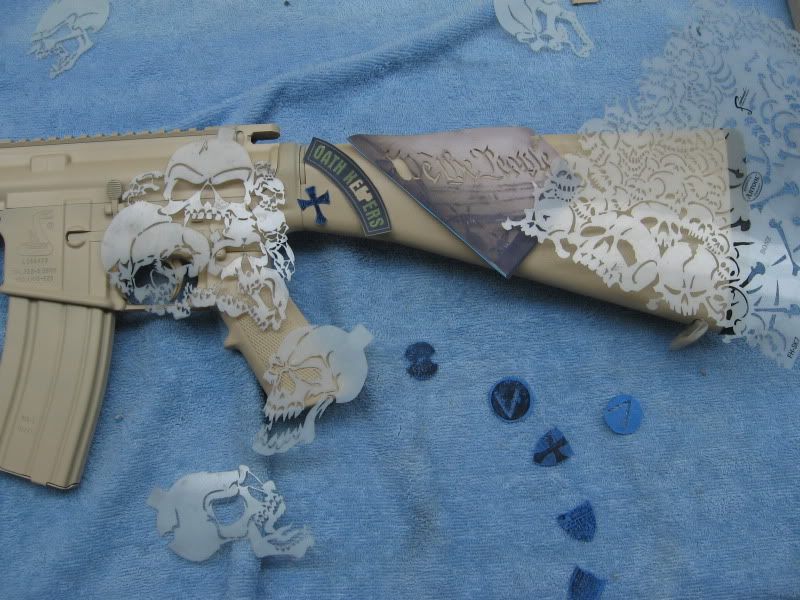
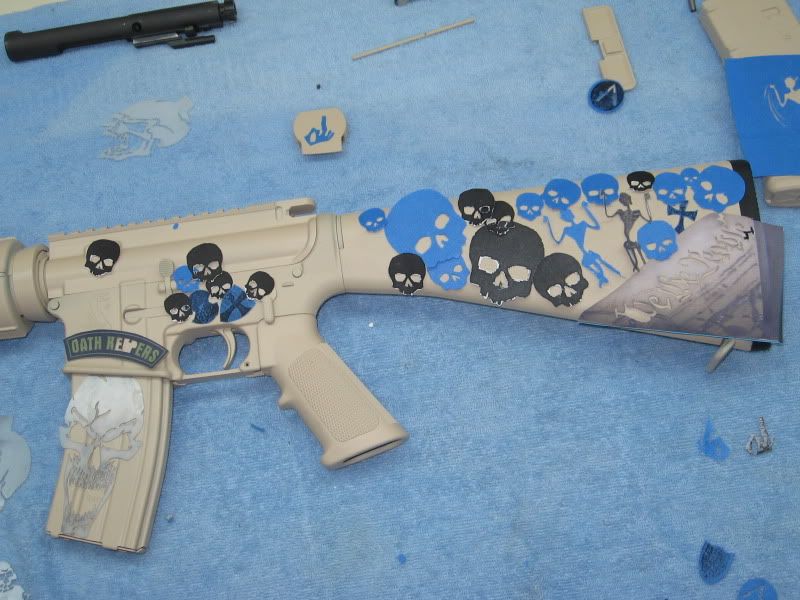
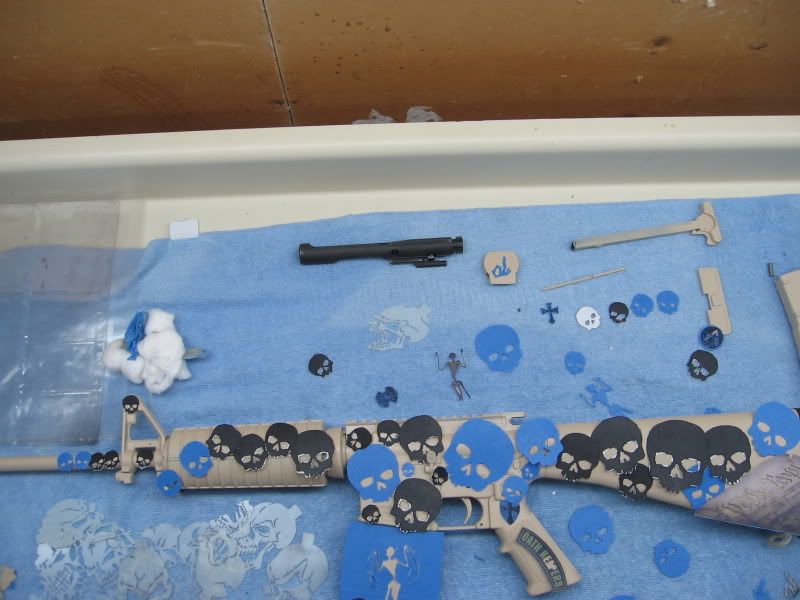
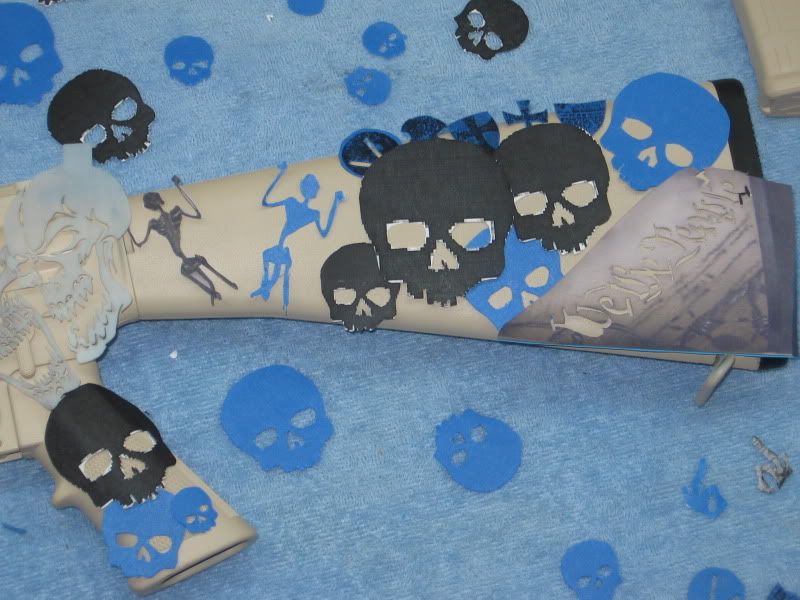
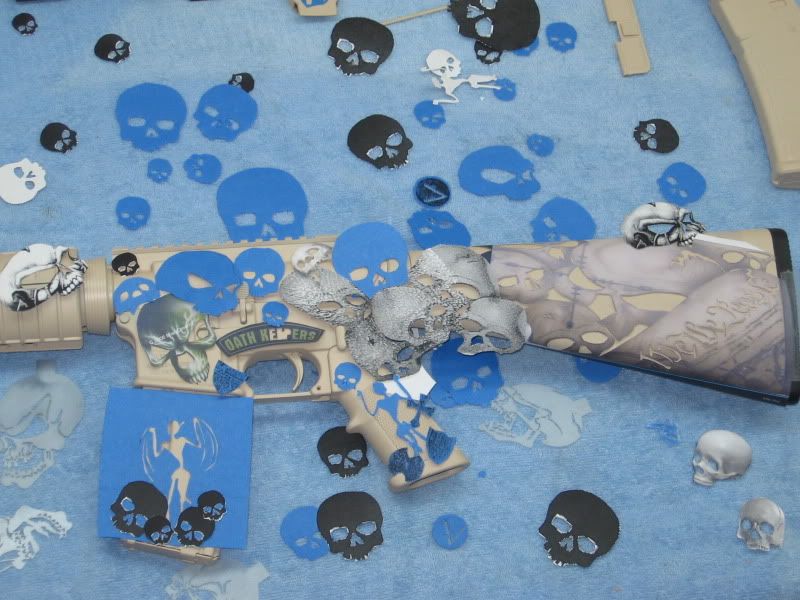
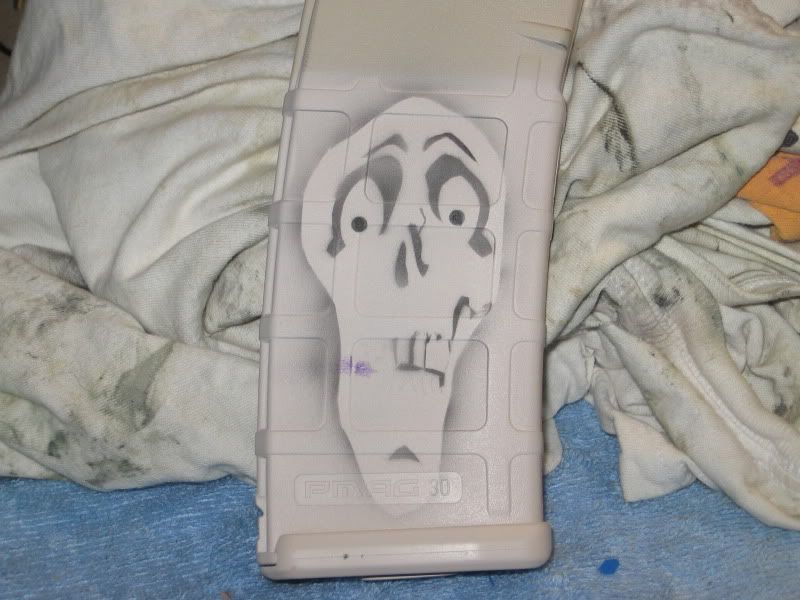
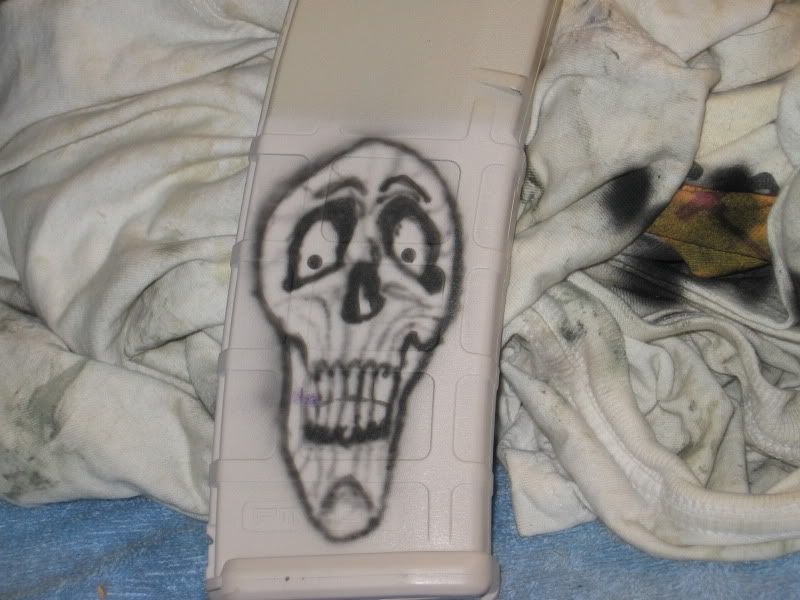
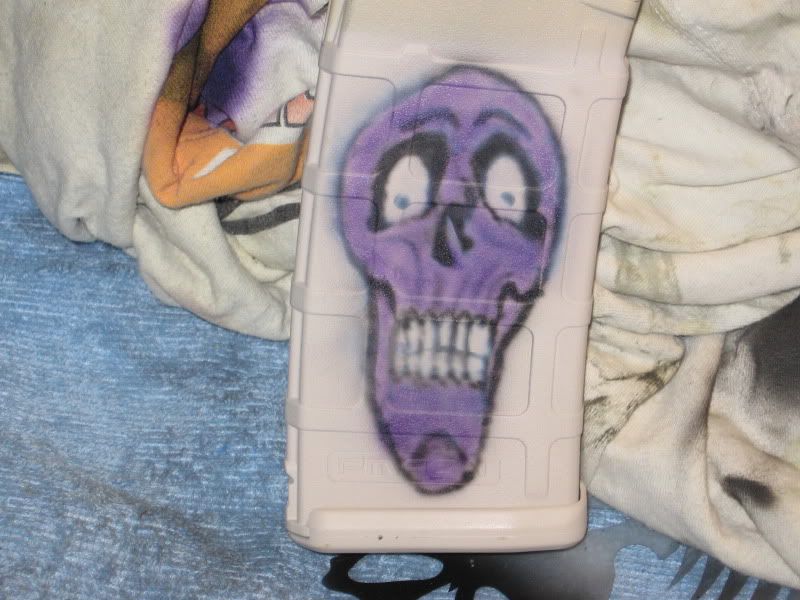
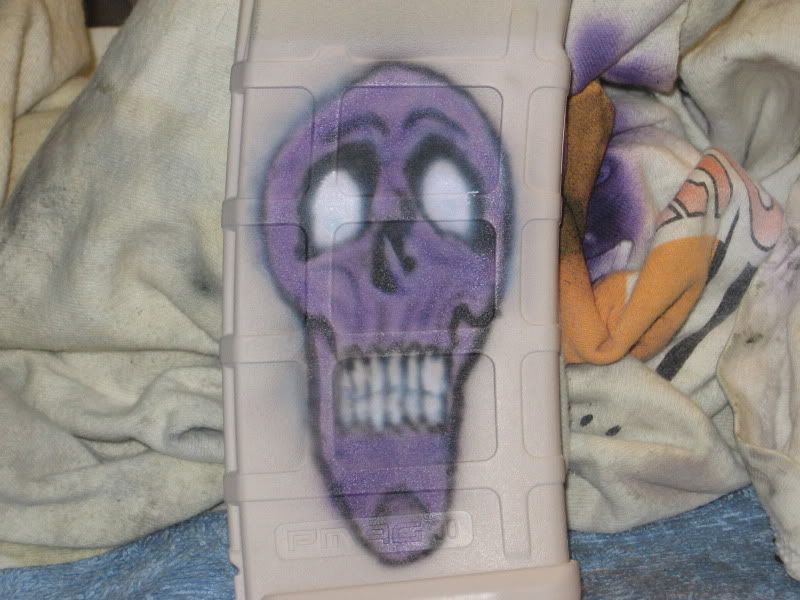
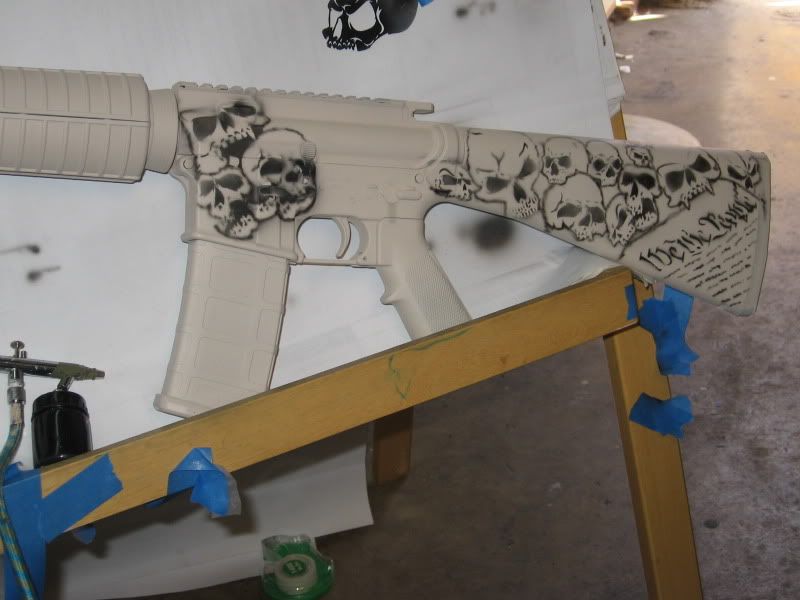
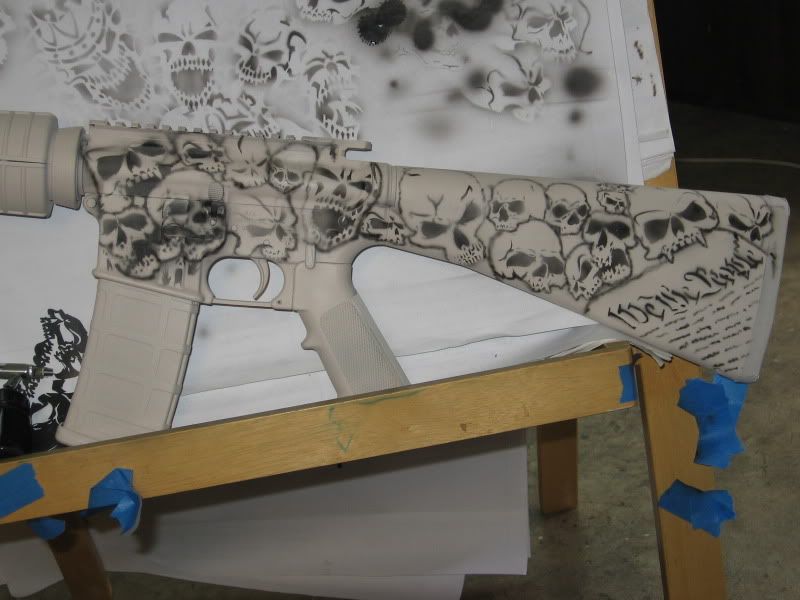
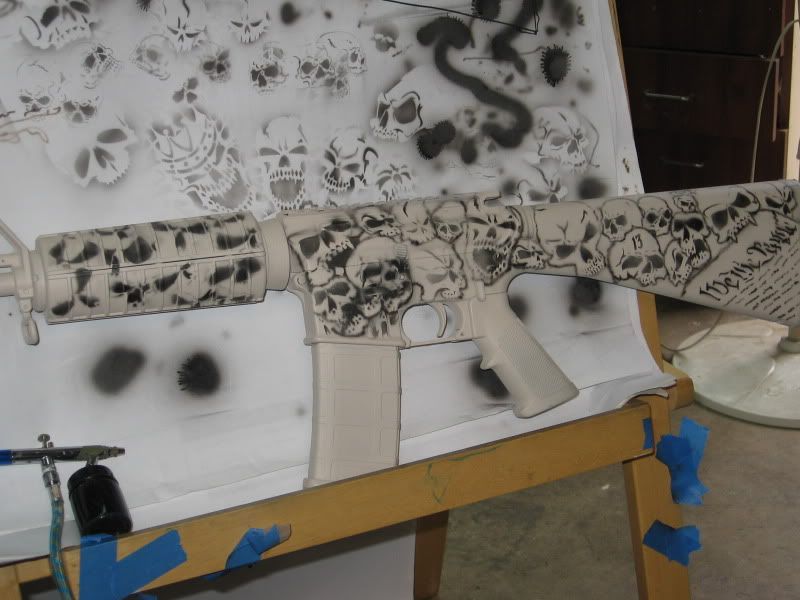
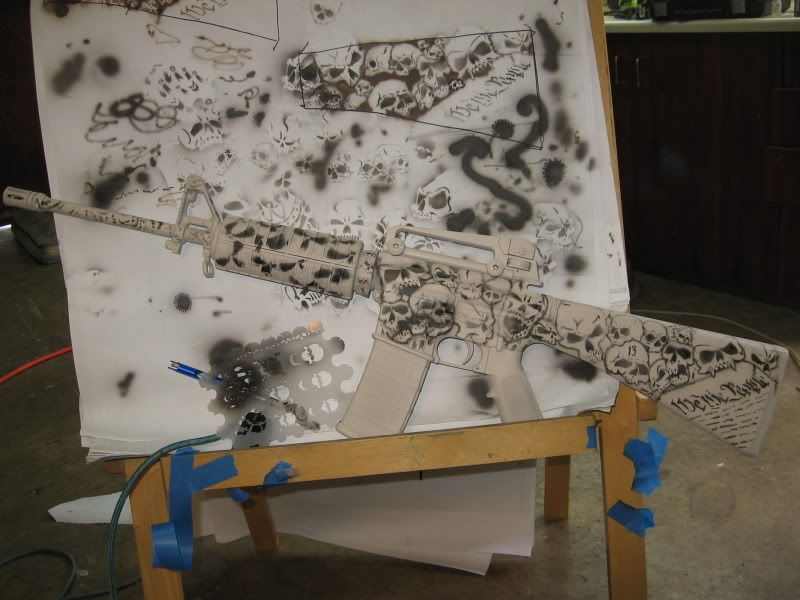
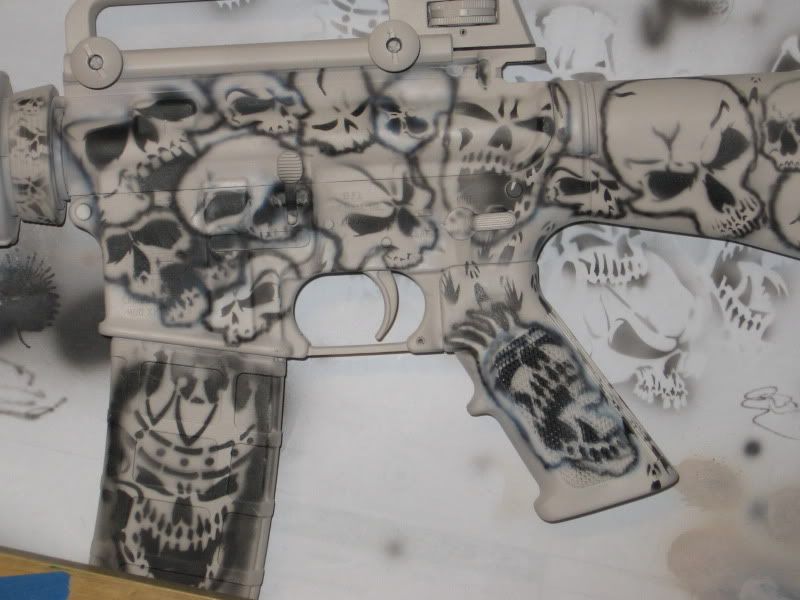
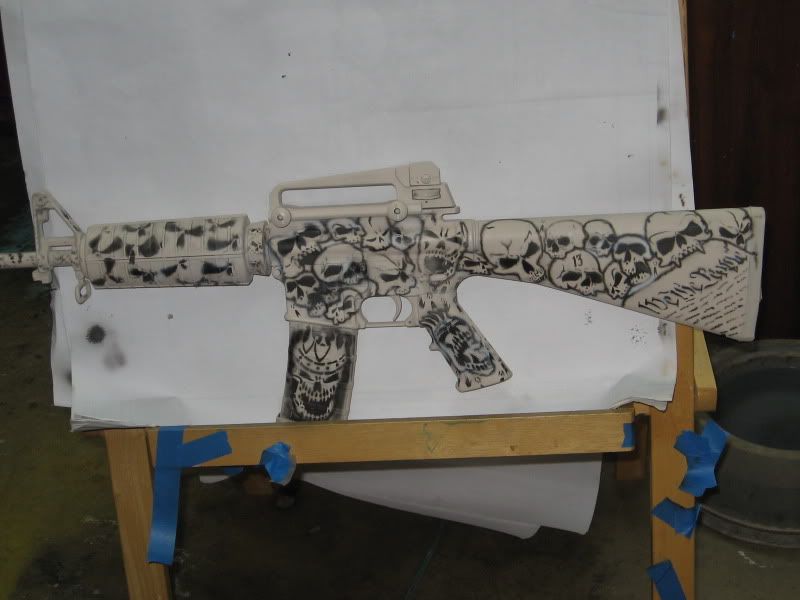
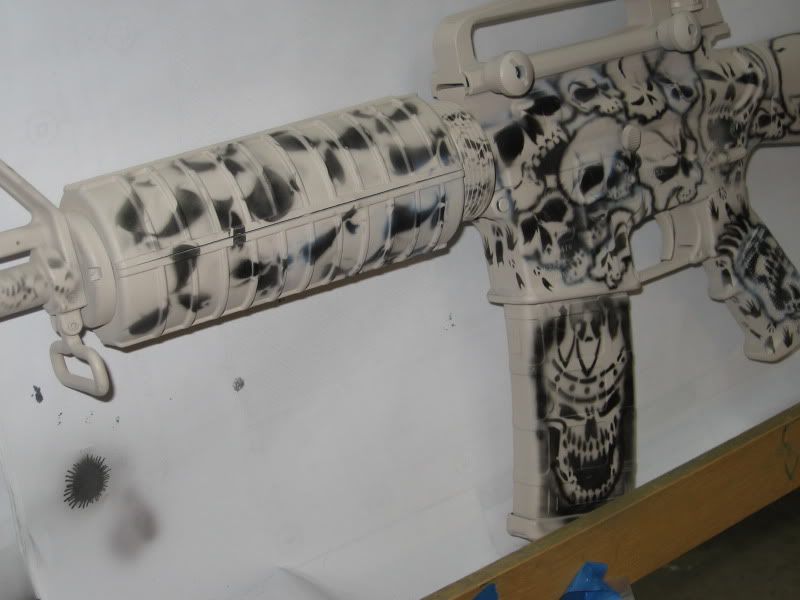
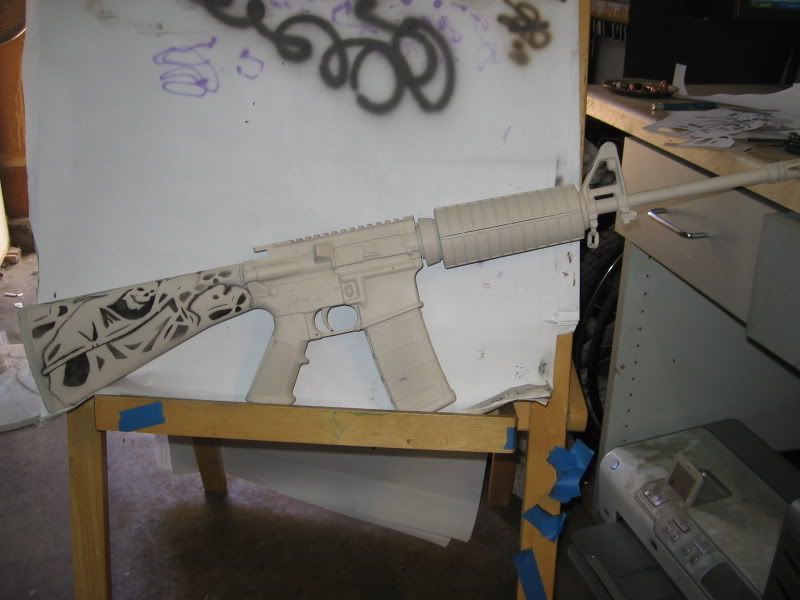
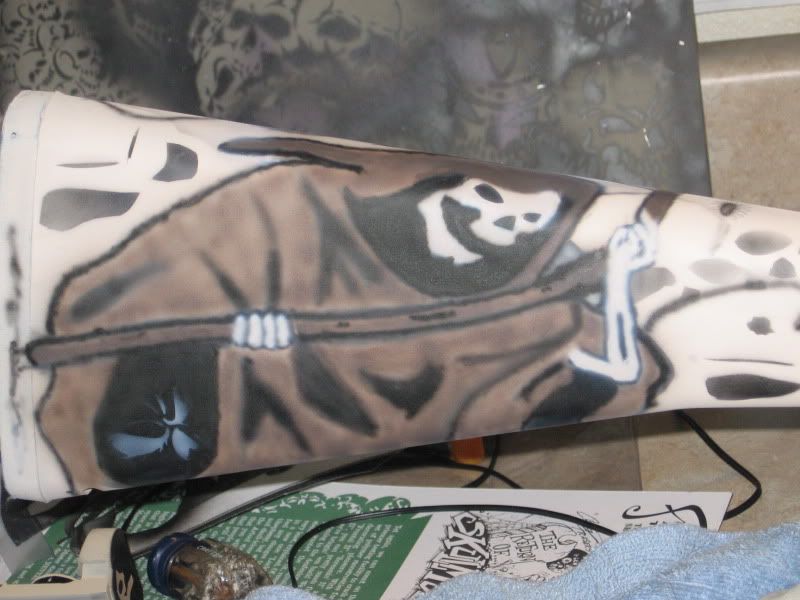
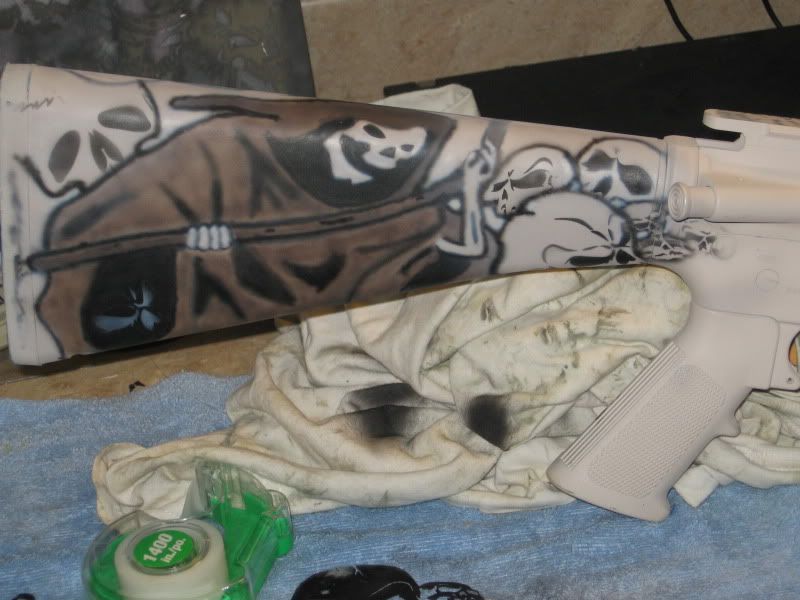
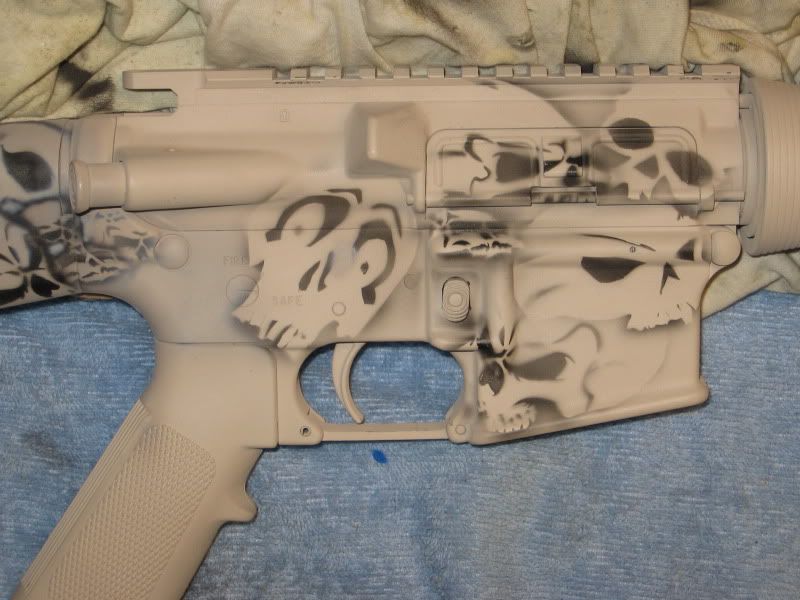
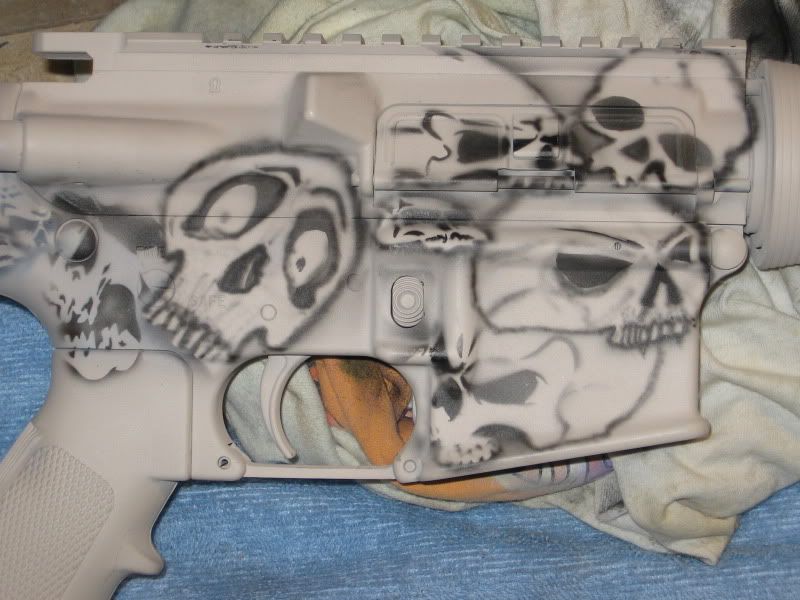
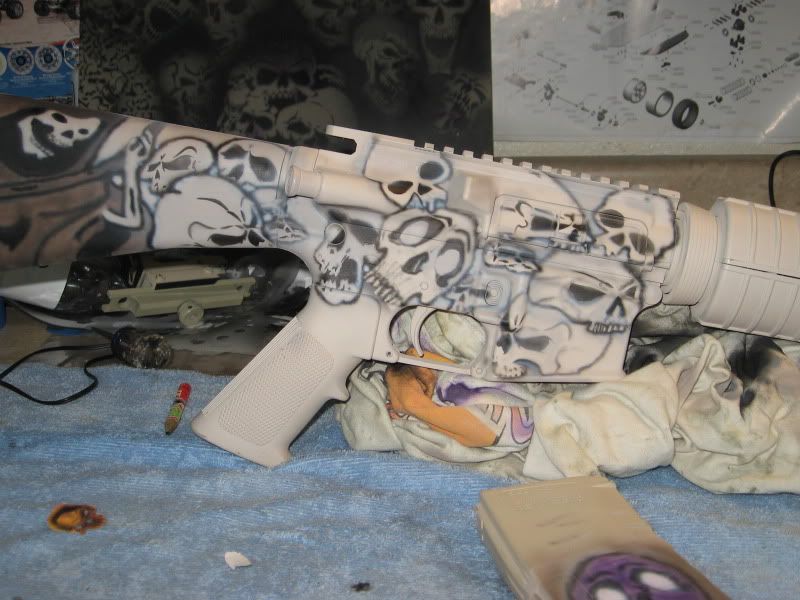
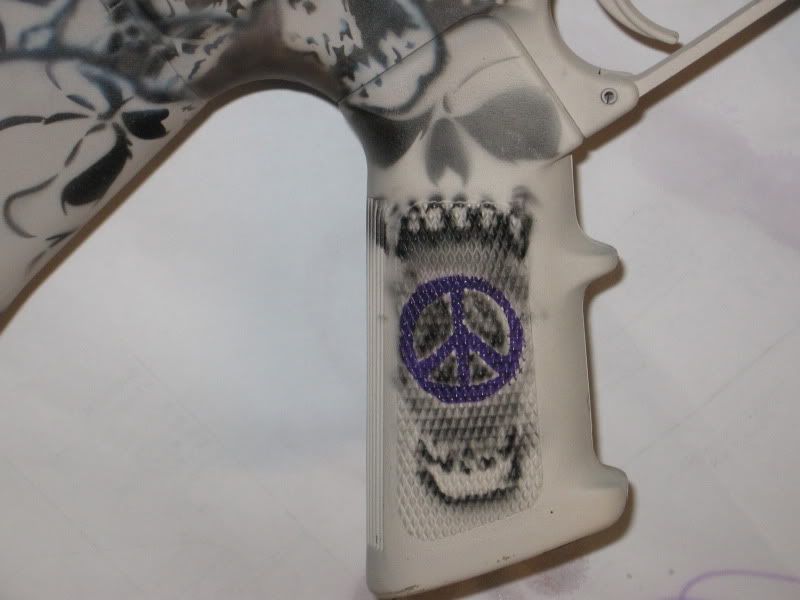
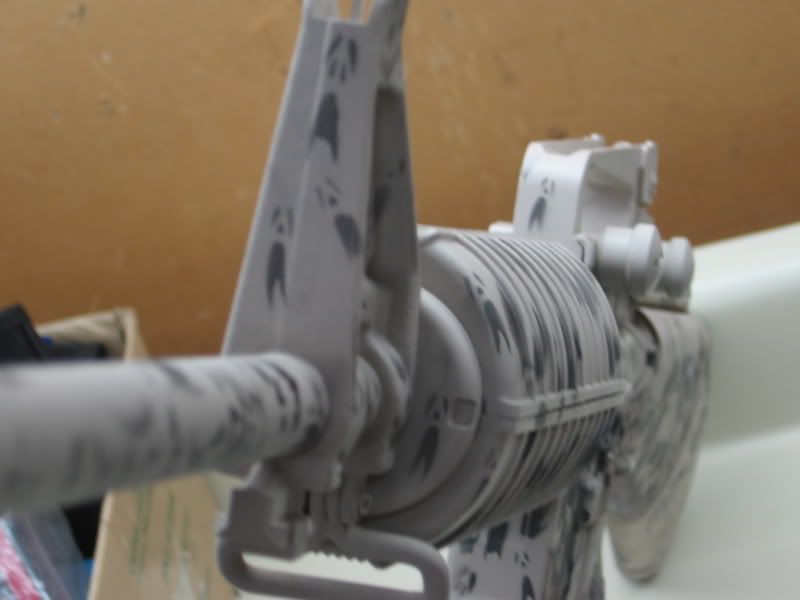
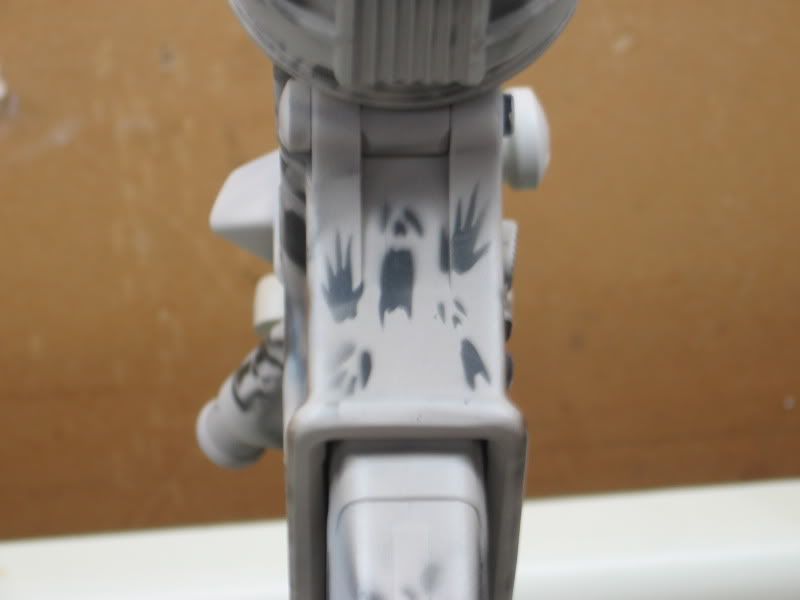
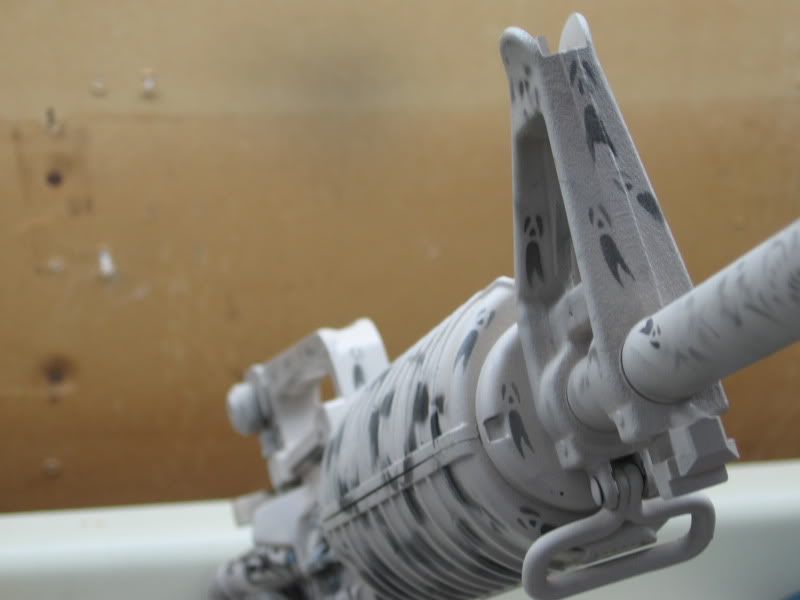
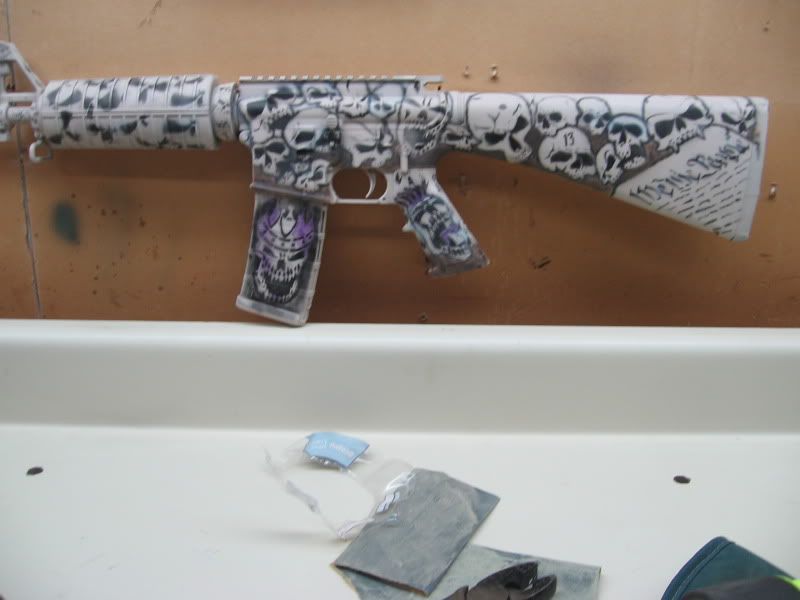
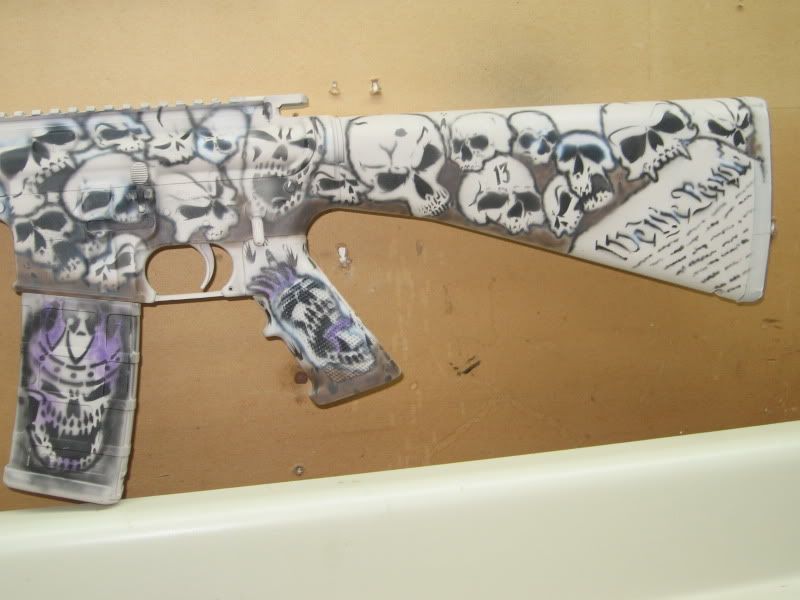
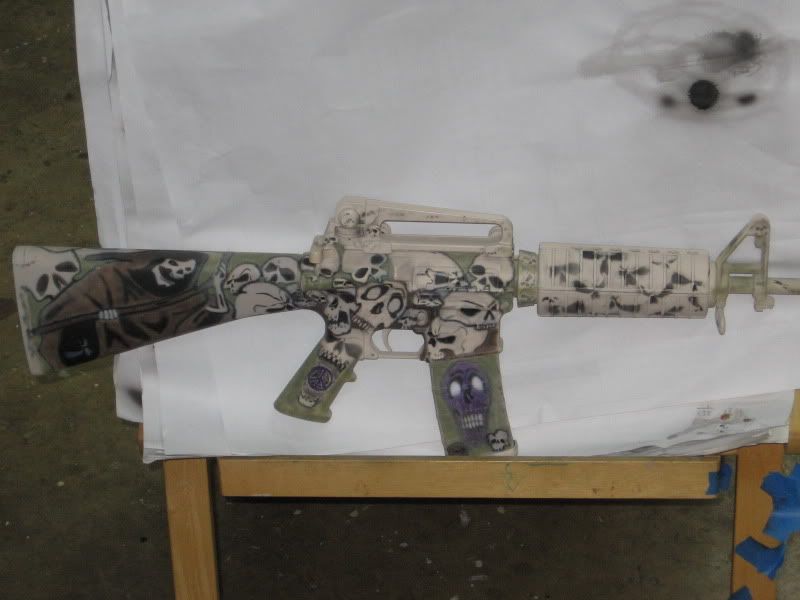
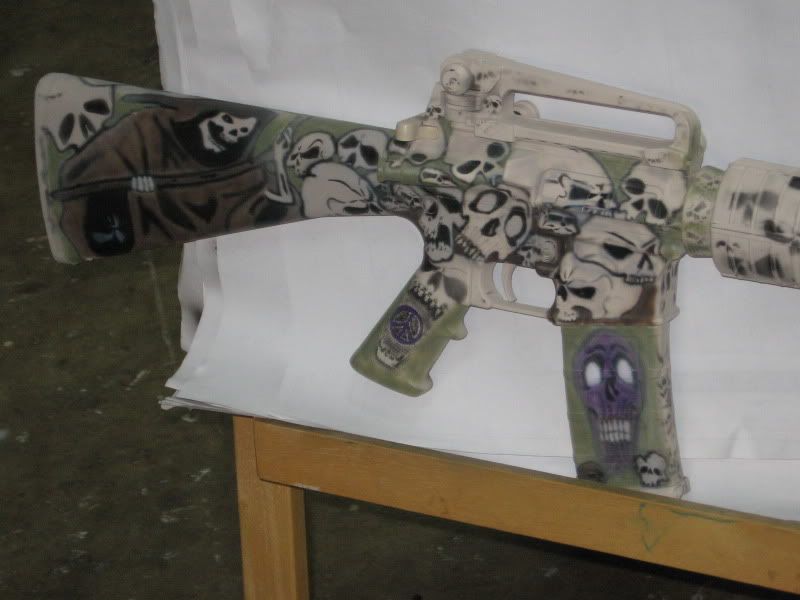
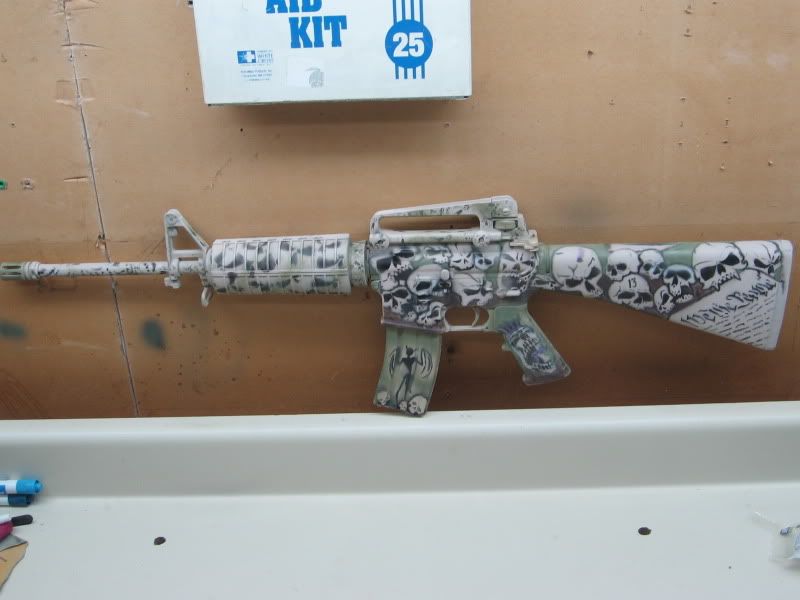
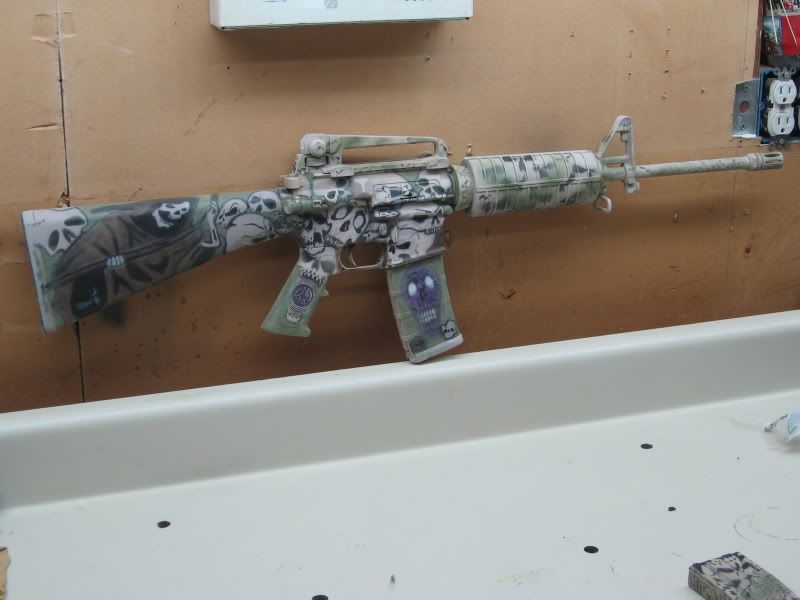
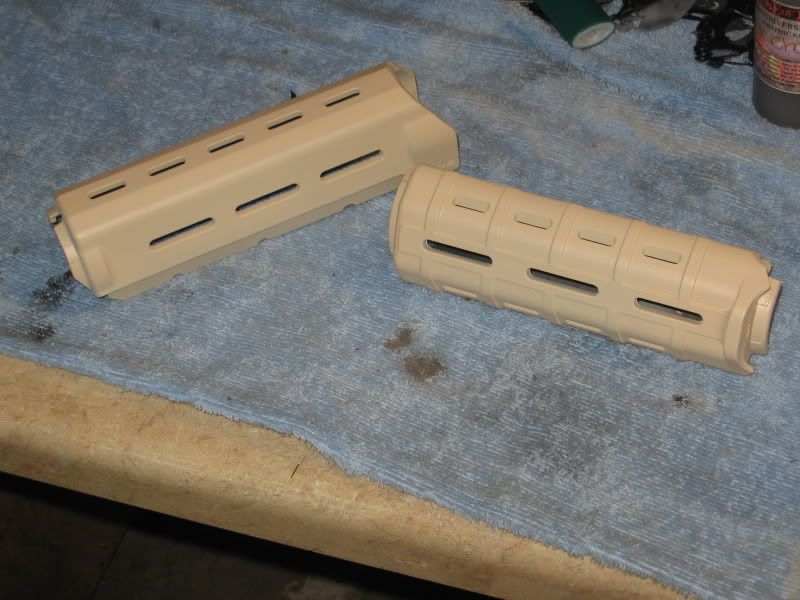
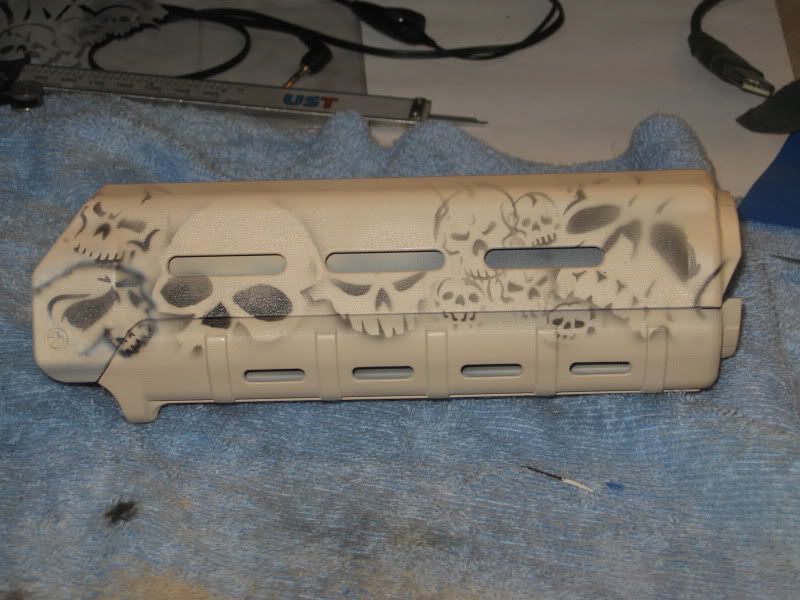
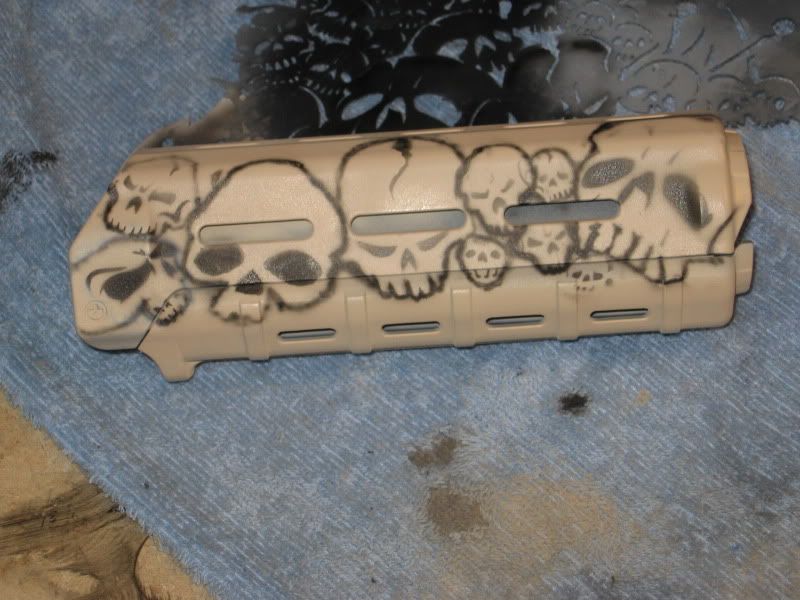
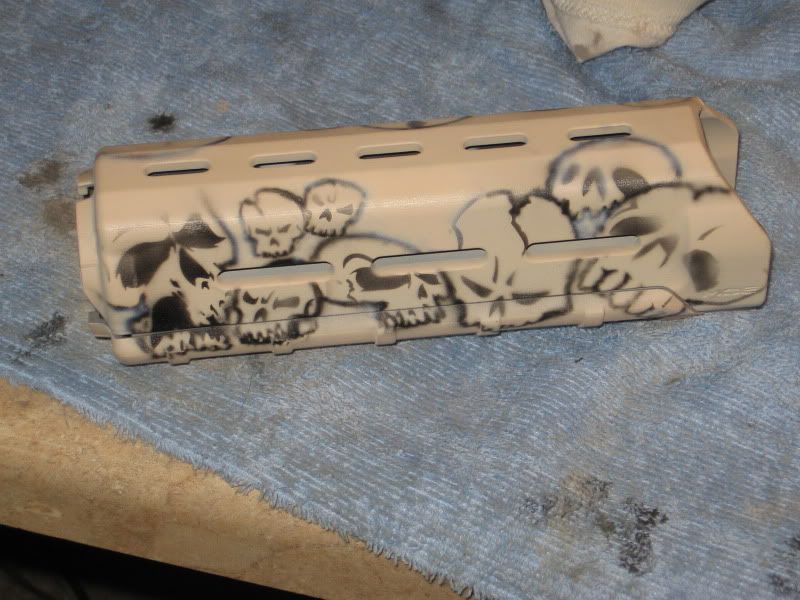
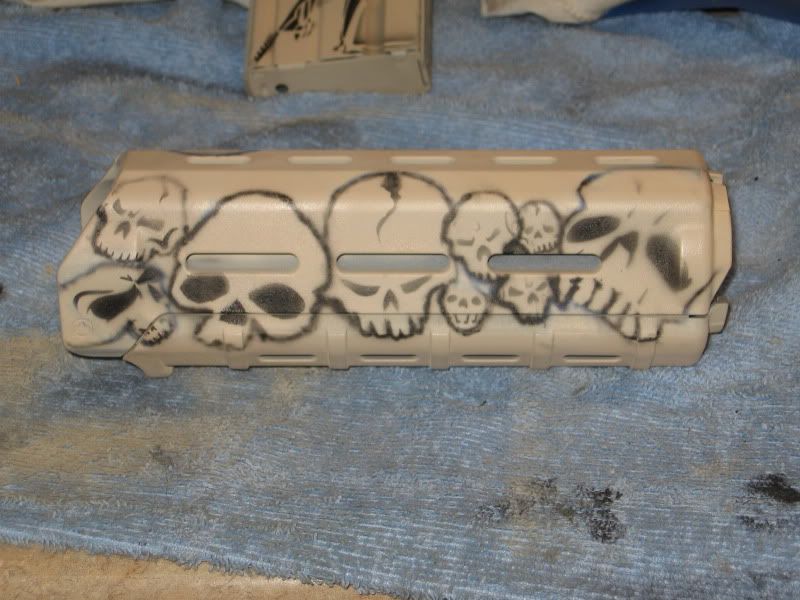
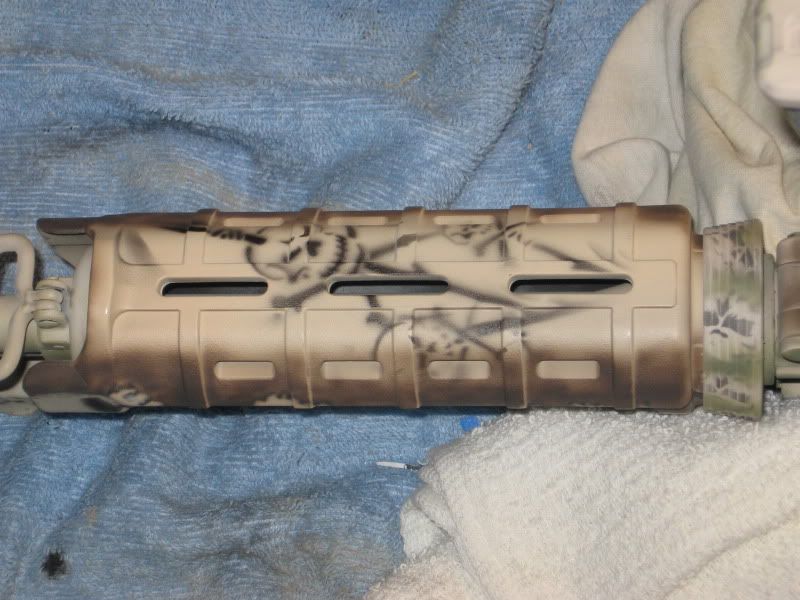
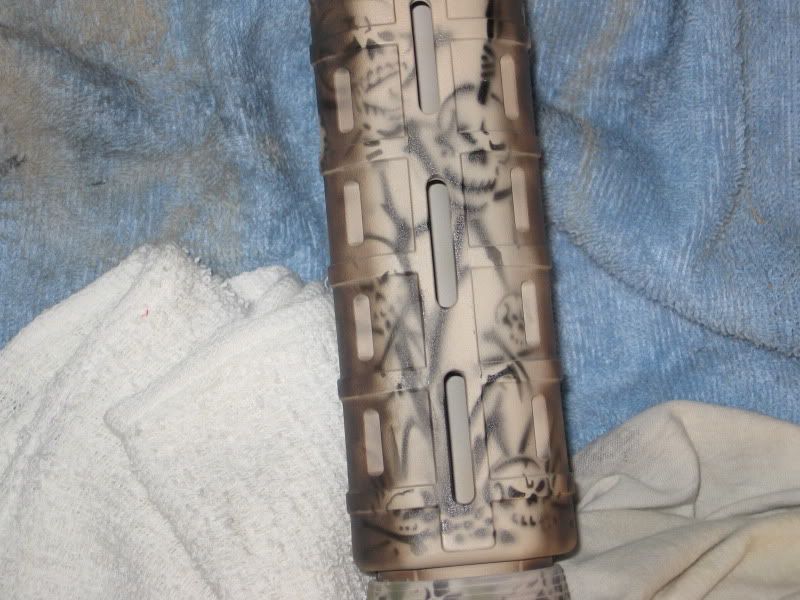
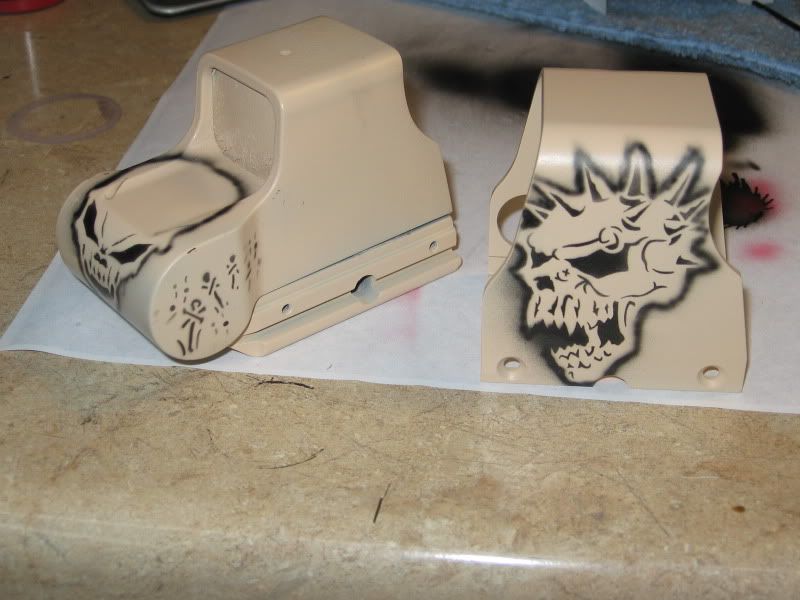
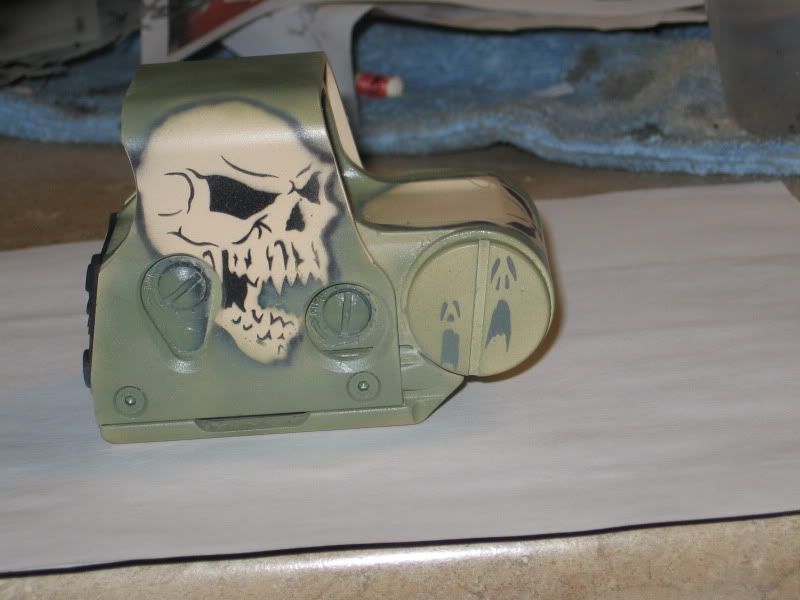
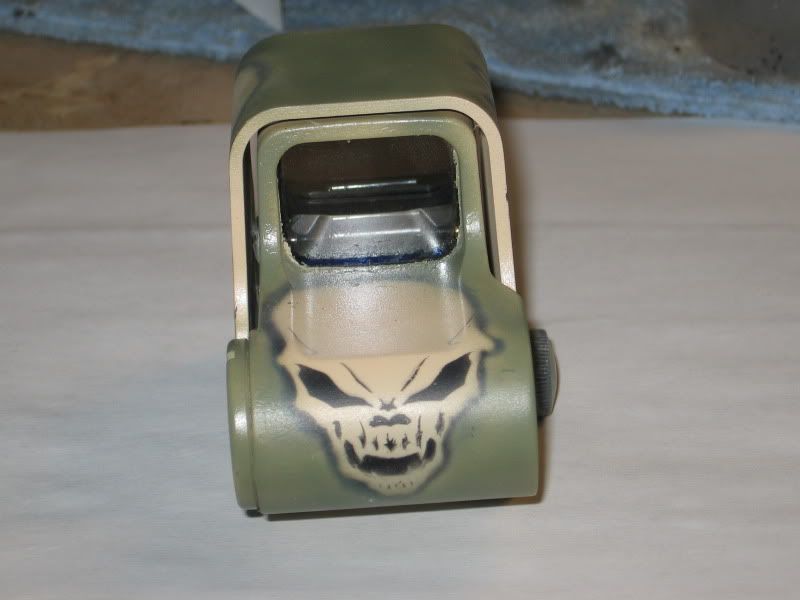
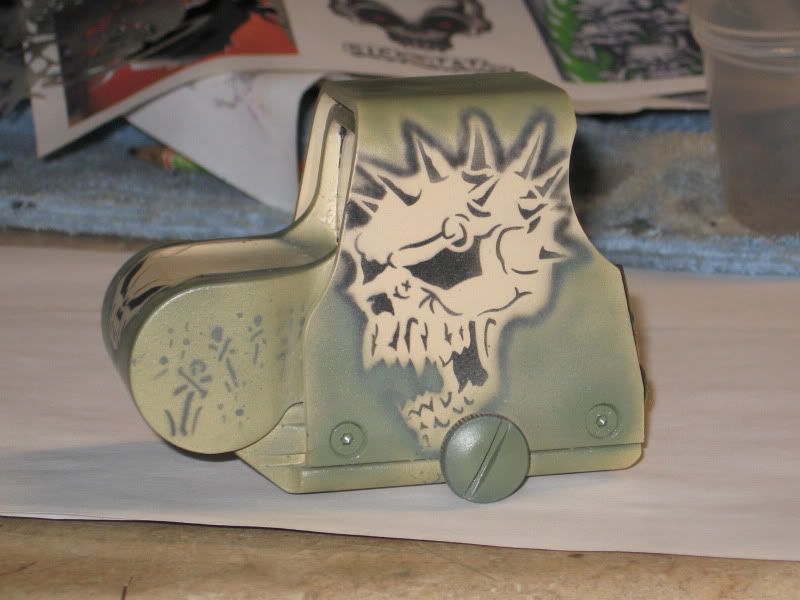
Im going to be showing you using my KISS AR sporting my latest creation Zombie camo, I thought about doing this with a regular digital camo pattern but thats to boring and I don't believe it quite lives up the standards (new and cutting edge) of the M4 site. So with that said lets go where few have gone before and take the plunge into the unknown..
Lets begin with the basics:
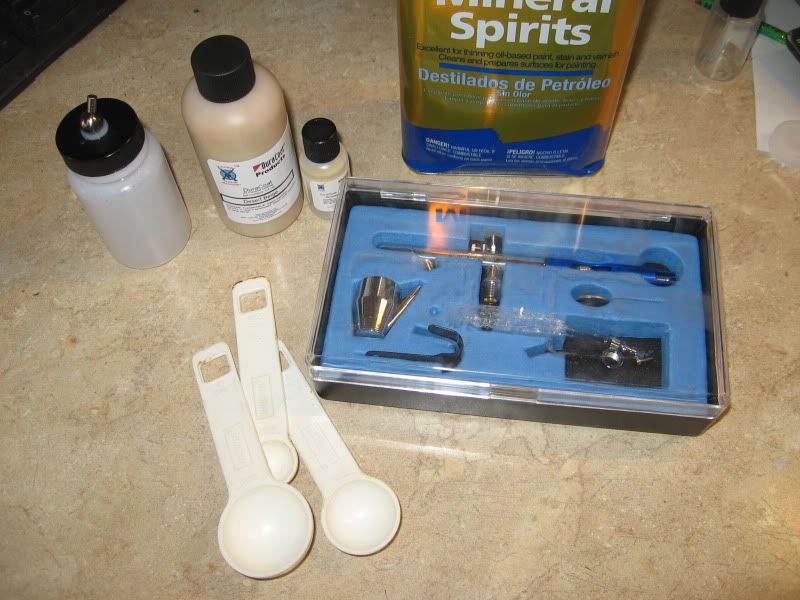
Materials that you will need for this project consist of but are not limited to:
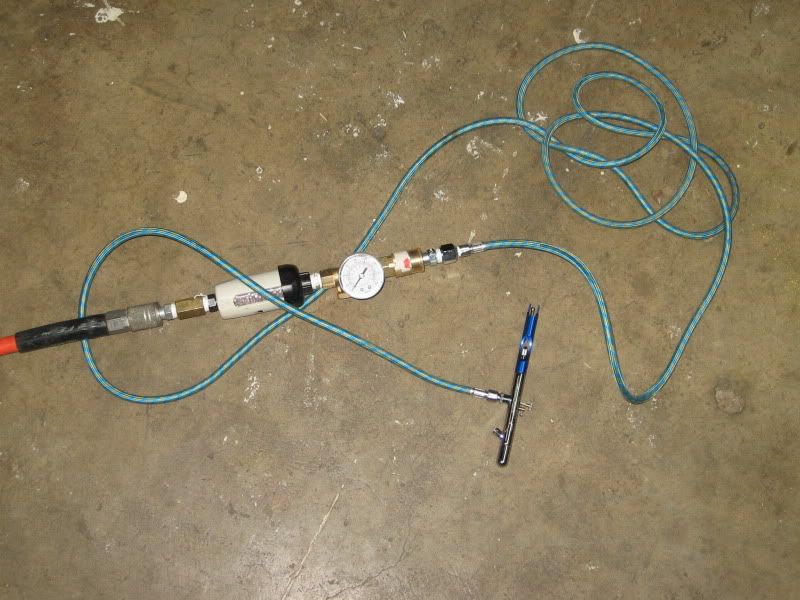
1. Small air compressor (it only needs to provide 40 PSI) you can by a cheep one here for like $80.00 http://www.harborfreight.com/cpi/cta...emnumber=93657
2. cheepo airbrush (yes that right a cheepo!) $14.00 dollar one works GREAT http://www.harborfreight.com/cpi/cta...emnumber=95810
3. 1 roll of 4-6 blue masking tap (home depot or Lowes)
4. Wax paper (any food store)
5. Exacto knife and LOTS of spare blades (hardware store)
Optional items that are highly recommended:
1. Bottle of Vodka with some OJ for coloring
2. Bottle of wine (just let it breath first)
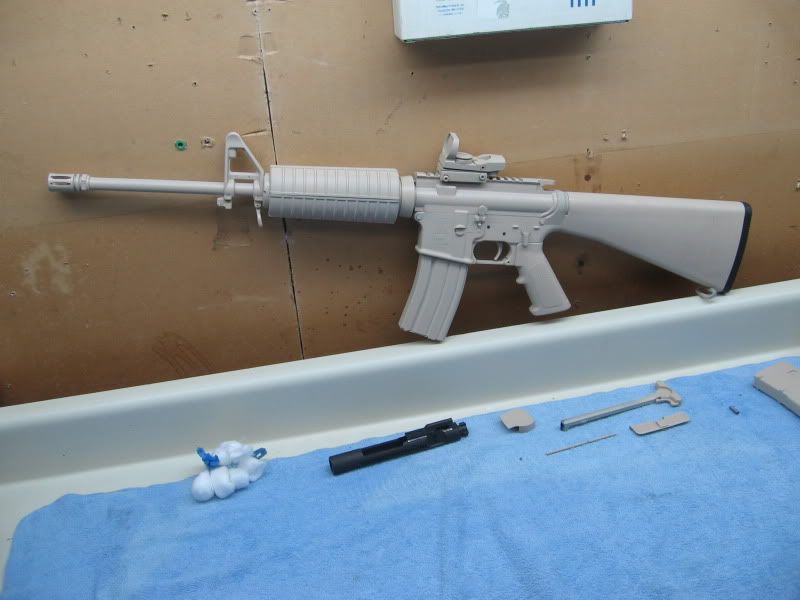
Step 1: Get an Idea of what you want to do..
Research all pictures, stencils and other rifles and pistols that can help you decide what you would like your firearm to look like when it completed, (goggle is your friend!) your really only limited to your imagination, the time and effort you put into to it..
(Check)
For what it worth!.
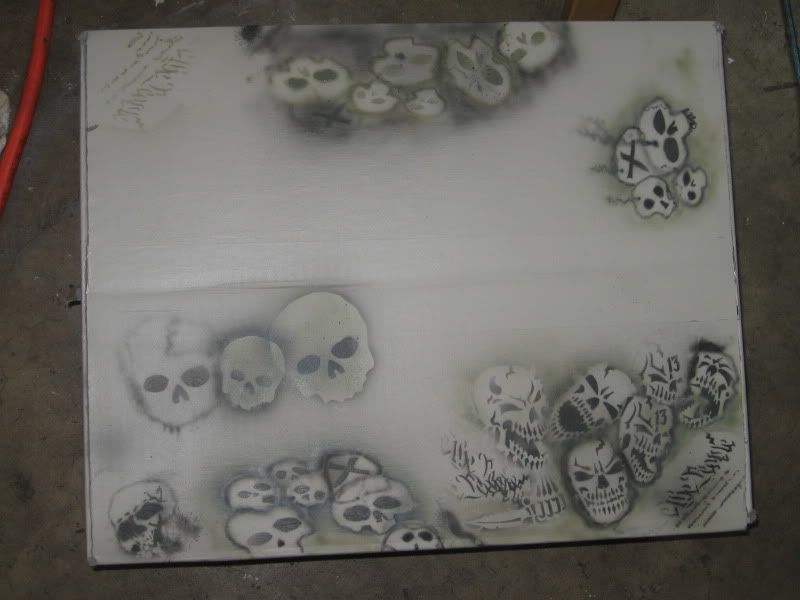
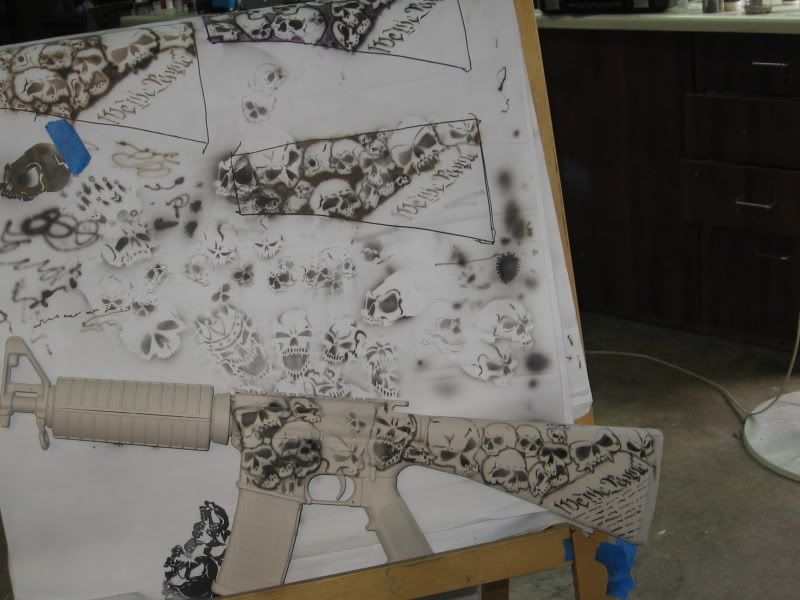
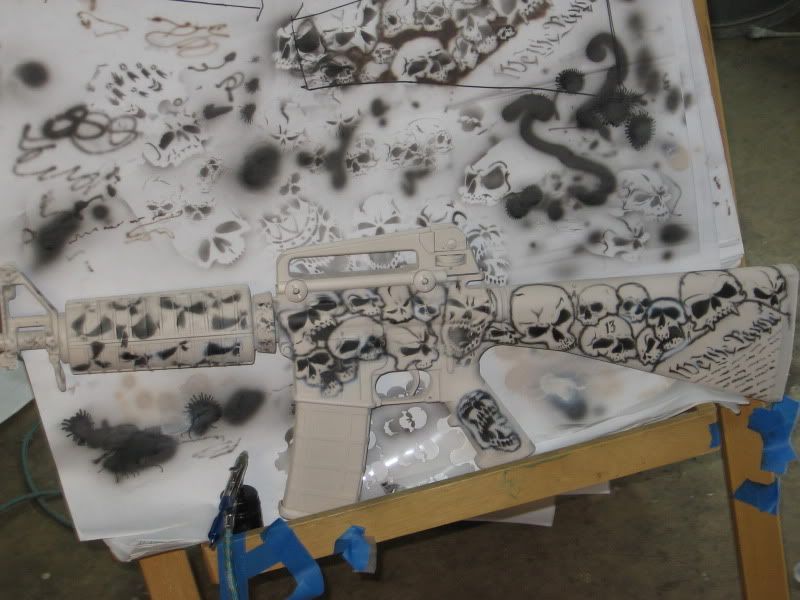
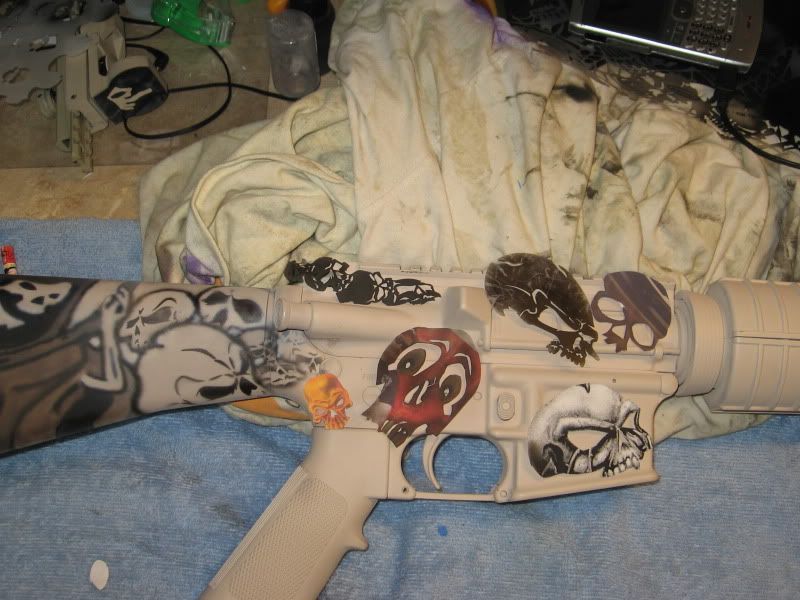
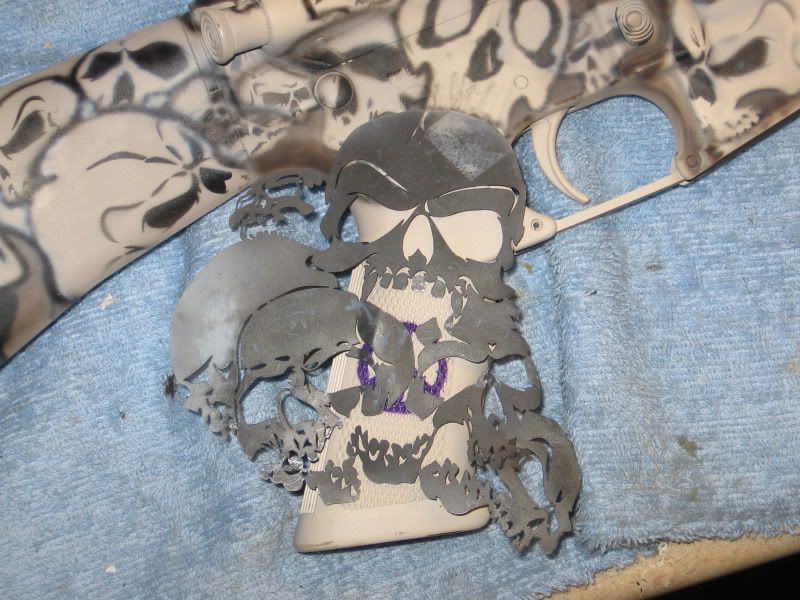
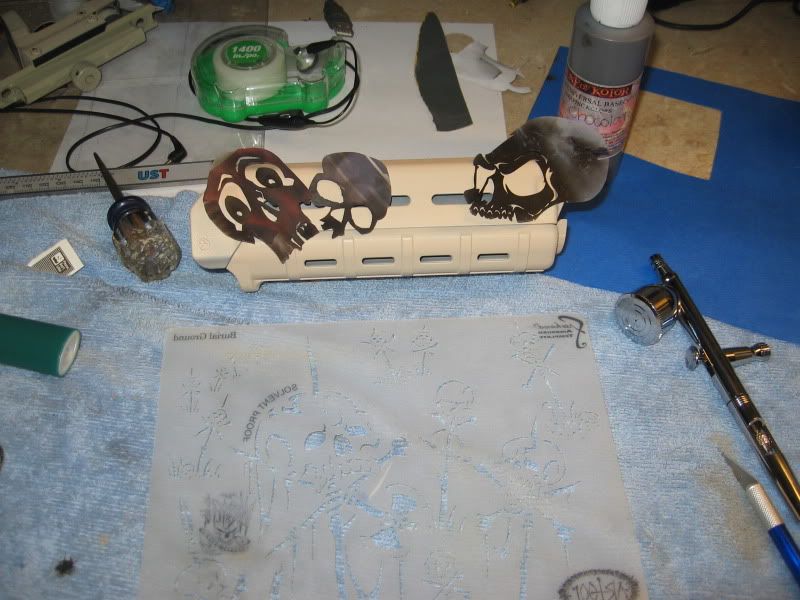
Im actually planning on using these different stencil kits for this project:
Lucky 13 http://www.coastairbrush.com/products.asp?cat=184
Son Of Skull Master Bonz http://www.coastairbrush.com/products.asp?cat=183
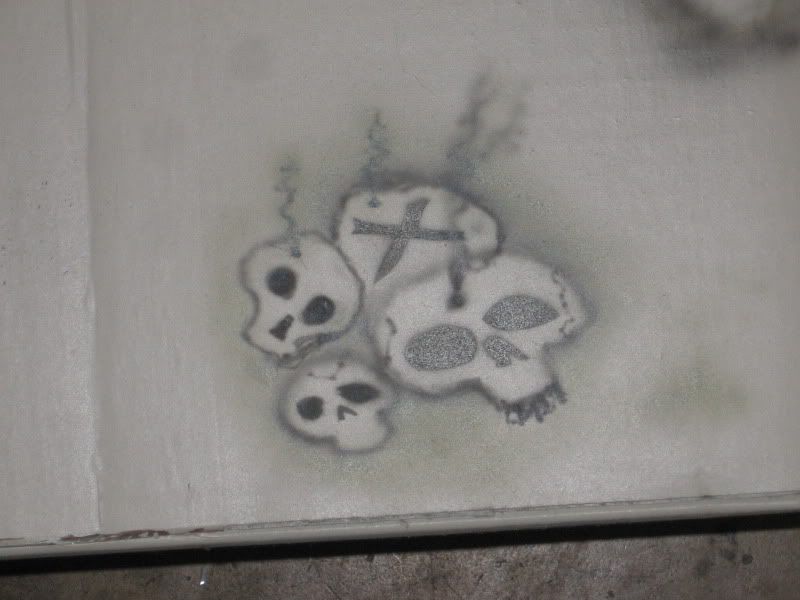
Richard markham Mini Skull set http://www.coastairbrush.com/proddet...prod=4842%2D00
Burial Ground http://www.coastairbrush.com/products.asp?cat=525
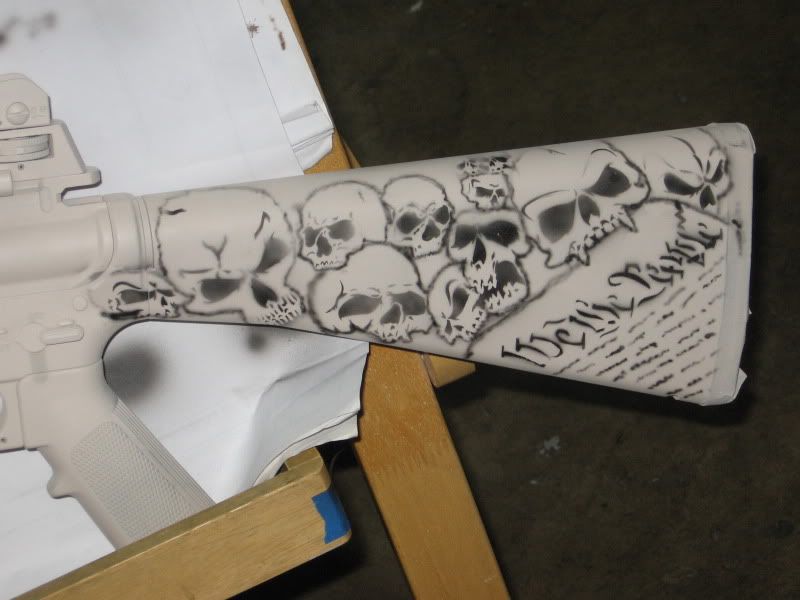
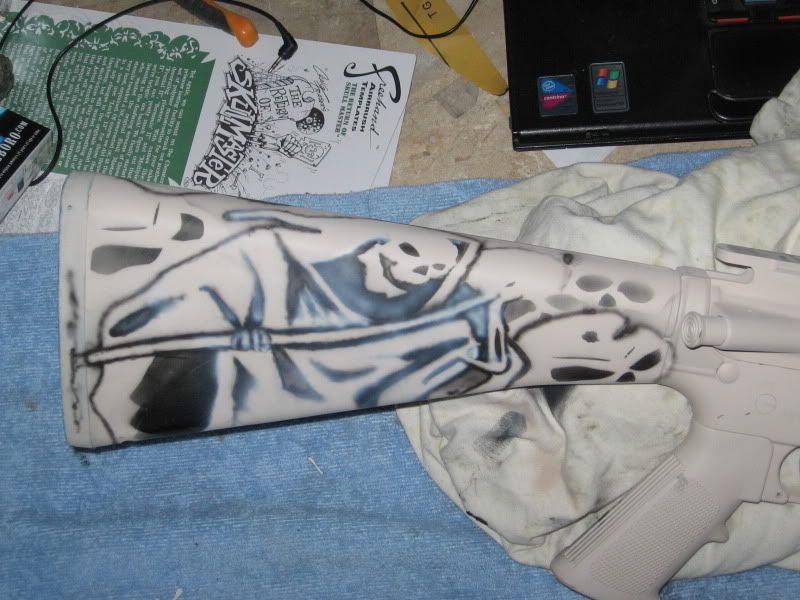
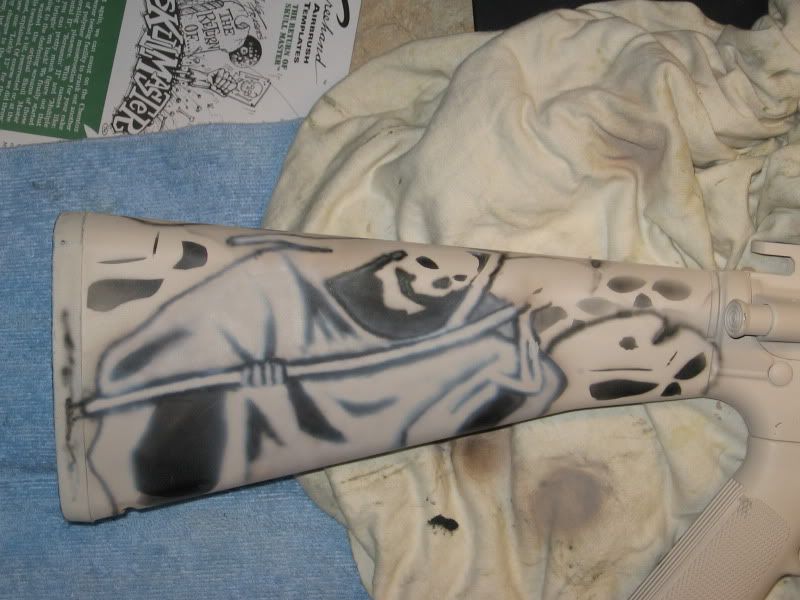
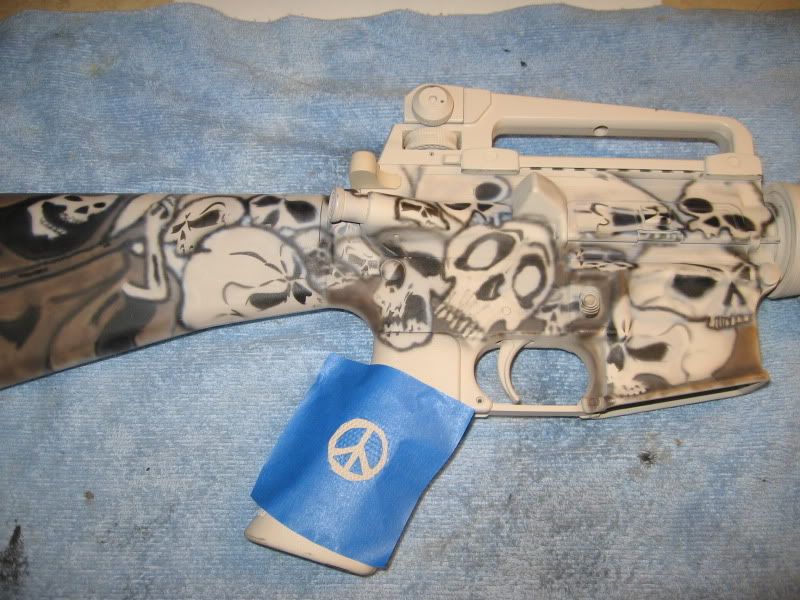
The Constitution and the grim reaper and about 50% of the skulls will all be hand done
However If you want a more traditional camo?? Then simply go here for the FREE digital stencils, print out any pattern and all you want for free..
http://tacticalcamo.com/MARPAT/digi.php
http://www.printmini.com/printables/mil/index.shtml
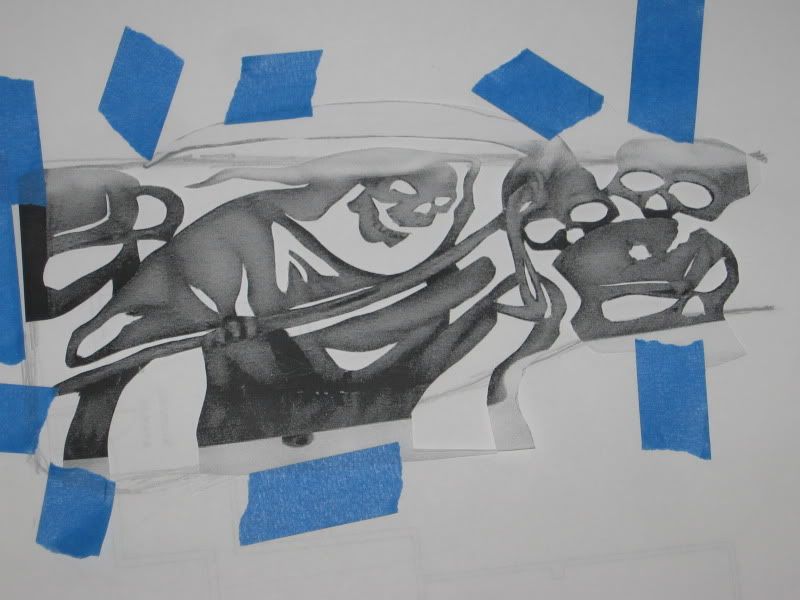
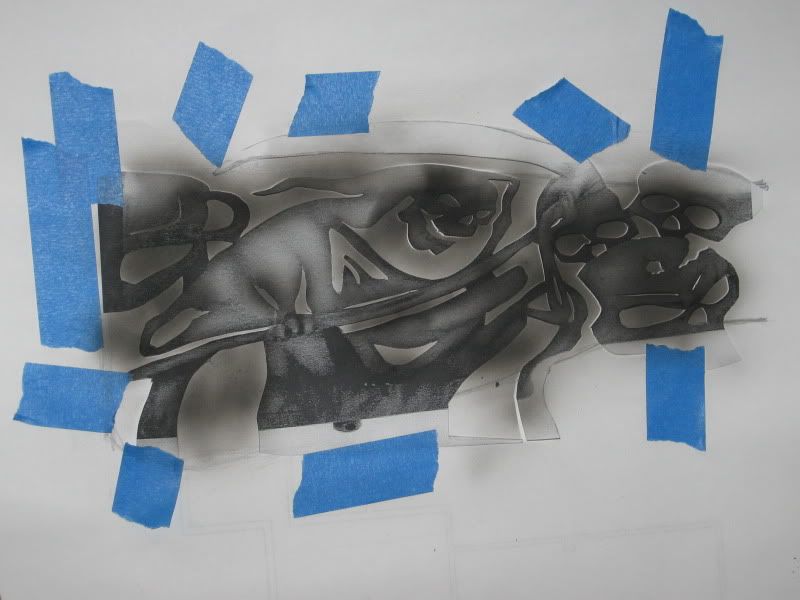
Making you own stencils:
Just incase you thinking to yourself, Ok link this might be doable, but how can I make my own stencils and will they be any good? Will they last? Well? Will they?..
Excellent question! And Ive got you covered..
You can make (2) different types of your own stencils really easy and cheep by following these two method..
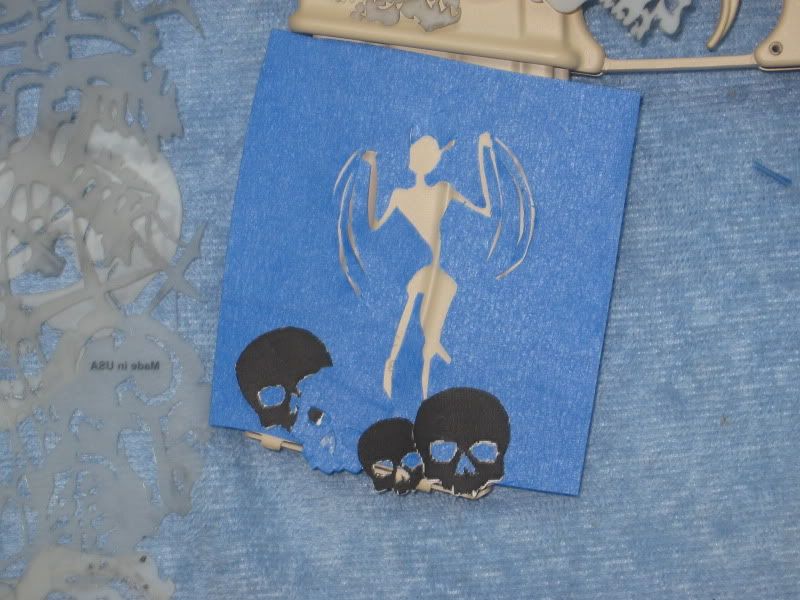
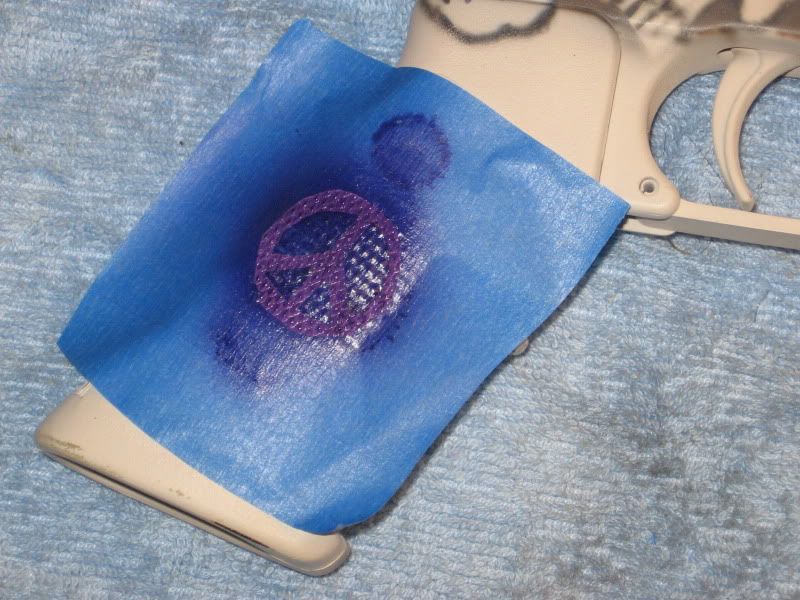
The first method is by making your own stickers / stencils:
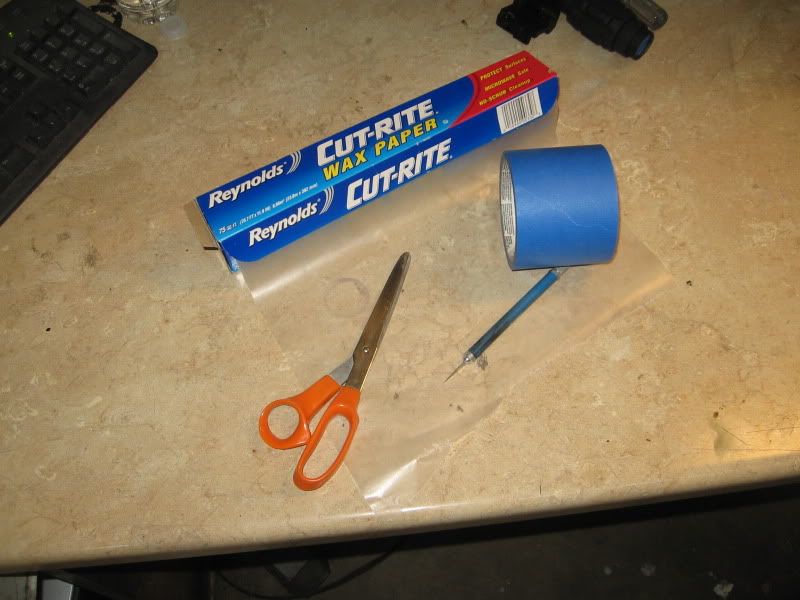
1. Get some 4 6 blue masking tape. (yes its needs to be blue!) the blue signifies painters tape, low tack and will peel off easily (trust me!)
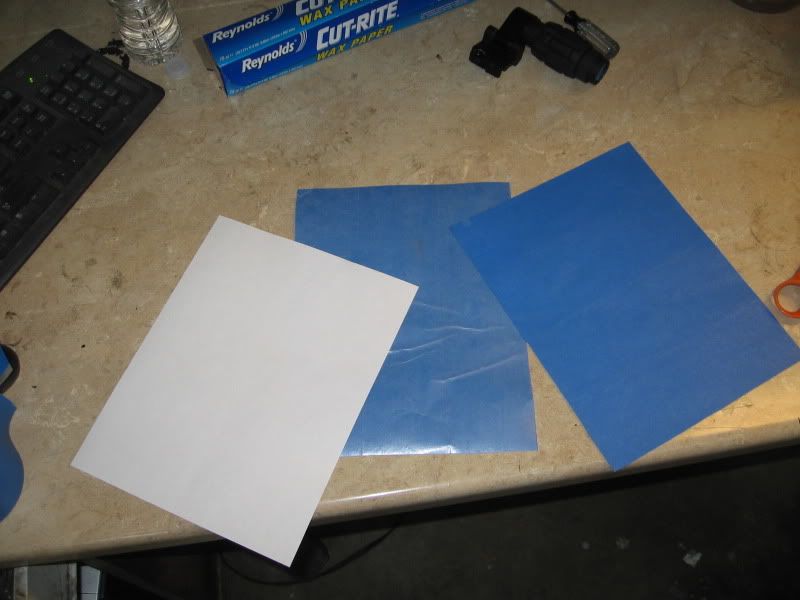
2. Get a roll of wax paper from your local grocery store
3. Cut the wax paper larger than a regular sheet of paper (8.5x11)
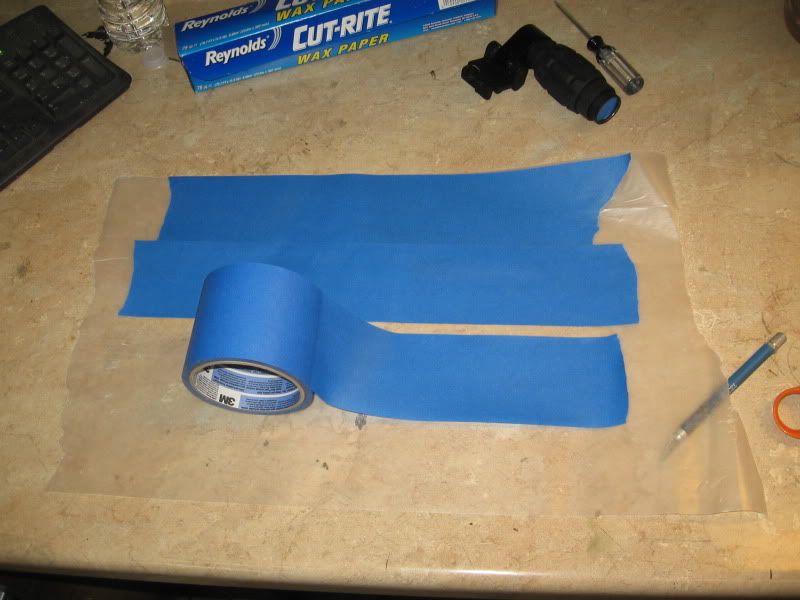
4. Now take your blue tape and cover the piece of wax paper on both side with a few as strips as possible..
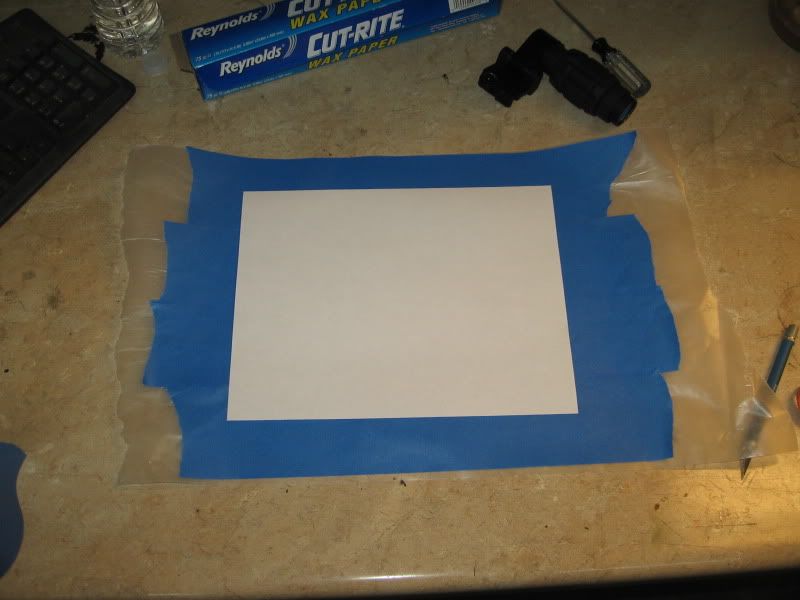
5. Now cut out a sheet size piece of paper (8.5x11)
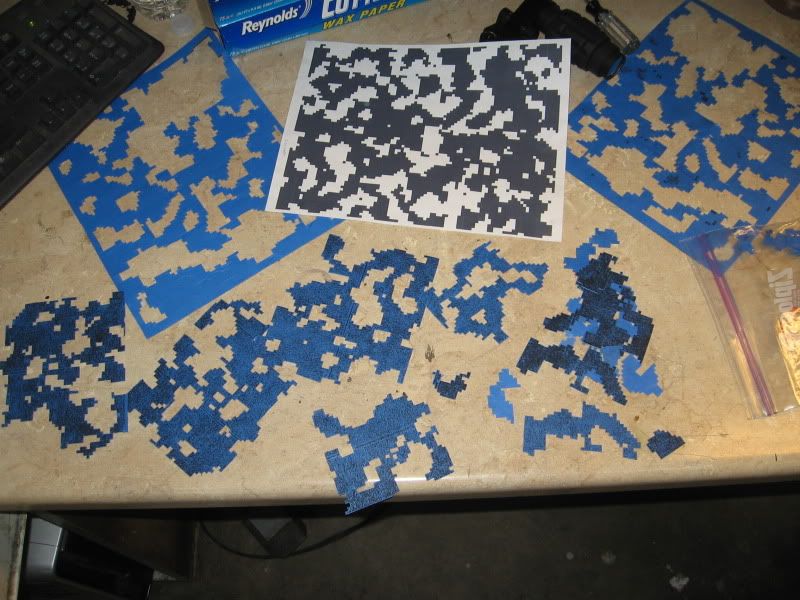
6. Now put this sheet into your printer and print out your desired image on it, since its the same size as a regular size piece of paper it will feed through your printer without any issues at all..
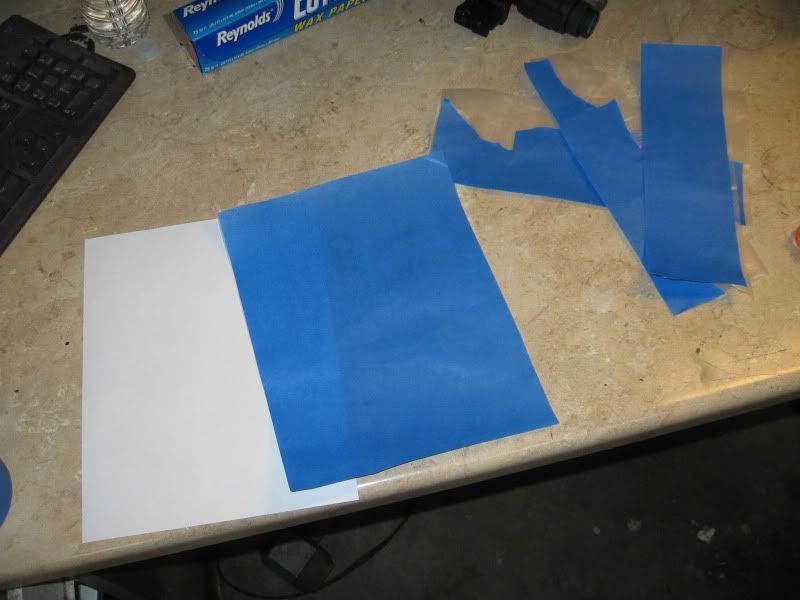
7. Now simple just spend the next few hours cutting out your pattern, please note that since you tapped up both sides of the wax paper you now have two stencils of the same pattern with only cutting out one.. (pretty cool ha!)..
The second method is a little more involved but these home made stencils are solvent proof and you will be able to reuse them for years to come.
1. Go to the nearest local hospital and ask for any and all (over exposed x-ray film) They will have tons of it all different sizes and its all free!.. You don't care if it black all over so just take it..
2. Get some White translucent vellum paper (try office depot)
3. lay your newly acquired vellum paper over your proposed image and trace it out (in pencil) Try to get as mush detail as possible, spend some time doing this.. NOTE: before you move on to the next step, photo copy your vellum sheet.
4. Now simply tape your vellum to your newly acquired x-ray film and with a brand new blade! Start cutting out your pattern.. you will need to change your blade about every 5 minutes, the flim will dull it quick and you really want a sharp blade to cut out all of the turns and detail. Spend a shit load of time on this!.. don't rush it!, this stencil will be used for years to come!, so get it right the first time.
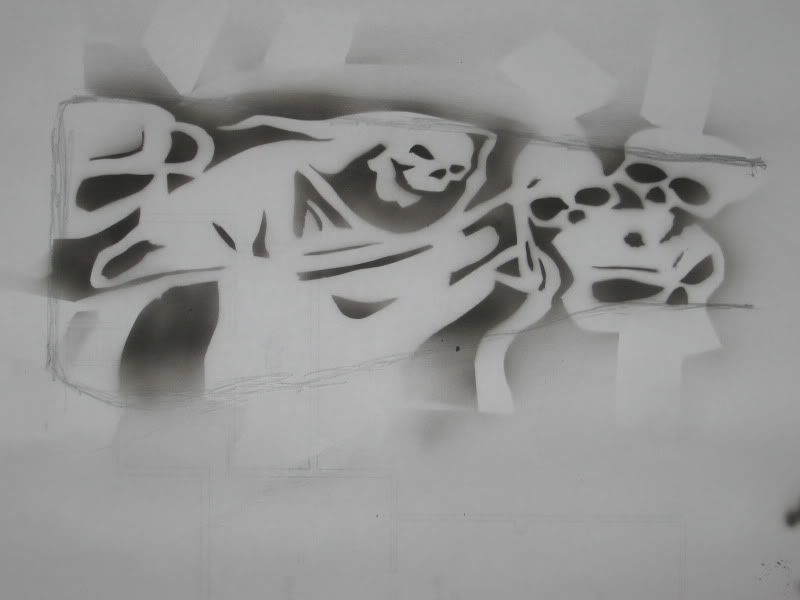
5. Several hours and many drinks latter youve now completed your first of many stencils..


 Reply With Quote
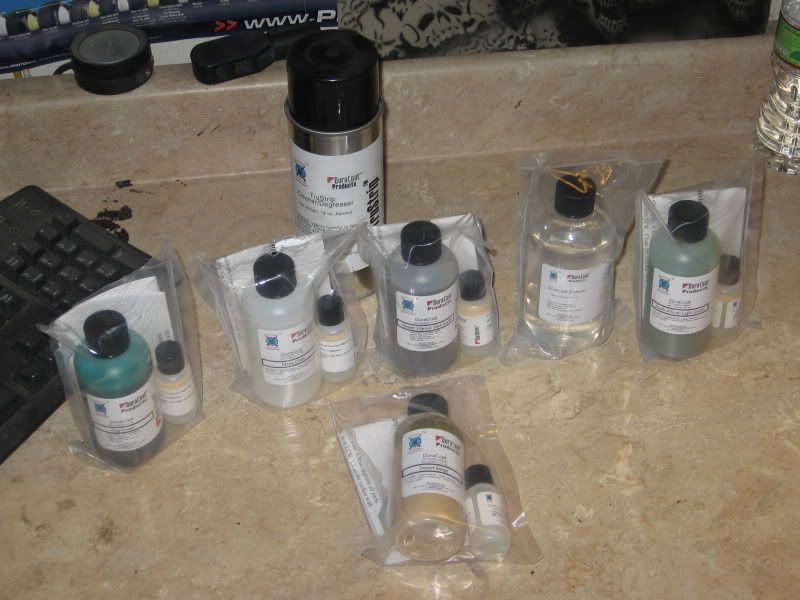


Bookmarks