

I have had a lot of requests from users here AR15 and other forums for information about how to get into sewing nylon gear. There are a lot of things to consider, directions and opinions on how to go about this. There isnt a straight forward way to introduce you to sewing so I will let you in on a few things to ponder that I have garnered over the last few years
1) Sharpen your spatial awareness, be able to visualize objects in three-dimensional space and acknowledge routes to realize end products.
2) Accept that unlike little old sewing stores, there are NO patterns for tactical gear - See #1.
Continual research, and awareness of industry trends
3) Doing your own is NEVER cheaper than buying. There is more to consider when costing RYO efforts, and 99% of wannabe gearmakers neglect the cost of labored failures and the time taken to effect those efforts - Its at this point that those who lack the stones to continue fall by the wayside never to take it back up.
4) Cost of raw materials, sunk costs, communication efforts, resource costs, shipping, upkeep, utilities and broken needles - Cost expenditures rarely encompass just needles, thread and fabrics
5) Personal costs in time spent, frustrations, health issues, dedication and time consuming tire kickers - See #3 Failure to account for personal time loss will weed out those who staggered through #3
6) Repeat #1 through 5
7) Never mind the cost of constantly learning new techniques and industry trends
Then there is the time you spend exercising new techniques and design paradigms while revisiting old concepts... In this case, I wanted to revisit an old bag (mountainsmith backcountry office) I had from college, and revisualize the overall concept using new materials and dimensioning -
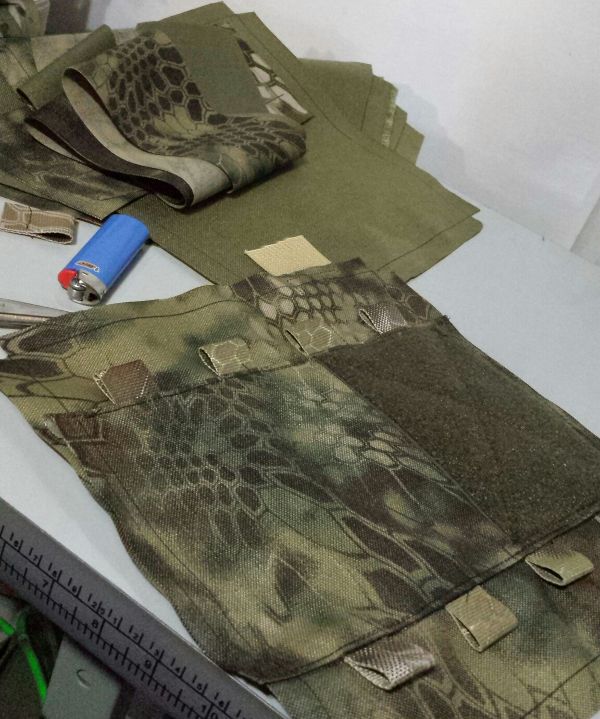
Raw Cut material - no pattern, just specifically measured reference lines on material
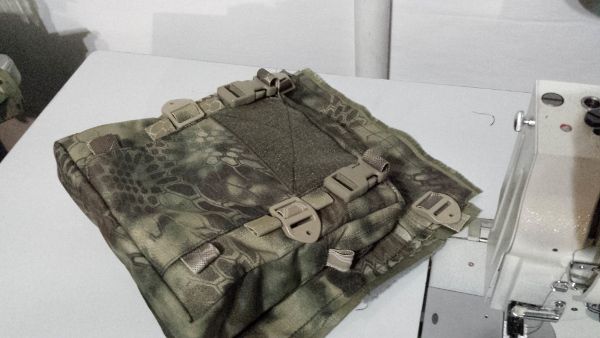
Piece together raw cuts into a rough assemblage
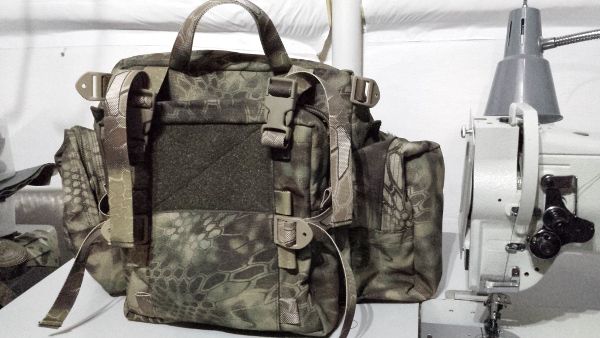
Start on final cut assemblege of pieces until...
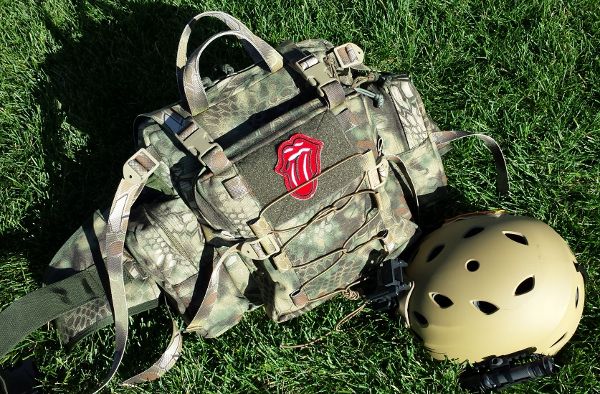
A finished item results - and the momentary joy at completing a project... only to realize that tomorrow it starts again
and if you think you're up to stepping up to the treadle, go forth and commit to ALL that it entails
Good Luck!


 Reply With Quote


Bookmarks