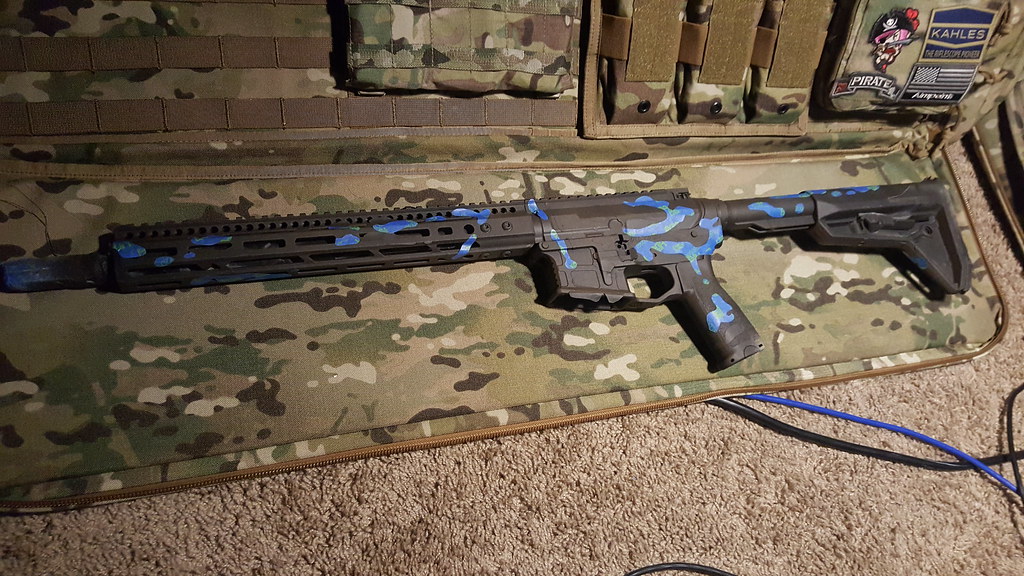
I have gotten several questions about how I paint my Multicam-esque pattern on my rifles, so I've decided to go a bit more in-depth on how I do it.
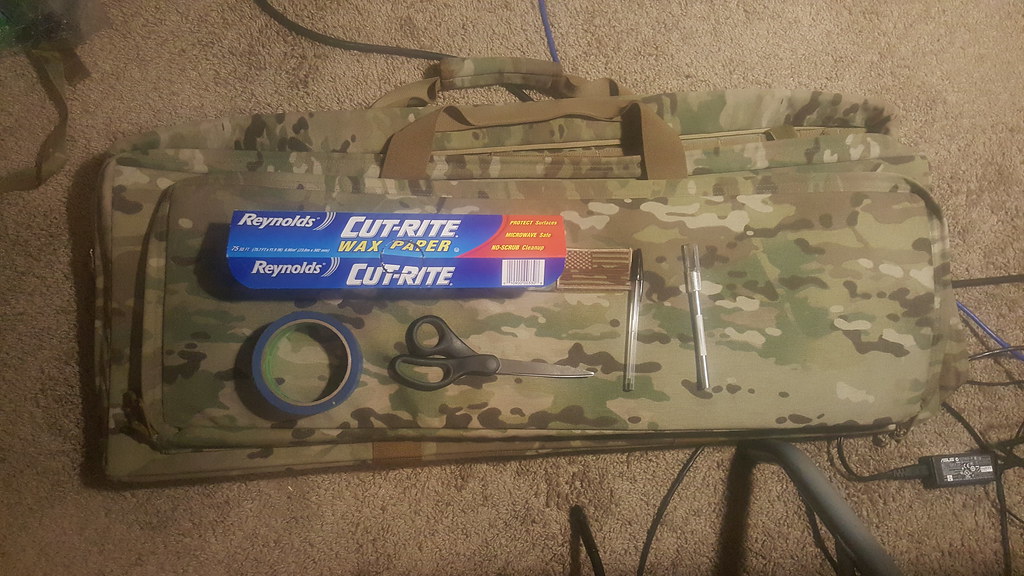
Here is what I used:
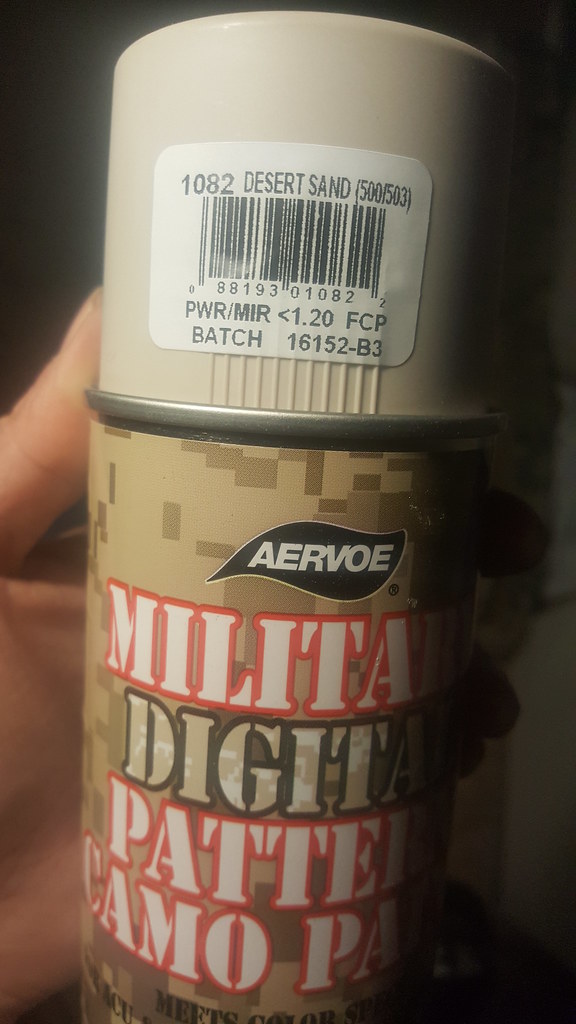
- Aervoe Desert Sand
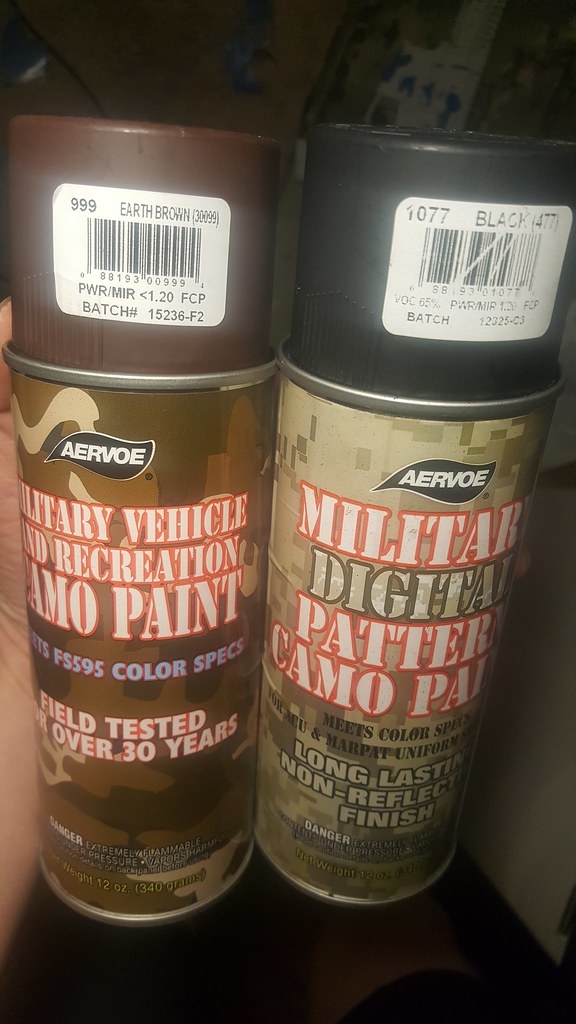
- Aervoe Black
- Aervoe Earth Brown
- Aervoe Dark Green
- Aervoe Light Gren
- Aervoe Earth Yellow
- Aervoe Khaki
- Aervoe Light Tan
- 3M ScotchBlue Painter's Tape, Multi-use
- Xacto razor
- Reynolds Cut-Rite wax paper
- Scissors
- Ballpoint pen
- SERT TCC Multicam rifle case
First, disassemble and tape off the parts of the rifle you don't want painted. Personally, I tape up the barrel, muzzle device, and the buttstock pad, while I remove the bolt catch, trigger, and safety. I also plug up the trigger pin holes, safety selector hole, and the magwell. I leave the stock on, but extended at the maximum length, though I also shoot with it in that position. I usually string the rifle up, and paint with it free hanging and also let it dry that way.
Second, I lay down a base layer of paint. I personally used Khaki, but only because I have a case of that. I then let it sit for 3 days, as Aervoe advises a 72 hour total cure time.
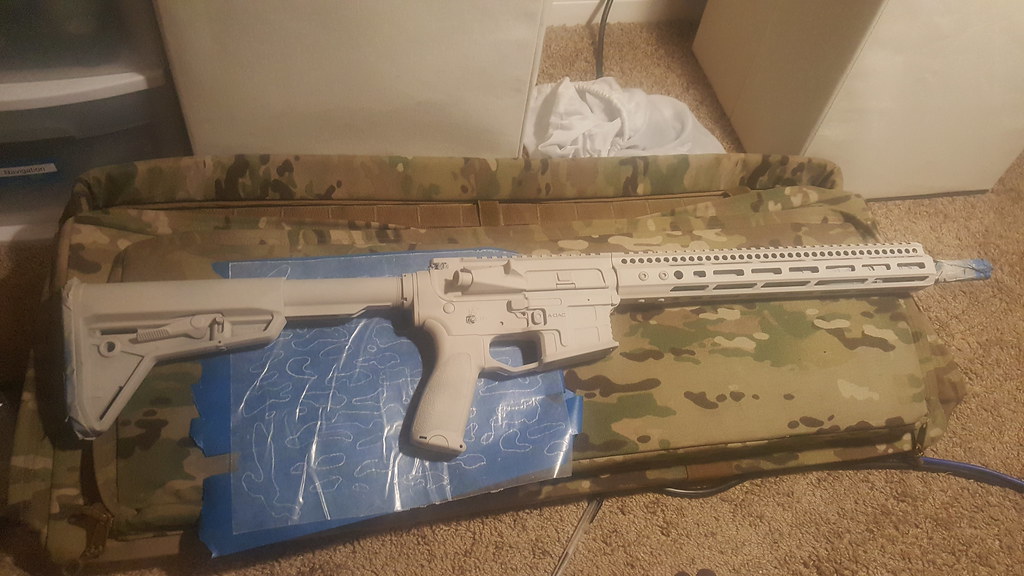
Third, I cover the entire rifle with the first visible color, with the Desert Sand. Once again, let it sit for 3 days.
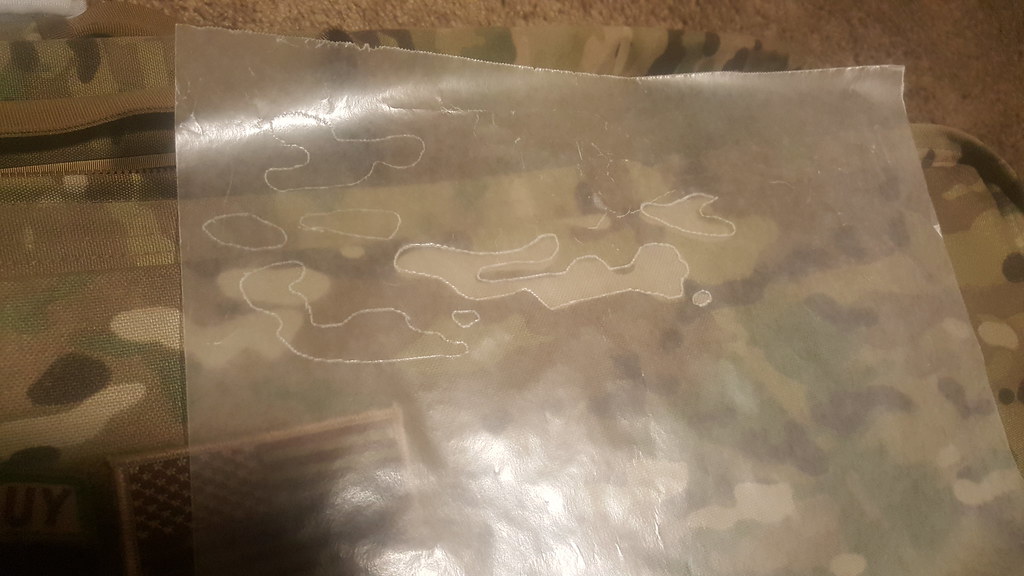
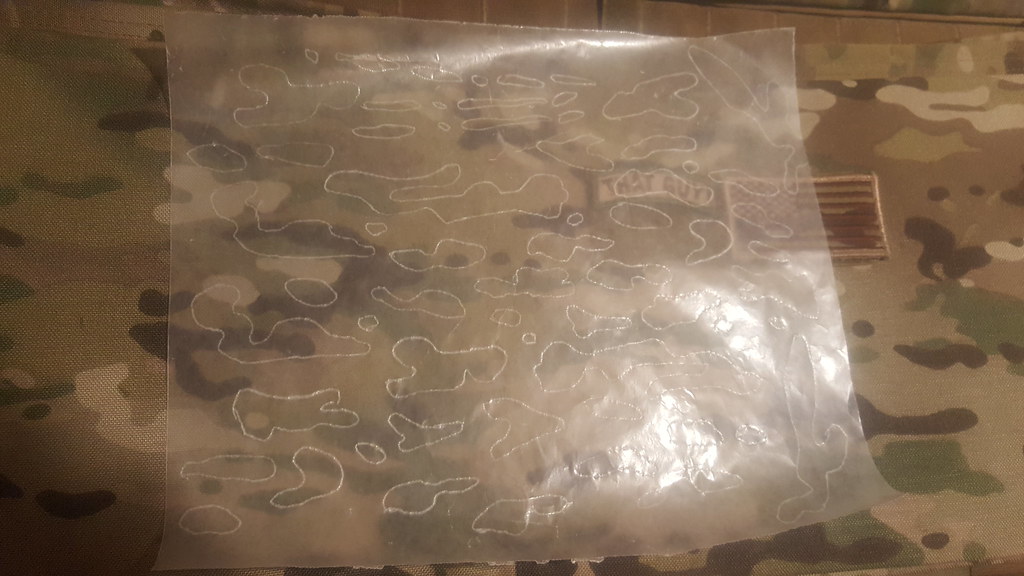
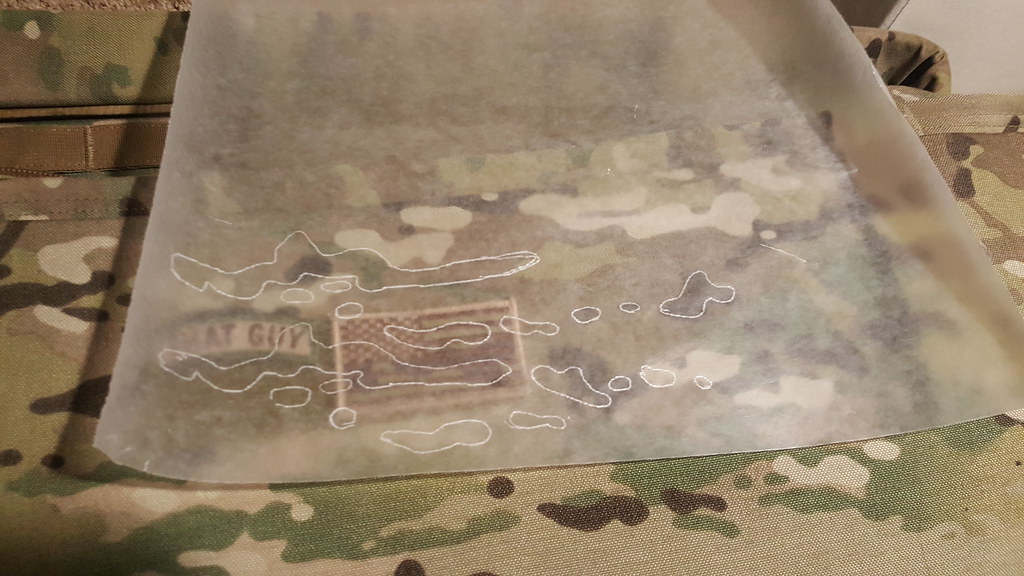
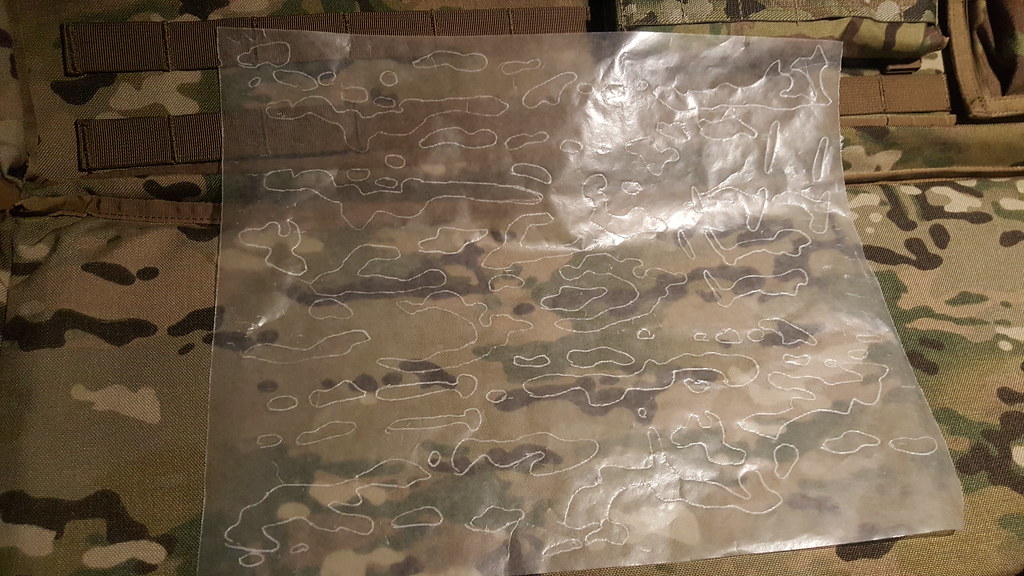
After the paint cures, I then start tracing out the shapes off of the rifle case, using a big sheet of wax paper, and using the ballpoint pen. Note that the pen doesn't really need to lay down any ink, just need to scratch the wax paper to make the tracing noticeable.
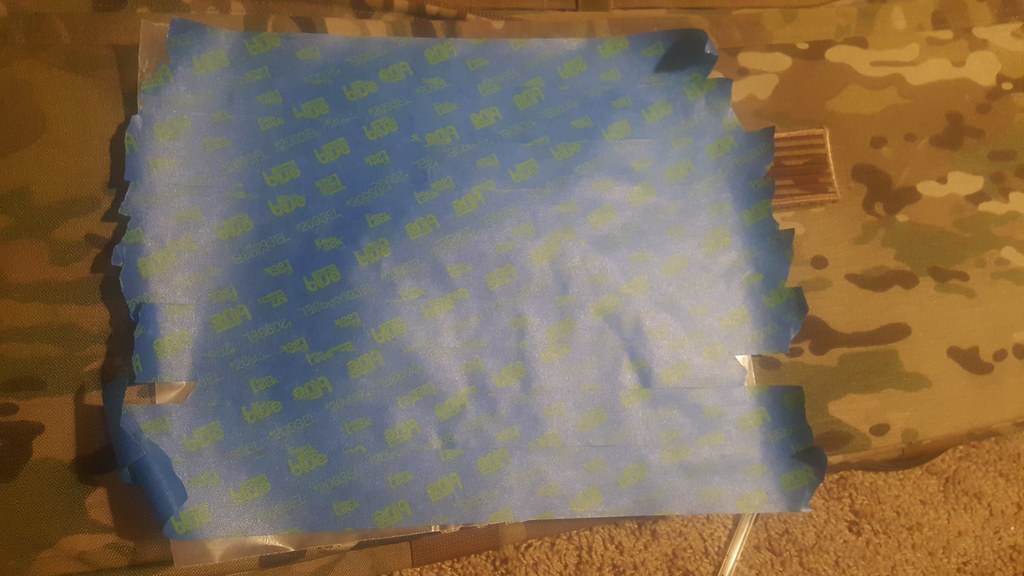
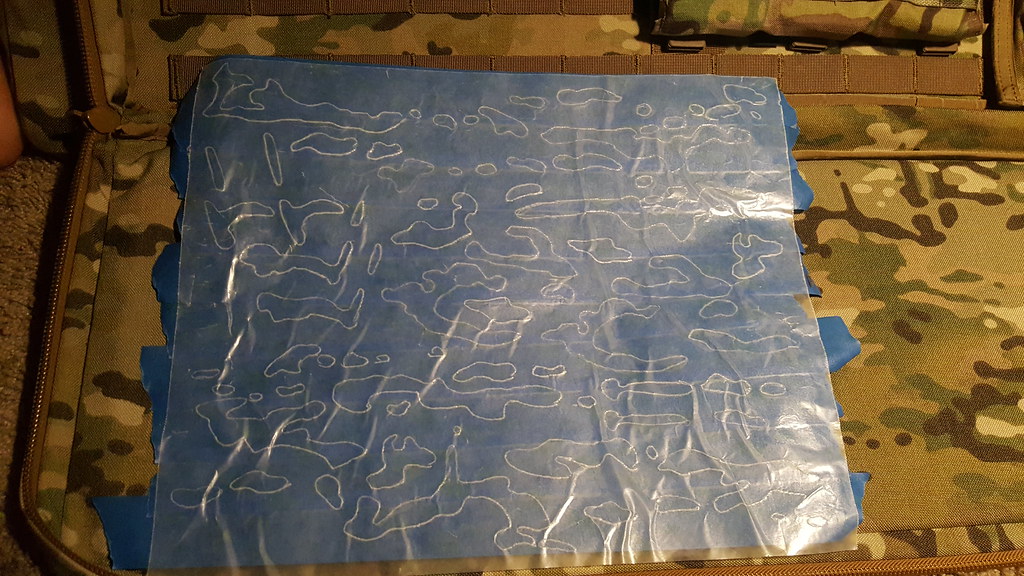
Next, cover one side of the wax paper with the painter's tape.
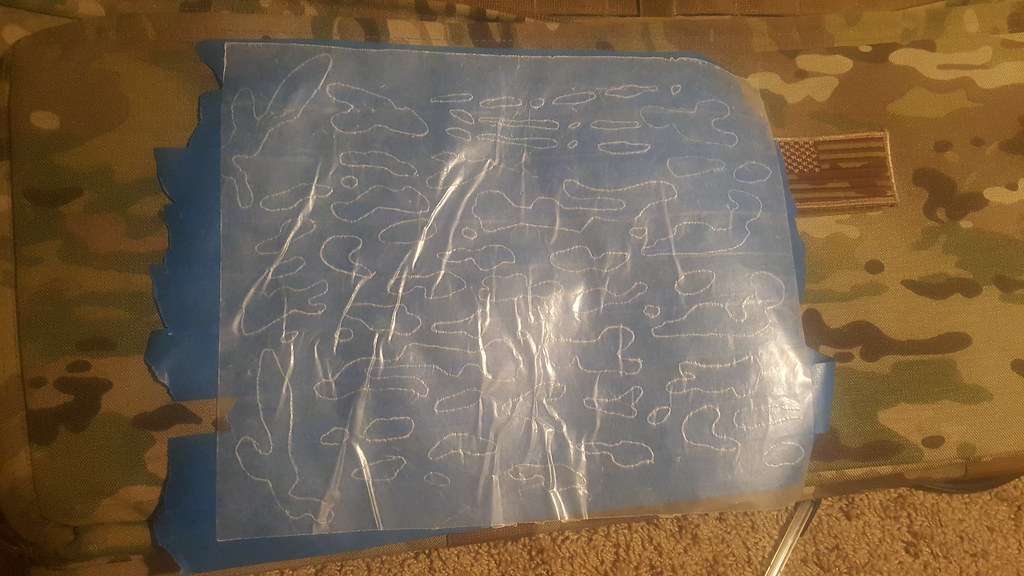
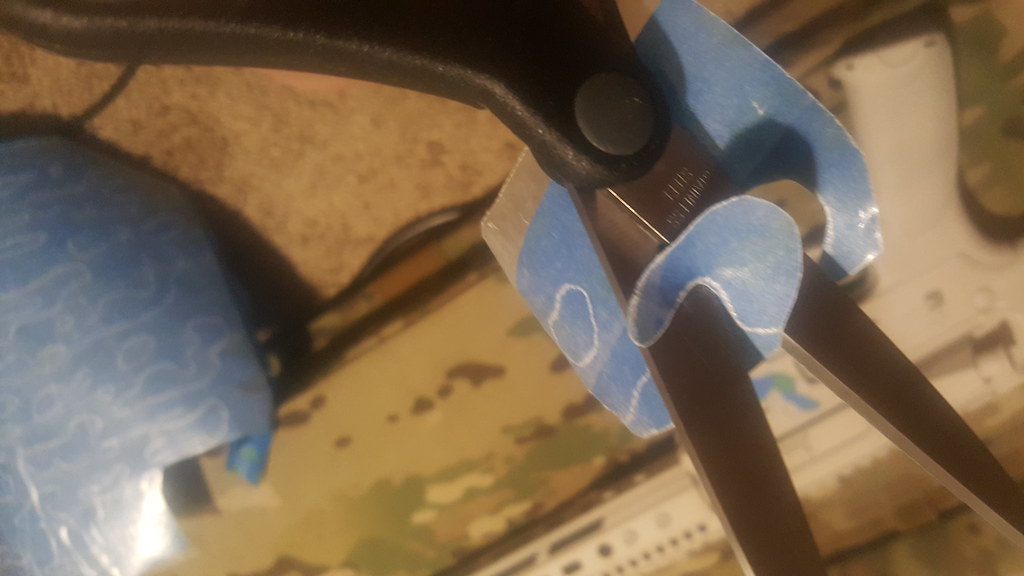
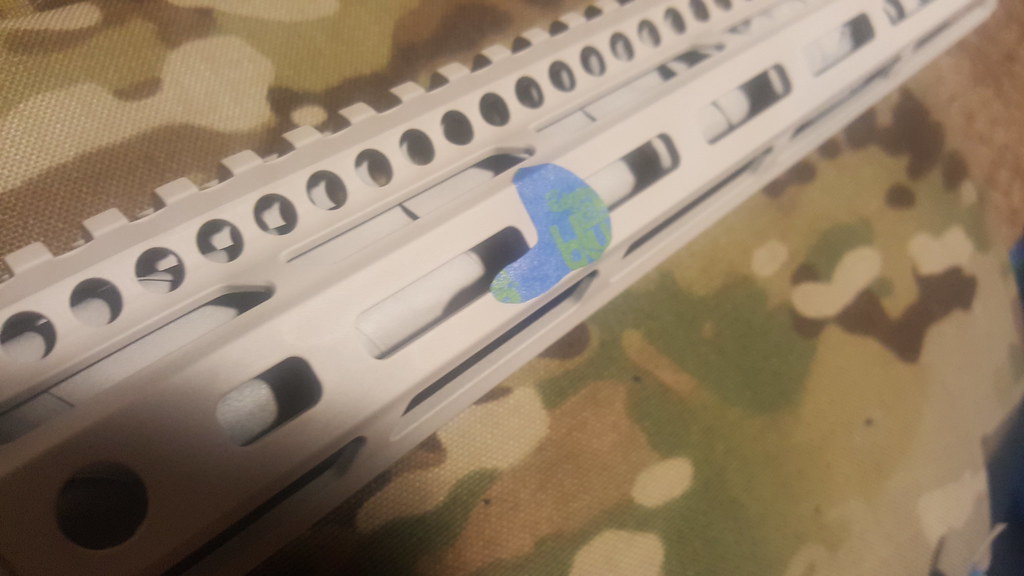
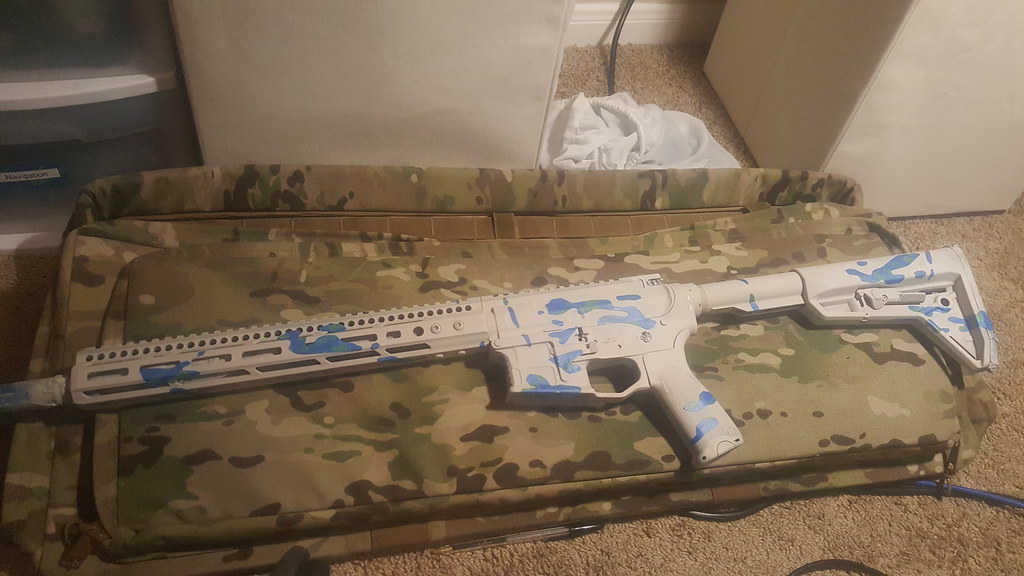
Next, start cutting out the stencils, and apply it to the rifle. I like to cut out chunks of the paper, so that it's a smaller piece and easier to manage.
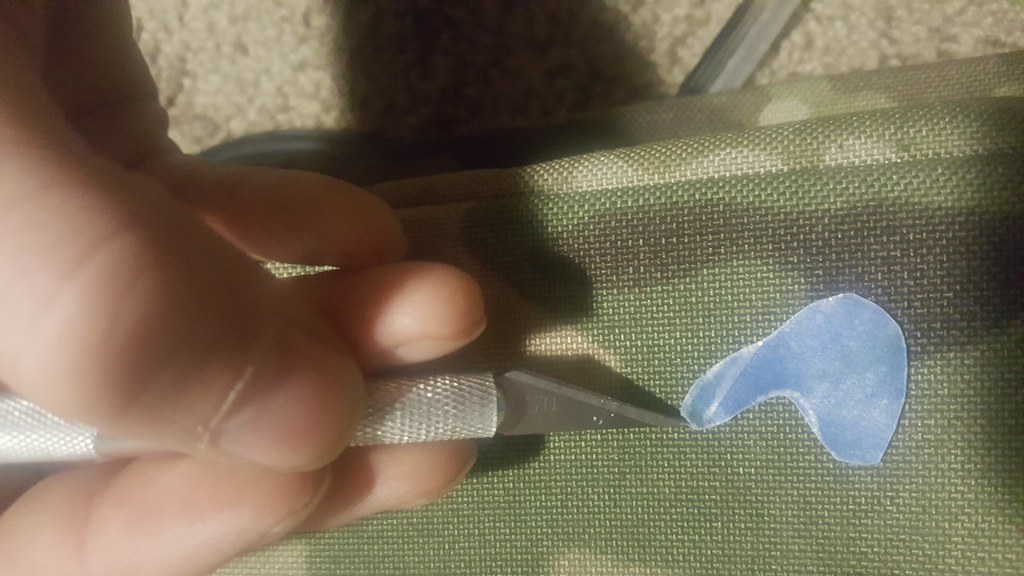
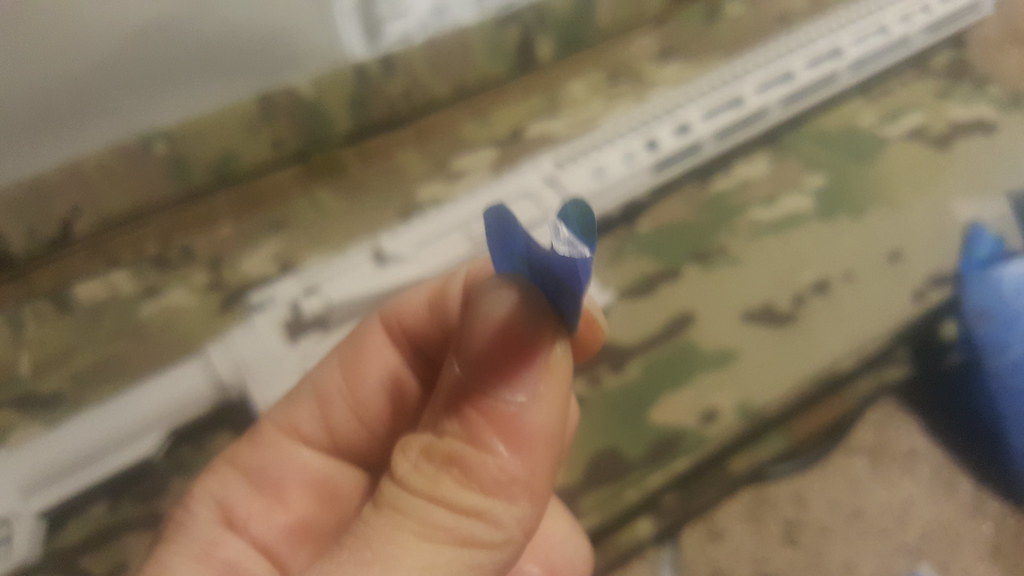
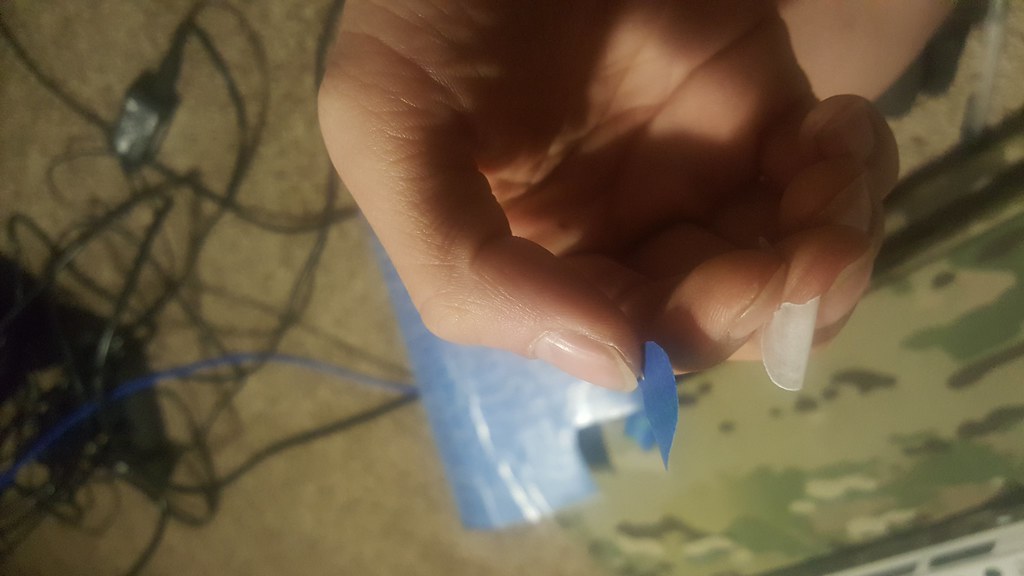
After it's an individual piece, I then use the Xacto razor to pick the wax paper off, and peel it off by hand once I get enough of it off.
Then, apply the stencil to the rifle, making sure to put it down nice and smooth, applying even pressure to maximize adhesion.
At the end, you'll end up a completely taped off rifle on the first layer.
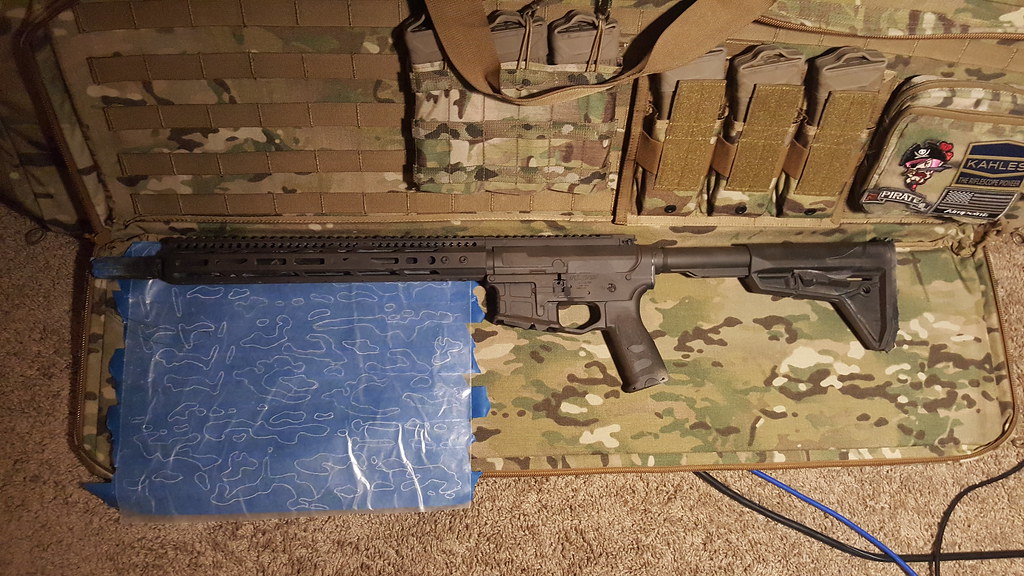
Fourth, I cover the entire rifle with Black and mist it with Dark Brown, to generate a very dark chocolate color.
Again, after the paint cures, trace the rifle bag for stenciling.
Then, the painter's tape over the wax paper.
Cut out the stencils and apply to the rifle. Remember to press down hard for maximized adhesion, and press down on any of the stencils that might have come a little unstuck on the first layer.



 Reply With Quote
Bookmarks