Page 2 of 3 FirstFirst 123 LastLast
Results 11 to 20 of 22

Thread: Idea for reloading bench

  1. #11
    Join Date
    Aug 2018
    Posts
    13
    Feedback Score
    0
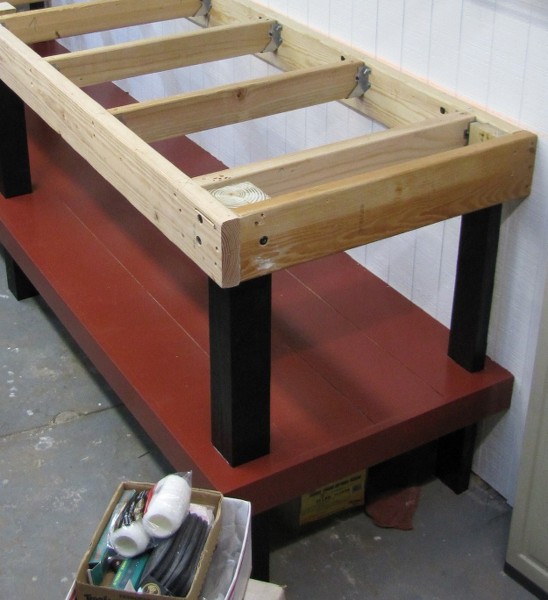
    Andy ;i bought new full extention slides from lowes, but you need to cut the drawer width Not that hard with a table saw.i also converted the left two drawers into one deep drawer by removing the bottom of the top drawer and joining them with rafter plates
    Last edited by junkmansj; 09-09-18 at 19:02.

  2. #12
    Join Date
    Aug 2018
    Posts
    13
    Feedback Score
    0
    Factory door fully open.jpgNew Slides Fully open.jpgCUT DETAIL 2.jpg
    Quote Originally Posted by junkmansj View Post
    Andy ;i bought new full extention slides from lowes, but you need to cut the drawer width by about 5/8". Not that hard with a table saw.i also converted the left two drawers into one deep drawer by removing the bottom of the top drawer and joining them with rafter plates
    I need to correct my self, Its not 5/8" Cannot get other photos loaded. If you like I can send them by email. Center photo is with new full extension slides, other is factory slides fully open
    far right is the change you need to make for new slides
    Last edited by junkmansj; 09-09-18 at 19:02.

  3. #13
    Join Date
    Feb 2019
    Posts
    97
    Feedback Score
    1 (100%)
    I built mine. 10' x 30".


  4. #14
    Join Date
    Sep 2008
    Posts
    1,630
    Feedback Score
    3 (100%)
    Quote Originally Posted by md66948 View Post
    I built mine. 10' x 30".


    That looks strong. What did you use for a bench top, and how did you secure it?

  5. #15
    Join Date
    May 2008
    Location
    Humboldt County, CA
    Posts
    2,345
    Feedback Score
    0
    Quote Originally Posted by Uni-Vibe View Post
    I have but one workbench, and it has to do all kinds of things. I'd love to have a dedicated reloading bench set up all the time, but I just can't...
    I was in the same situation until recently... I did what you're doing.

    I didn't even use wingnuts or C-clamps — it was easy enough to use a ratchet wrench to tighten/loosen the bolts to install/remove equipment.


    Having a dedicated reloading bench is soooo much nicer.

  6. #16
    Join Date
    Feb 2011
    Location
    CO
    Posts
    106
    Feedback Score
    6 (100%)
    The page I modeled mine after is gone, unfortunately. I recently moved so it isn't currently set up but I can describe it fairly well: I purchased 2x 4'x8' sheet of 3/4" oak plywood, cut them in half lengthwise and glued and screwed them together from the bottom side. I then had 3x 1.5" galvanized rigid pipe (determines your bench height) threaded to fit into commensurately sized floor flanges, the flanges attach to the underside on each end and in the middle of the bench with wood screws, the other end can be screwed into the floor if desired. I then lag screwed a 2x4 on-end to the wall side of the bench to be used as a cleat to bolt into the wall. I sized mine so I can stand but also sit on a stool if desired

    It is hell for stout, I weigh 190 and I can sit or stand on it no problem. There is probably no need for the added expense of two pieces of oak plywood, the middle layers are wasted and common plywood can be substituted. I like the smooth veneer on the top and I finished it with multiple coats of polyurethane. I'll see if I can set it up temporarily and get a pic in the next few days.

    I needed to do some work so I set it up temporarily

    Last edited by rm06; 03-14-19 at 09:32. Reason: pics added

  7. #17
    Join Date
    Feb 2019
    Posts
    97
    Feedback Score
    1 (100%)
    Uni-Vibe,

    I used 3/4" plywood and shot it in with #8 SS Ring Schanked Nails. I used a premium wood filler, sanded and painted the top with 2 coats of under coat and 3 coats of gray deck paint. The bottom shelf is 1" x 10" x 10' pine boards painted with under coat and 2 coates of Red Deck Paint. If I had to build this again I think I would use solid core doors as the bench top .

    I strongly suggest adding String LED lights under the top to help you find items on your shelf. I am in the process of running a new 15 amp circuit to add lighting under my top and install LEDs over the bench.

    I also installed Dry Wall to the underside of the floor joist over my bench to stop any dust from dropping down onto my reloading area. I have an old house.
    Last edited by md66948; 03-10-19 at 08:08.

  8. #18
    Join Date
    Sep 2008
    Posts
    1,630
    Feedback Score
    3 (100%)
    I used a solid core door as the base for my bench top. I got it free from a construction site. On top I used Liquid Nails to cover the door with Masonite, then painted several thin coats of epoxy paint.

    Over the bench are four drop-light fixtures each with a 100w equivalent LED bulb. Strong light helps.

  9. #19
    Join Date
    Nov 2010
    Location
    Sin City
    Posts
    1,814
    Feedback Score
    22 (100%)
    I use the Home Depot premade benches that are $79 I think. Once unboxed, swing the legs out and put the shelf in. I plan on adding T Track to one so I can move the press to the side to do other work.

  10. #20
    Join Date
    Mar 2019
    Posts
    1
    Feedback Score
    0
    I ended up using some old fir 2 1/2" thick planks which I planed and laminated together. This bench is pretty solid.
    reloading-bench.jpg
    bench-2.jpg

Page 2 of 3 FirstFirst 123 LastLast

Bookmarks

Posting Permissions

  • You may not post new threads
  • You may not post replies
  • You may not post attachments
  • You may not edit your posts
  •