Results 1 to 8 of 8

Thread: First carbine paint job

  1. #1
    Join Date
    Jun 2006
    Posts
    324
    Feedback Score
    1 (100%)

    First carbine paint job

    Never had the nerve to paint a carbine until recently. Kind of fun and I would love to be able to start again with just the little bit of knowledge I have gained but I'll wait until it wears off.

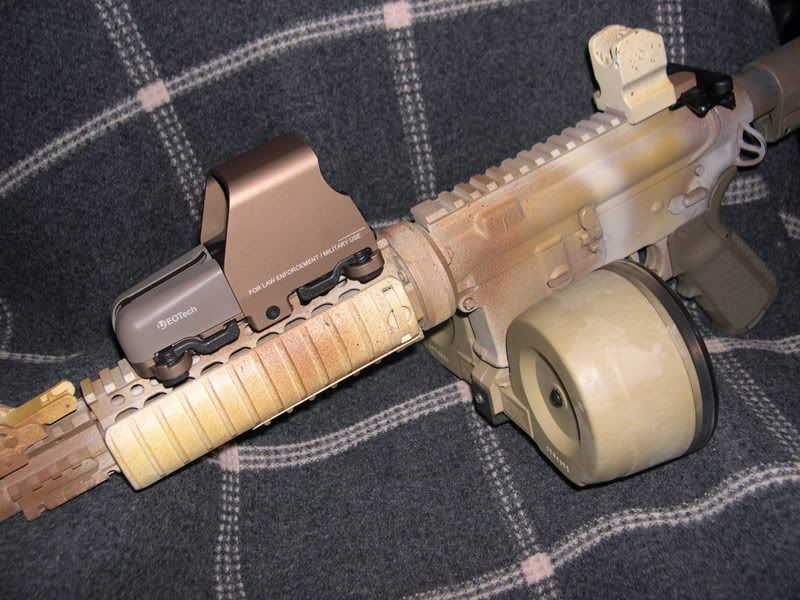
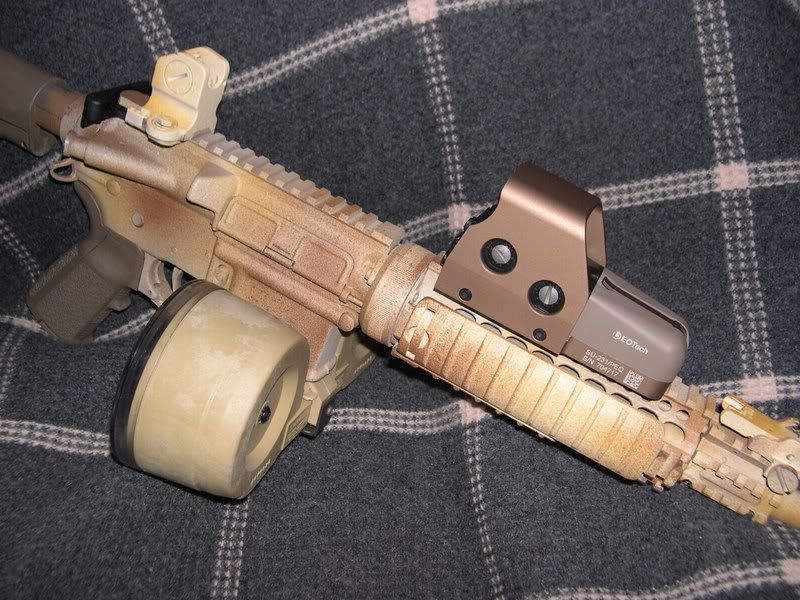
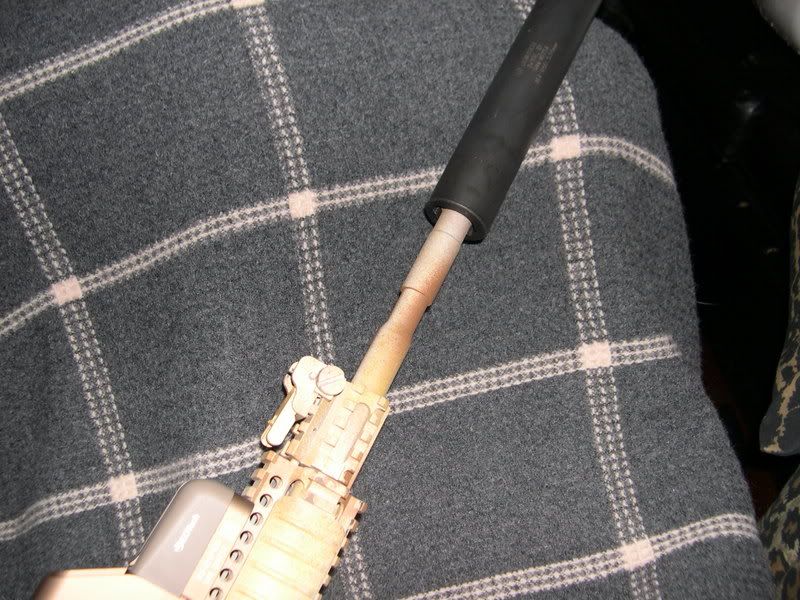
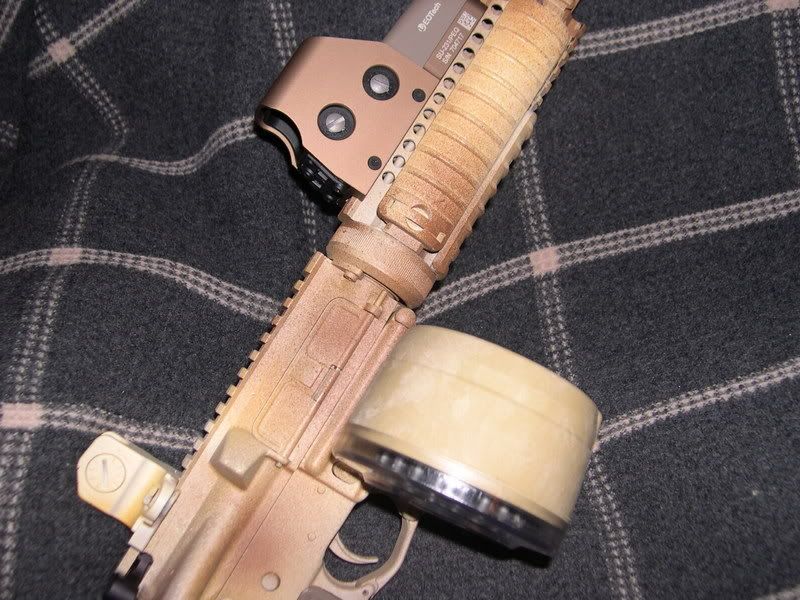
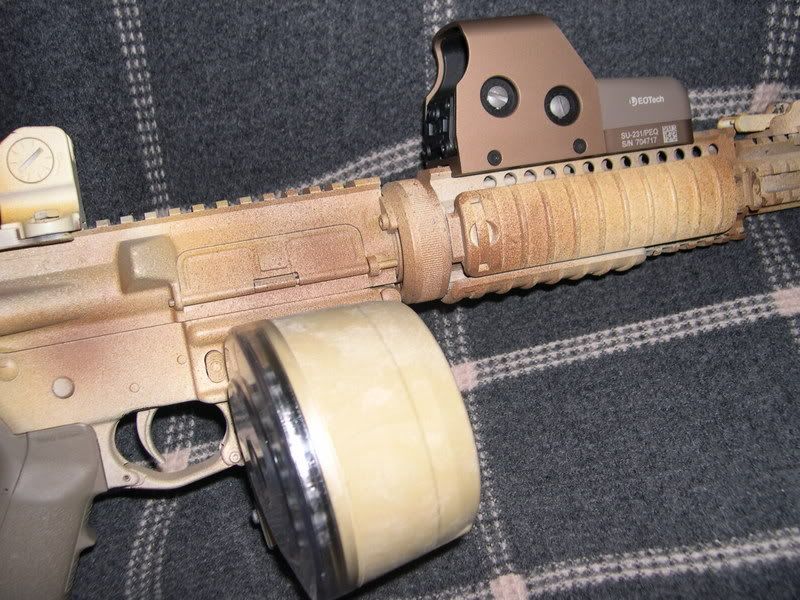
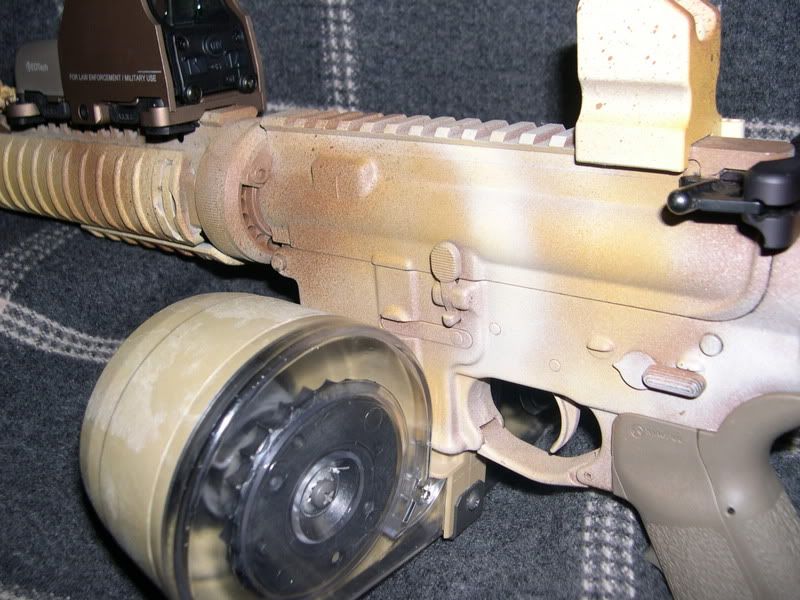
    Paint is Testor's Model Master, an enamel. Three colors were used: Light Earth, Modern Desert Sand and Afrika Mustard. The LE was the base coat, covering everything. Then the other two were used to dust.

    Rifle was cleaned in an ultrasonic tank. Sights, KAC panels, charging handle, stock and MIAD were removed.

    When you paint like this, you REALLY have to let it set and dry. Try a week. It's a long time but trust me. If your home and your yard is secure, you could lay it out in the sun but that makes me nervous.

    The paint survived 4 Betas. At first, it smelled so bad I thought it was going to burst into flames but it went away.

    I painted this upper because it was just sitting around although it has great parts. Rifle shot very well and the paint pretty much hung on. When it comes off real bad, I'll just start again. Although there are no deserts in CT, I just thought the colors would be something to have fun with.

    -Colt SOCOM HB M4 upper
    -Colt MP bolt and carrier
    -Early LT 7.0
    -LT BUIS
    -YHM front sight
    -Gemtech M4-96QD with bilock
    -PWA Commando lower
    -Stag LPK
    -Magpul MIAD and CTR
    -EoTech 553


    "No you don't, sunshine"

  2. #2
    Join Date
    Sep 2006
    Posts
    434
    Feedback Score
    6 (100%)
    As I said on LF...looks great bro...just wish the 553 hood wasn't so bronze.
    Professional Babysitter

  3. #3
    Join Date
    Jun 2006
    Location
    VA
    Posts
    10,781
    Feedback Score
    17 (100%)
    Good job, but you shouldn't have painted the front sight post nor the rear sight aperatures.
    Chief Armorer for Elite Shooting Sports in Manassas VA
    Chief Armorer for Corp Arms (FFL 07-08/SOT 02)

  4. #4
    Join Date
    Apr 2007
    Location
    Northeast US
    Posts
    30
    Feedback Score
    0

    Thumbs up

    I like it.
    It looks like the nozzle got clogged a little and splattered, but ya know..it looks good.
    BTW nice setup.

  5. #5
    Join Date
    Jun 2006
    Posts
    324
    Feedback Score
    1 (100%)
    Quote Originally Posted by gotm4 View Post
    Good job, but you shouldn't have painted the front sight post nor the rear sight aperatures.

    Yeah, I should have masked them off. All fixed now. Ya couldn't see them at all.
    "No you don't, sunshine"

  6. #6
    Join Date
    Jun 2006
    Posts
    324
    Feedback Score
    1 (100%)
    Quote Originally Posted by ctrmass View Post
    I like it.
    It looks like the nozzle got clogged a little and splattered, but ya know..it looks good.
    BTW nice setup.
    It did get clogged but I liked the texture so I left it alone. Thanks!
    "No you don't, sunshine"

  7. #7
    Join Date
    Jan 2007
    Location
    New Mexico (USA)
    Posts
    265
    Feedback Score
    0
    Sweet

  8. #8
    Join Date
    Nov 2006
    Location
    Minas Miami
    Posts
    572
    Feedback Score
    5 (100%)
    Looks sharp. Did the buildup of paint on the rails make it difficult to install the EoTech, front and/or rear sights? Or was it thin enough not make a difference?

    I'm a scale modeler and am familiar with the Testors enamels but am curious as to how it's holding up. I usually give the models a coat of "Future" or "Dullcoat" to protect their finish.
    ------------------------------------------------------------------------
    "The beauty of the second amendment is that it will not be needed until they try to take it." –Thomas Jefferson, Thomas Jefferson Papers

Bookmarks

Posting Permissions

  • You may not post new threads
  • You may not post replies
  • You may not post attachments
  • You may not edit your posts
  •