


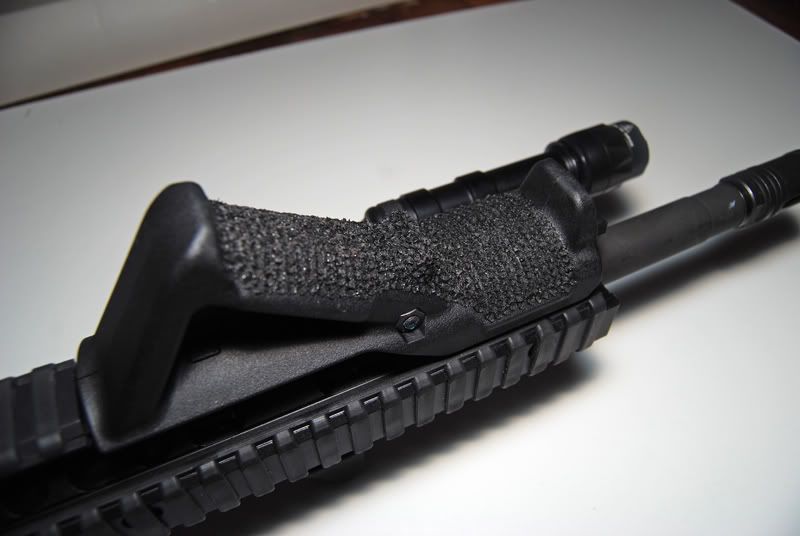
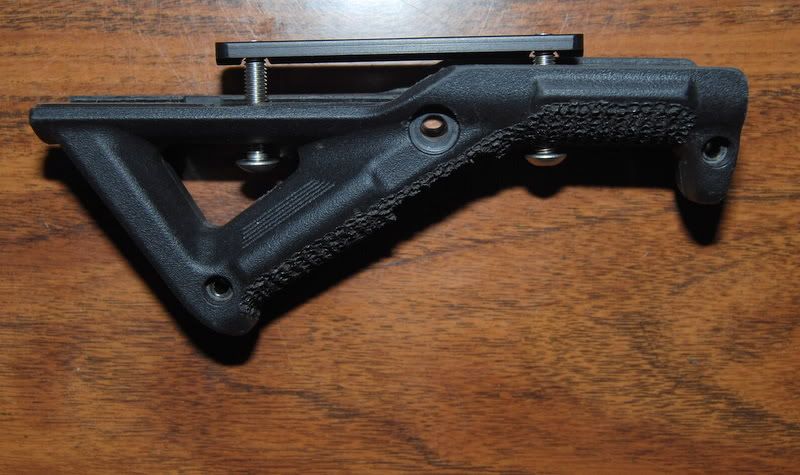
I like my AFG - I like how it positions my arm and wrist while shooting. However, nothing's perfect, the AFG included. When I first tested it, I found the surface to be too slick for my liking, and it let my hand slip off the back end of the AFG. I decided to rough-stipple the entire underside using a soldering iron. The result was very grippy and rough.
This AFG was previously mounted on a DD Omega X 12.0 FSP rail, and it fit nicely. I have large hands, so even with a compliment of full profile rail covers, the AFG felt right at home on that rail. The only real complaint I had was the weight.
Enter my new upper, constructed with a midlength gas CHF barrel, and an 11" Troy TRX Extreme rail. Everything about the Troy rail is great so far - I like the clean feel, the ridiculously low weight, the modularity.
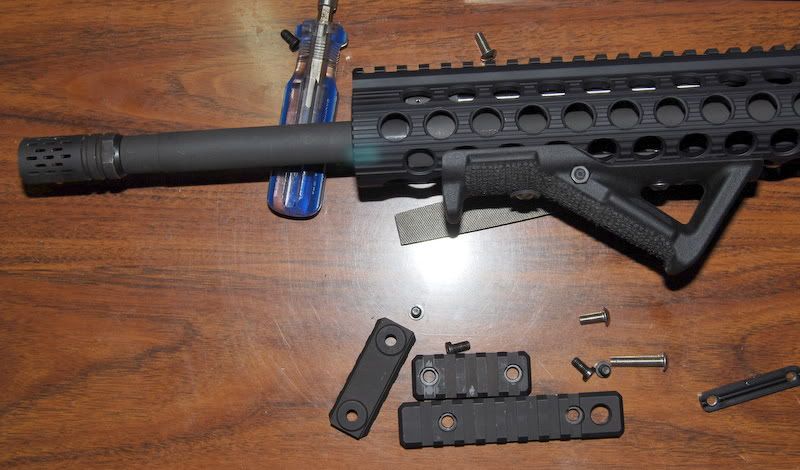
When placing a rail for the AFG on the bottom of the TRX, I found that the additional thickness of the rail, combined with the thickness of the AFG, broke up the comfortable feel of the Troy rail. It didn't feel "round" anymore, and the easy, thumb-high grip I'd had with the DD rail had become a bit of a stretch with the AFg on the bottom of the TRX. Even worse, it was close, very close to being right - I just had to reduce the distance between the body of the TRX, and the underside of the AFG by about .25". If you look at it in this "before" picture, it's pretty apparent how much offset there is between AFG and rail:
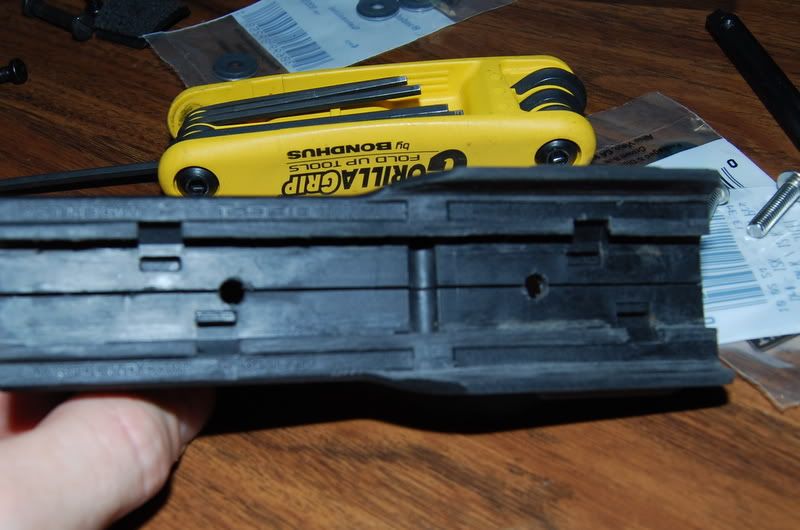
So I set about engineering a rail-free attachment for the AFG. I placed the backing plate for the 4" rail inside the AFG itself and marked off the holes. A little careful 1/4" drill bit work later, and I had holes right through the AFG.(The holes are round, the flashing from the stippling makes them appear otherwise.)
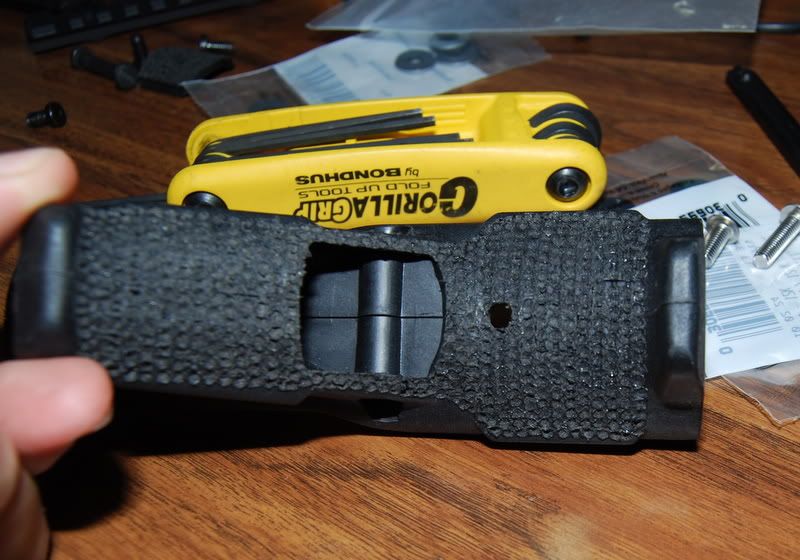
Fairly simple so far. The holes encroached a little on the internal locking tabs of the AFG, but not so much that they didn't work. I was confident that the three cross screws in the AFG would hold it together, locking tabs or not. I held the AFG to the underside of the TRX rail, and decided that a slight reduction of the internal polymer "rails" that held the Picatinny rail in place would result in a tighter fit. All told, only about 1/16" of plastic was removed from the inside of the AFG, but that made it sit snugly up onto the TRX, without any see-saw action from a raised center section. Both wings of the AFG now fit like a cradle for the TRX rail.
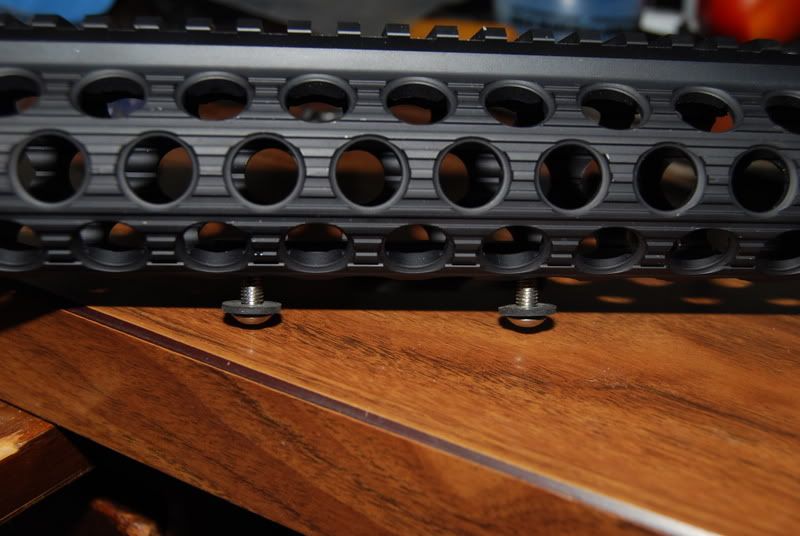
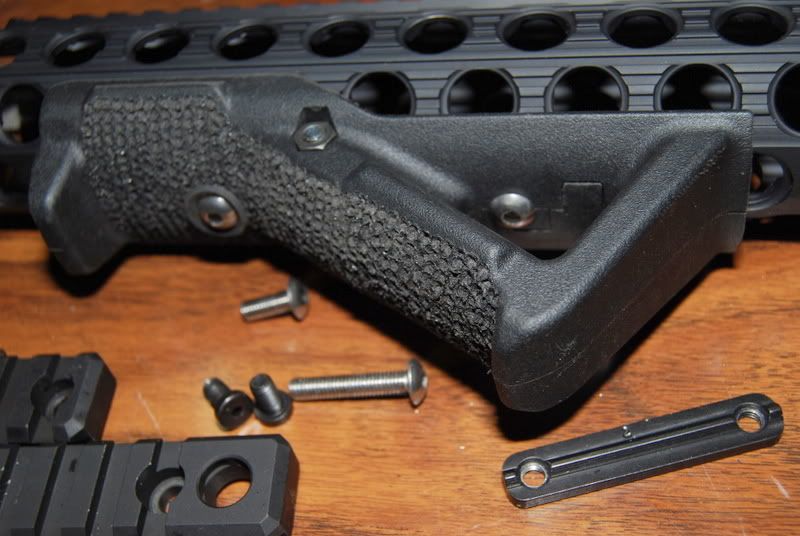
A quick trip to Home Depot later, and I had the correct 10-32 machine screws with hex head that I needed. They were 1" in length - too long to fit into the rail without blocking the barrel, but fine for trimming down. I trimmed them to .5" with a cutting wheel, cleaned up with a file, and chased the threads with a 10-32 nut. I added flexible black neoprene washers to both screws, but ended up using a washer on only the front screw.
Actually installing the AFG itself onto the backing plate turned out to be the most trouble - the TRX rail attachment system already leaves something to be desired - you have to hold the backing plate in place with your finger, inside the tube, and tighten the rail section to it using the screws. If you have short fingers, some of those sections just aren't going on easily, because you can't hold the plate in place.
Installing the AFG with two screws onto a backing plate, with the additional difficulty of accessing the rear screw, tucked away inside the angled rear portion, took about 20 minutes. I had less trouble with the front screw - just tightened it onto the plate, once the threads caught. I had to cut down an Allen wrench to fit just below the rear screw, inside the angled portion of the AFG, and the threads just refused to catch for the longest time - possibly because they'd been cut down. However, once I removed the neoprene washer from the rear screw, the extra room was just what I needed.
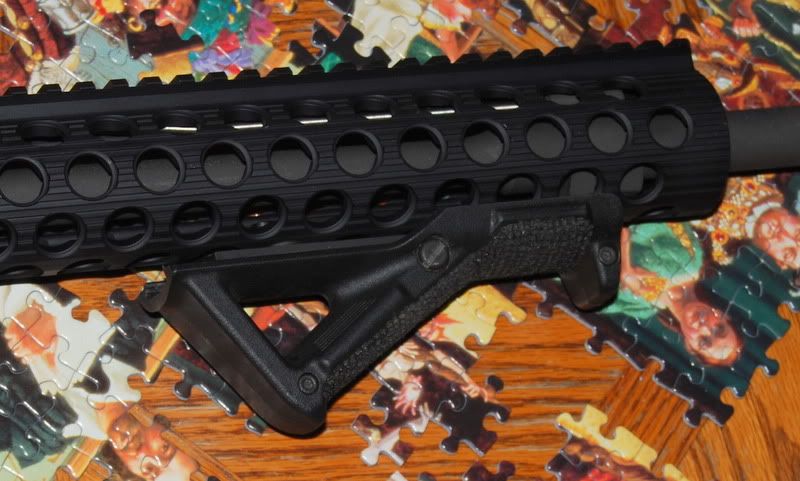
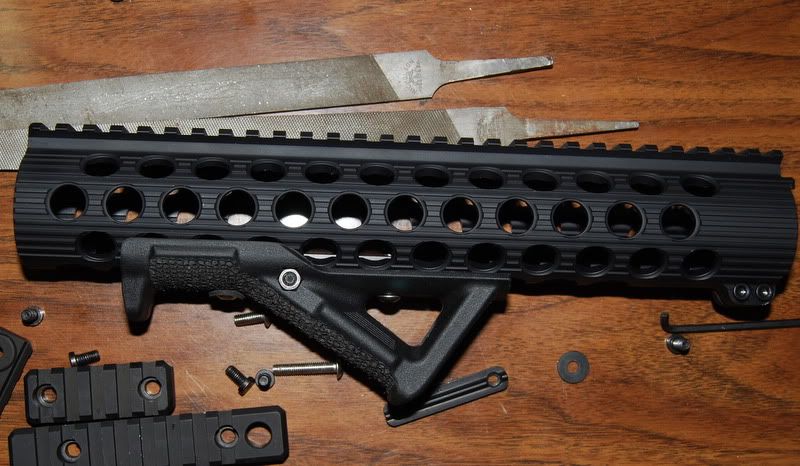
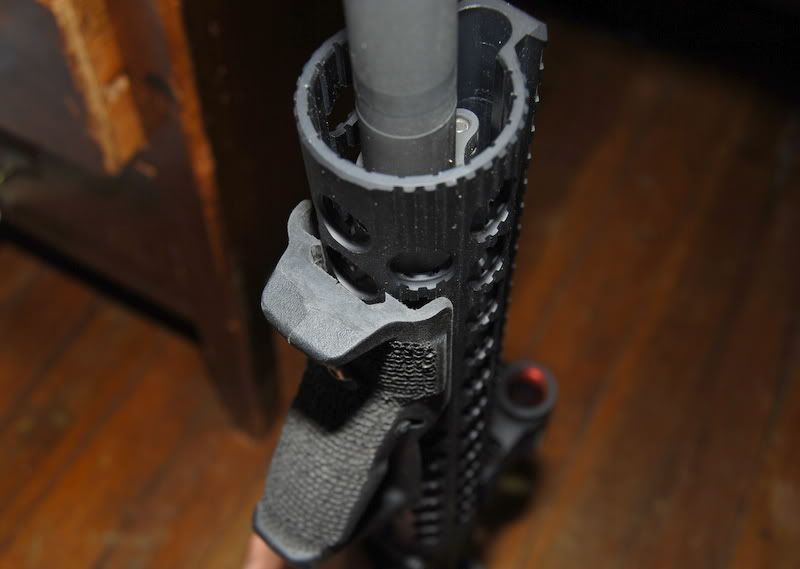
I can really only justify the couple of hours I spent on this project by saying that it really feels better. The AFG now feels like a natural gripping surface, hugged tightly to the contour of the TRX, as opposed to feeling like a block of material standing just a bit too far out from the curvature of the round rail. It's very sturdy as the backing plate is locked into a groove - no wiggle or wobble, and I have tried to make it twist loose.
It's hard to show a .25" difference in fit on this part, but this pic captures the snug fit of AFG to rail from the front..
It was a lot of work, since I took it slow -can't afford to ruin an AFG and replace it. I know I could do it faster next time, and I'm happy with the results. Sometimes, the only way to get exactly what you want is to engineer a solution.

 Reply With Quote
 I see a trip to home depot in my future! Awesome idea bro.


Bookmarks